Electric models typically offer convenience and ease of use, with automatic mixing and freezing functions.
Capacity:Consider how much ice cream you plan to make at once.
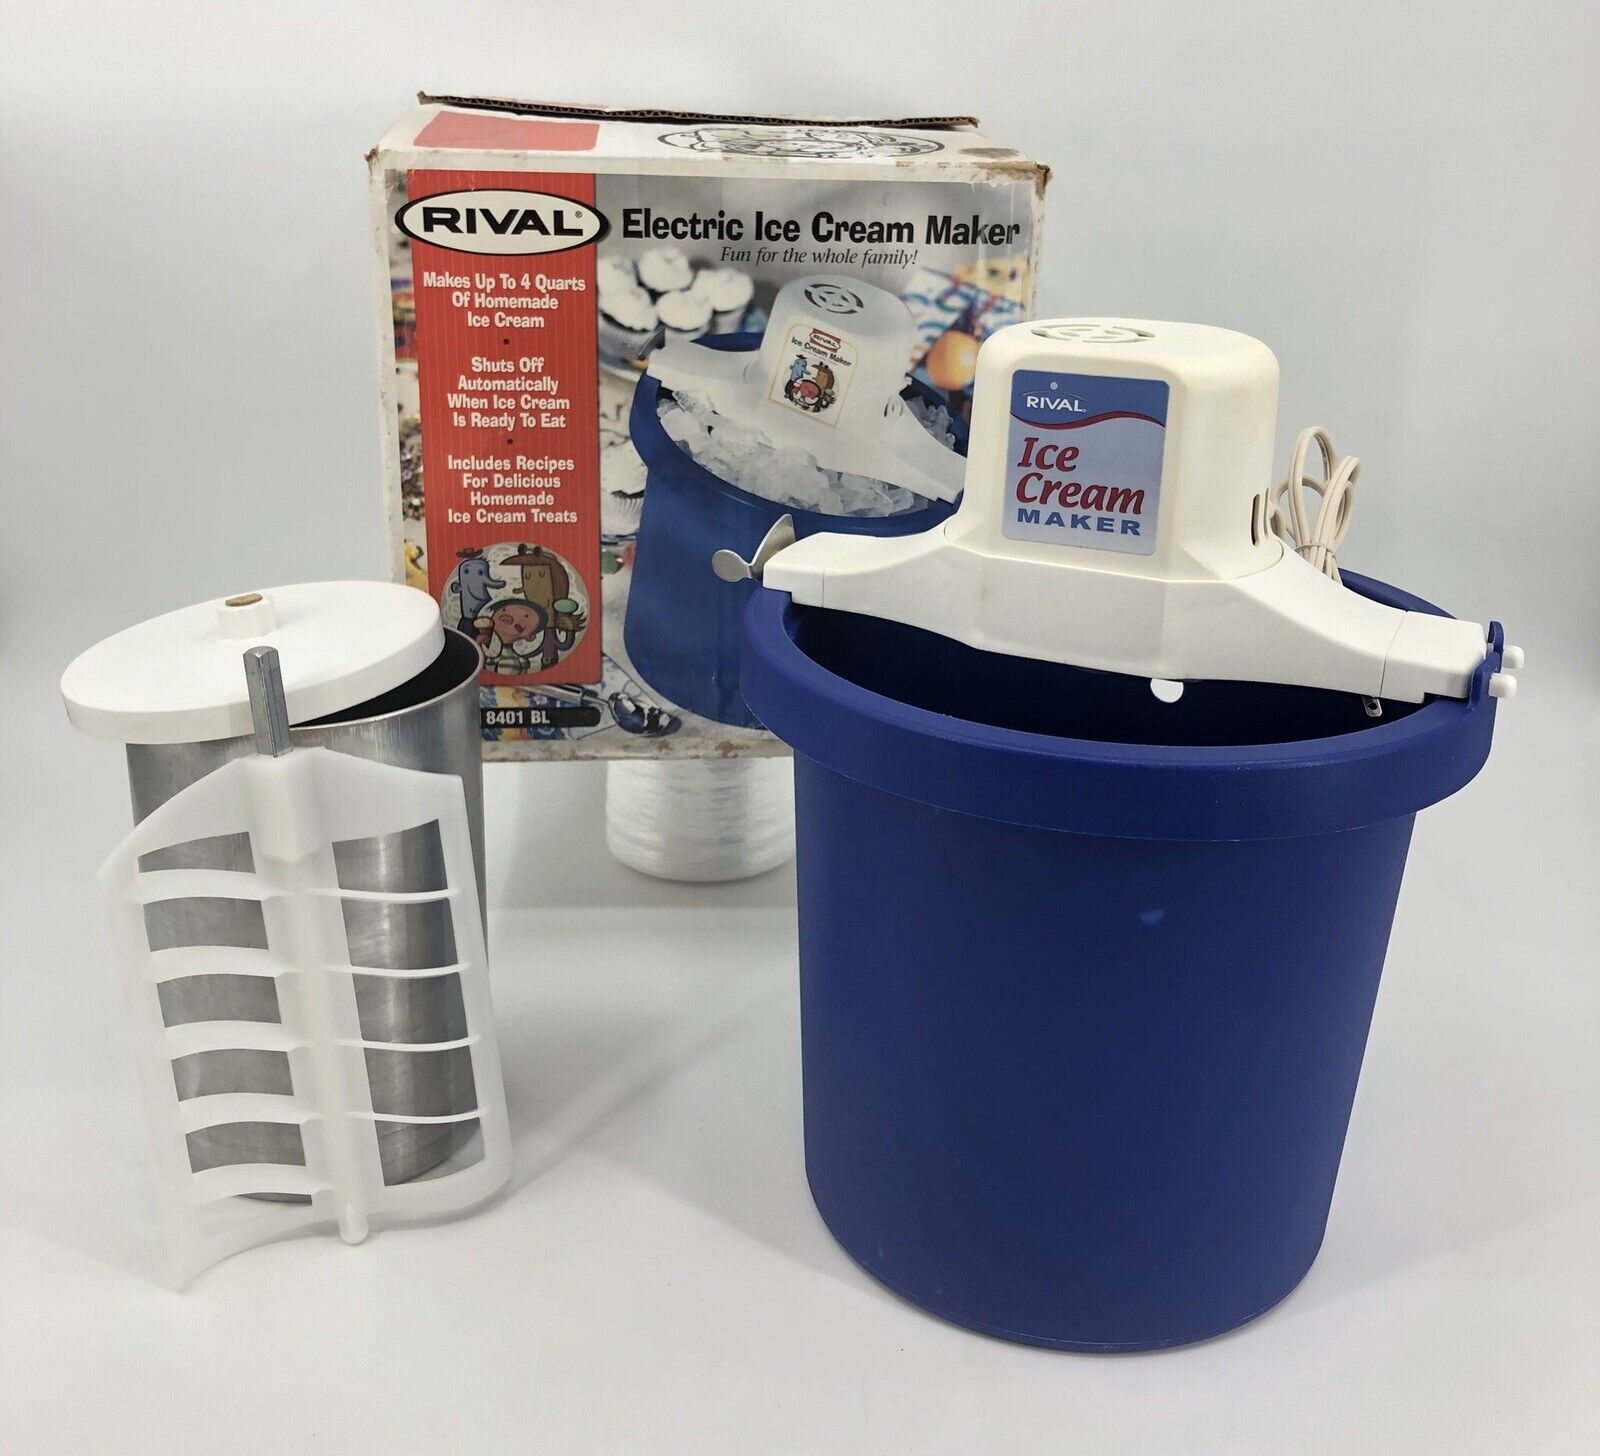
Rival ice cream makers come in various sizes, ranging from 1-quart to 4-quart capacities.
Freezing Method:Different Rival ice cream makers use different freezing methods.
Features and tweaks:Consider the features and tweaks offered by different Rival ice cream makers.
Think about what features are important to you and choose a model that suits your preferences.
Price:Of course, the price is an important factor to consider when choosing an ice cream maker.
Rival offers a range of price points, so you could find a model that fits within your budget.
Keep in mind that more expensive models often come with additional features and higher capacities.
By considering these factors, you might select theRival ice cream makerthat best fits your needs and preferences.
Having everything prepared and organized will save you time and ensure a smooth ice cream-making process.
Prepping the Ice Cream Mixture
2.
Whisk the mixture until the sweeteners are fully dissolved and incorporated.
Adjusting the Sweetness:Taste the mixture to ensure the sweetness level meets your preference.
Remember that the sweetness may reduce slightly when frozen, so consider that while adjusting.
Cover the mixing bowl with plastic wrap and refrigerate for at least 2 hours, or overnight if possible.
This chilling process will allow the flavors to meld together and develop.
If required, pre-freeze the canister according to the manufacturers instructions.
This step is essential for achieving the right freezing consistency during the churning process.
The mixture should be thoroughly chilled but not frozen solid.
Assembling and Operating the Rival Ice Cream Maker
1.
Assembly:Start by placing the frozen canister into the base of the Rival ice cream maker.
Ensure it is securely locked into place.
Attach the dasher or paddle onto the motorized unit according to the manufacturers instructions.
Double-check that all parts are correctly assembled.
Refer to the instructions provided with your specific model for the recommended amounts.
check that the ice and salt surround the canister evenly.
Pouring the Mixture:Take the chilled ice cream mixture from the refrigerator and give it a final stir.
Use a funnel if needed to pour the mixture into the canister, without overfilling.
Leave some room for the mixture to expand as it churns and freezes.
Securing the Lid:Place the lid securely on top of the canister, ensuring a tight fit.
This will prevent any ice and rock salt from entering the ice cream mixture during the churning process.
Monitoring the Churning Process:Keep a close eye on the ice cream maker as it churns.
Youll notice the mixture gradually thickening and freezing.
Avoid over-churning, as this can result in a grainy texture.
The ice cream is ready when it reaches a soft-serve consistency or the desired consistency mentioned in your recipe.
Use a rubber spatula to scrape off any excess ice cream from the paddle back into the canister.
Remove the lid and use a spoon or scoop to transfer the ice cream into a freezer-safe container.
By following these steps, youll be able to assemble and operate your Rival ice cream maker with ease.
Get ready to indulge in a frozen treat that youve created from scratch.
Proper monitoring ensures that you achieve the desired texture and prevents any potential issues.
Heres how to effectively monitor the progress of your ice cream:
1.
Visual Inspection:Throughout the churning process, visually assess the ice creams consistency.
As it churns, the mixture will start thickening and freezing gradually.
Observe the texture and appearance of the ice cream, looking for signs of proper freezing and smoothness.
Consistency Check:One way to evaluate the ice creams progress is by periodically checking its consistency.
Pause the churning process and take a small spoonful of the ice cream.
Examine its texture and consistency, ensuring its not overly soft or too firm.
The ice cream should be smooth and hold its shape without melting too quickly.
Taste-test:Sampling the ice cream during the churning process allows you to evaluate its flavor and sweetness.
Take a small taste to determine if it matches your desired level of sweetness and flavor intensity.
Keep in mind that the flavors may develop further as the ice cream continues to freeze.
Adjust the churning time based on your preferences and the specific instructions in your recipe.
Managing External Factors:Be mindful of external conditions that may affect the ice creams progress.
If youre making ice cream in a warm environment, the churning process may take longer.
Ice crystals can make the ice cream gritty and affect its texture.
Enjoy the process and anticipate the joy of savoring your homemade frozen treat.
Adding Mix-Ins and Flavorings
1.
Timing:Timing is crucial when adding mix-ins to your ice cream.
Most recipes suggest adding them during the last few minutes of churning.
This ensures even distribution without overmixing or crushing the mix-ins.
Freezing the mix-ins helps them retain their shape and texture when added to the ice cream.
This creates beautiful visual appeal and provides pockets of flavor throughout the ice cream.
Experiment with Combinations:Dont be afraid to get creative with mix-in and flavoring combinations.
Consider flavor pairings like chocolate and peanut butter or fresh berries and mint.
Use your imagination and taste preferences to create unique and exciting flavor profiles.
Consider Texture:When deciding on mix-ins, think about the texture contrast they will provide.
Start with a moderate amount and taste-test along the way to achieve the desired flavor profile.
Here are some essential tips for transferring and storing your ice cream:
1.
This prevents it from melting and ensures it sets properly.
Consider using a shallow container to hasten the freezing process and facilitate easy scooping.
Repeat this process until all the ice cream mixture and toppings are used, creating a beautifully layered effect.
This helps eliminate air pockets, resulting in a more uniform texture and appearance.
This prevents the ice cream from absorbing any unwanted odors and helps maintain its freshness.
Proper Storage Duration:Homemade ice cream is best enjoyed within 1-2 weeks of freezing.
This makes scooping easier and allows the flavors to be fully enjoyed.
Thankfully, most issues have simple solutions.
Here are some common issues you may encounter when making ice cream and how to troubleshoot them:
1.
Also, ensure that the ice and rock salt are layered properly around the canister.
If it still doesnt freeze, the mixture may not be cold enough.
Place it in the refrigerator for an additional 30 minutes to chill before trying again.
Ice Crystals Forming:Ice crystals can make your ice cream grainy and affect its texture.
To prevent this, see to it the ice cream mixture is adequately chilled before churning.
Additionally, ensure that the canister is properly pre-frozen and the ice cream maker is operating efficiently.
Double-check the ingredients and verify to follow the recipe correctly.
Alternatively, the churning time may have been too short.
Extend the churning time slightly to allow the mixture to thicken and develop a creamier consistency.
Churning for an extended period can cause excess air to be incorporated, resulting in a denser texture.
Shorten the churning time in your next batch to achieve a lighter consistency.
Ensure that all the ingredients are thoroughly mixed before chilling the mixture.
If lumps persist, strain the mixture through a fine-mesh sieve to remove any clumps before churning.
Check and ensure that the freezer is set to the appropriate temperature.
Regular upkeep will help you continue making delicious homemade ice cream for years to come.
Here are some essential tips for cleaning and maintaining your Rival ice cream maker:
1.
Use a gentle dish soap and a non-abrasive sponge to clean the parts thoroughly.
Drying:After washing, verify all the parts are thoroughly dried before reassembling the ice cream maker.
Wipe away any spills, stains, or residue to keep the appliance looking clean and presentable.
Consider storing the removable parts inside the canister or assembly to prevent them from getting lost or damaged.
This will help ensure smooth operation and prevent any potential damage.
Regular Use:Regularlyusing your Rival ice cream makercan help keep its components in good working condition.
Frequent use prevents parts from becoming stiff or malfunctioning due to extended periods of inactivity.
With proper cleaning and maintenance, your Rival ice cream maker will continue to churn out delectable homemade treats.
Enjoying Your Homemade Ice Cream!
Here are some tips to enhance your enjoyment of your frozen creation:
1.
Serving Suggestions:Serve your ice cream in bowls, cones, or even make ice cream sandwiches.
Get creative with presentation and toppings to make your ice cream even more enticing.
Pairing Flavors:Experiment with flavor combinations by pairing your homemade ice cream with complementary treats.
Experimenting with Toppings:Enhance the flavors and textures of your ice cream by adding an array of toppings.
Sprinkle crushed cookies, chopped nuts, or colorful sprinkles on top for a delightful crunch.
Sharing the Joy:Share the joy of homemade ice cream with family and friends.
Host an ice cream party or simply invite loved ones over for a sweet treat.
Seeing the smiles on their faces as they enjoy your creation is truly rewarding.
Experimenting with Mix-Ins:Continue to get creative with mix-ins and new flavor combinations.
Try adding different chocolates, candies, or fruits to the ice cream base for exciting variations.
The possibilities are endless!
Freezing Leftovers:If you have any leftovers, store them in a freezer-safe container for later indulgence.
Place them at the back of the freezer to maintain their quality and prevent freezer burn.
Enjoy your homemade ice cream whenever your cravings strike!
Trying New Recipes:Expand your ice cream-making repertoire by exploring new recipes.
There are countless recipes online, in books, and from fellow ice cream enthusiasts.
Challenge yourself to try new flavor profiles and techniques.
Customizing to Dietary Needs:Experiment with alternative ingredients to cater to specific dietary needs.
Reminiscing:Enjoy the nostalgia of homemade ice cream by reminiscing about fond memories associated with this timeless treat.
Sit back, relax, and relish the incredible satisfaction that comes with enjoying your homemade ice cream.
