Introduction
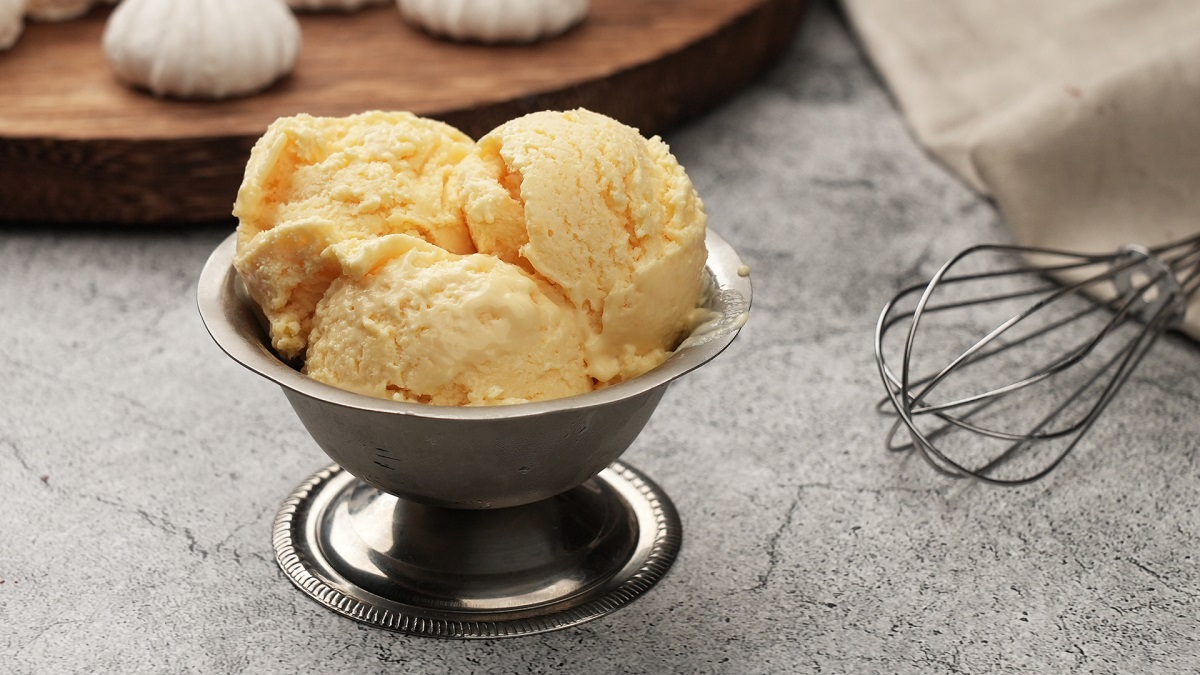
Who doesnt love the creamy, indulgent goodness of homemade vanilla ice cream?
Its a classic dessert that never goes out of style.
All you need are a few basic ingredients, a whisk, and some patience.
Youll be rewarded with a creamy and delectable treat that is sure to satisfy your sweet tooth.
If you want to get creative and add some extra flavors or mix-ins, feel free to do so.
The possibilities are endless!
Get your whisk and bowls ready were about to embark on a delicious adventure!
double-check to whisk thoroughly to ensure a smooth and creamy texture in your ice cream.
Simply split the vanilla bean lengthwise and scrape out the seeds.
Add the seeds and the empty pod to the mixture, and whisk everything together.
Allow the mixture to chill for at least 4 hours or overnight.
This chilling process will help the flavors meld together and ensure a rich and creamy ice cream.
Get your freezer space prepared and get ready for the anticipation of that first scoop of homemade goodness!
Transfer the chilled mixture into a shallow, freezer-safe container.
you could use a metal or glass container for this step.
see to it the container is large enough to allow for proper freezing and whisking later on.
Spread the mixture evenly in the container to ensure even freezing.
Cover the container with a tight-fitting lid or a layer of plastic wrap.
This will prevent any icy crystals from forming on the surface of the ice cream.
During this time, the mixture will start to solidify, but it will still be soft and scoopable.
Be patient during this step as it may take longer depending on your freezers temperature.
Avoid the temptation to stir or whisk the mixture at this stage.
We will do that in the next steps to achieve a smoother and creamier texture.
The wait is almost over, so get ready for the next step whisking and freezing again!
This step is crucial for achieving a smooth and creamy texture in your homemade vanilla ice cream.
Remove the container from the freezer and use a whisk to vigorously mix the partially frozen mixture.
Break up any ice crystals and incorporate the frozen edges into the still-liquid center.
This will help create a more consistent texture throughout the ice cream.
After whisking, return the container to the freezer and let the mixture freeze for another 2-3 hours.
The better you seal the container, the fresher and more delicious your ice cream will be.
Now, take a moment to imagine the anticipation of that first spoonful of creamy homemade vanilla ice cream.
The process may take a bit of time, but the end result will be absolutely worth it.
Remove the container from the freezer and whisk the partially frozen ice cream vigorously yet again.
Break up any frozen chunks and ensure that the mixture is well blended.
This step will help create a more consistent texture throughout the ice cream.
The more you whisk and freeze, the smoother your ice cream will become.
The anticipation is growing as your homemade vanilla ice cream nears completion.
Get creative and gather your favorite toppings and mix-ins to enhance the flavor and texture of your homemade treat.
Dont be afraid to get creative and experiment the possibilities are endless!
Get ready to indulge in a delightful frozen treat!
Step 6: Serve and Enjoy!
You have successfully made homemade vanilla ice cream without an ice cream maker.
Now its time to savor the fruits of your labor and enjoy the creamy, delightful treat youve created.
Take a moment to appreciate the rich aroma, smooth texture, and exquisite flavor of your homemade creation.
Enjoy it with friends and family, or savor it all by yourself as a well-deserved indulgence.
Remember, homemade ice cream is best enjoyed fresh.
If you have any leftovers, transfer them into an airtight container and store them in the freezer.
Get creative, have fun, and enjoy the sweet rewards of making your own ice cream at home!
