Introduction
Welcome to the world of homemade ice cream!
This classic flavor combination is sure to delight both kids and adults alike.
Its a match made in dessert heaven!
No more artificial additives or preservatives just pure, homemade goodness.
But before we dive into the step-by-step process, lets ensure we have everything we need.
Use fresh, plump raisins that havent been sitting on your pantry shelf for too long.
As for the rum, opt for a dark variety that has a rich and bold flavor.
For the custard base, youll need a combination of heavy cream and whole milk.
To sweeten the ice cream, granulated sugar is used.
Feel free to adjust the amount depending on your preference for sweetness.
If you prefer a less sweet ice cream, you’re able to reduce the sugar slightly.
The egg yolks in the recipe serve as a thickening agent and add richness to the ice cream.
check that to use large egg yolks for best results.
These ingredients may seem small, but they play a big role in creating a well-rounded and delicious dessert.
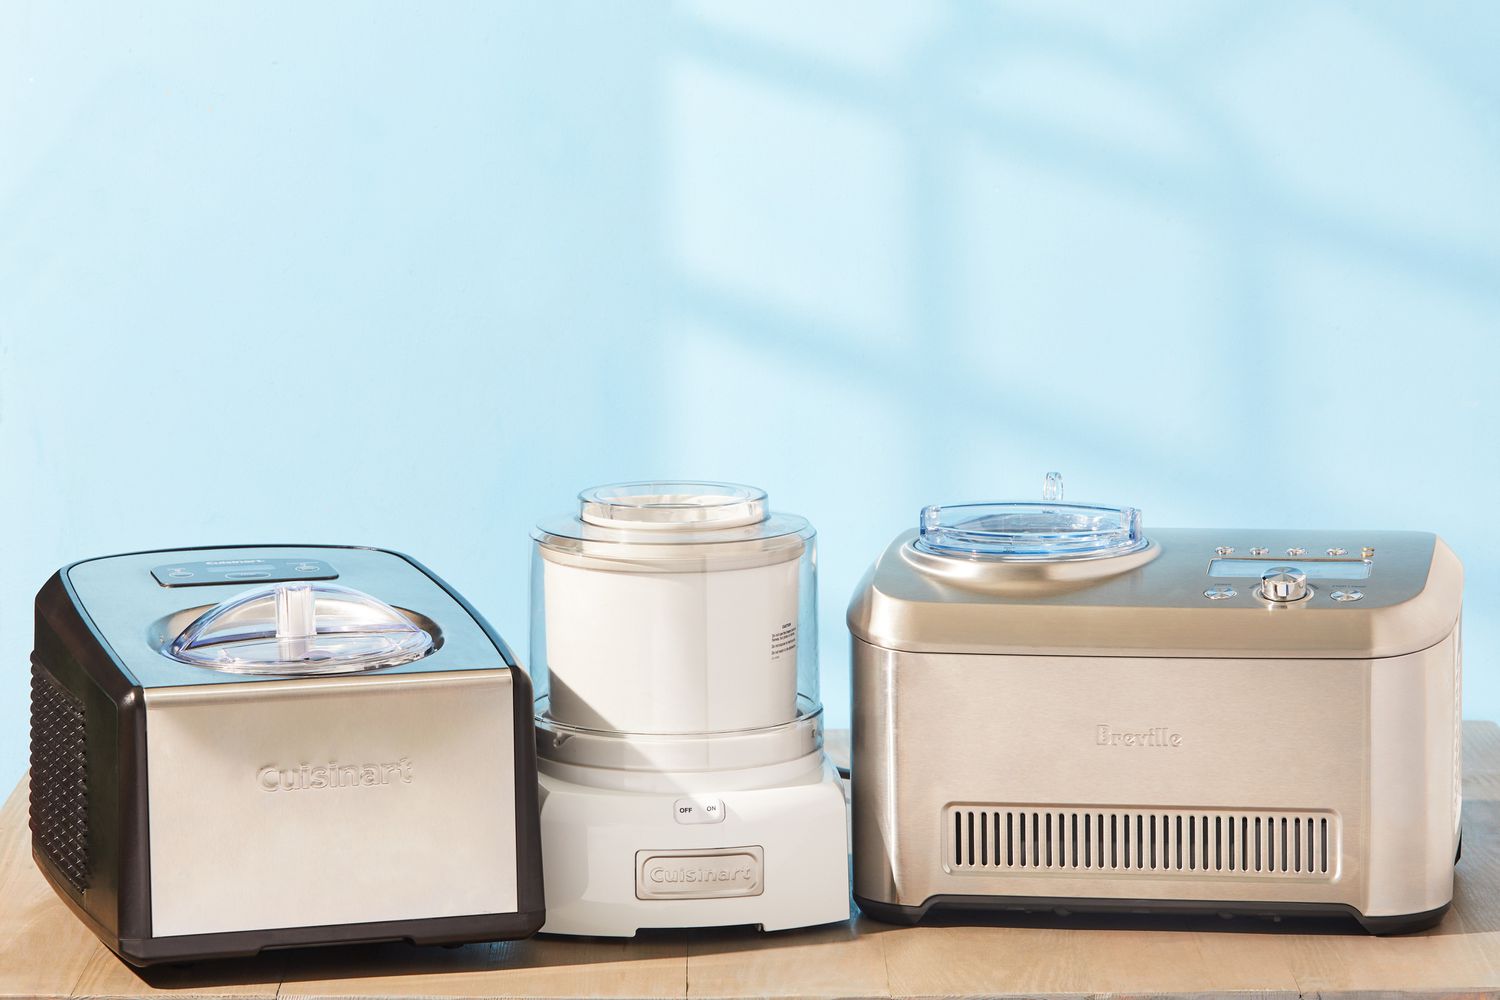
This machine makes it incredibly easy to churn your ice cream to the perfect consistency.
A medium-sized saucepan is needed to heat the custard base.
Choose a saucepan with a thick bottom to prevent the custard from burning.
Youll also need a whisk to combine the ingredients and ensure a smooth mixture.
A heatproof bowl is essential for tempering the egg yolks and whisking the custard base.
see to it the bowl is large enough to hold the mixture without overflow.
This step ensures a silky smooth texture in your ice cream.
Measuring cups and spoons are necessary for accurate measurements of the ingredients.
Using precise measurements helps maintain the proper balance of flavors and textures in the ice cream.
Its important to incorporate all the mixture for the best results.
To cover and protect the ice cream during the freezing process, youll need plastic wrap or parchment paper.
This prevents ice crystals from forming on the surface of the ice cream.
Lastly, youll need a freezer-safe container to store the finished ice cream.
Choose a container that has a lid and is large enough to hold the desired amount of ice cream.
This step infuses the raisins with a delightful boozy flavor that will complement the richness of the ice cream.
The length of time you soak the raisins can vary depending on your preference.
If you prefer a stronger rum flavor, it’s possible for you to extend the soaking time.
Once the raisins have soaked to your desired level, strain them, reserving the rum for later use.
The plump and boozy raisins are now ready to be incorporated into the ice cream.
The custard base is what gives the ice cream its creamy and rich texture.
Its important to temper the egg yolks to prevent them from curdling when added to the hot cream mixture.
Tempering involves gradually adding a small amount of the hot liquid to the yolks while whisking vigorously.
This should take about 8-10 minutes.
Keep the heat at a medium level and stay attentive throughout the process.
These ingredients add depth and enhance the overall flavor of the ice cream.
The longer it chills, the better the flavors will meld together.
Its now time to churn the custard base into a delightful rum raisin ice cream!
The Cuisinart ice cream maker makes the churning process effortless.
Remember to work quickly during this step to prevent the ice cream from melting too much.
This step will infuse the ice cream with a delightful boozy flavor and a burst of chewy sweetness.
Be mindful not to add all the rum at once, as it may result in a watery consistency.
The rum-soaked raisins will add a burst of sweetness and a subtle boozy flavor to the ice cream.
Their chewy texture provides a delightful contrast to the smoothness of the ice cream base.
Properly freezing the ice cream ensures that it sets up properly and maintains its creamy consistency.
Allowing the ice cream to freeze for several hours ensures that it solidifies and holds its shape when scooped.
The longer it freezes, the better the texture and flavor will be.
This will help maintain the quality and freshness of the ice cream.
Step 7: Serving and Enjoying!
Your homemade rum raisin ice cream is now ready to be savored and enjoyed.
The choice is yours to customize and elevate the dessert to your liking.
Allow the flavors to dance on your taste buds and enjoy the creamy texture that youve lovingly crafted.
Homemade ice cream is best enjoyed within a week to maintain its quality and freshness.
Enjoy every spoonful of your homemade rum raisin ice cream and share the joy with your loved ones.
Thank you for joining us on this delicious ice cream-making journey.
