Almond milk ice cream is a fantastic alternative to traditional dairy-based ice cream.
It is not only dairy-free but also naturally low in calories and saturated fat.
Youll discover how easy and rewarding it can be to create a frozen treat that is bursting with flavor.
Get ready to indulge in a frozen delight that is sure to satisfy your cravings without any guilt.
The sweetener enhances the flavor and balances the natural nuttiness of the almond milk.
Vanilla extract and salt add depth and complexity to the overall taste.
Feel free to adjust the sweetness and flavorings according to your preference.
Using a high-quality almond milk will result in a smoother and creamier texture.
Its important to see to it your blender is capable of smoothly blending nuts to achieve the desired consistency.
These tools will ensure that the final product is creamy and free from any graininess.
see to it to use bowls that are large enough to comfortably mix and whisk the ingredients.
A whisk or spoon will be used to thoroughly mix the ingredients together and ensure they are well incorporated.
This will help to create a consistent texture and distribute the flavors evenly.
A freezer-safe container with a lid is necessary for storing the ice cream during the freezing process.
Start by measuring 1 cup of raw, unsalted almonds and place them in a bowl.
double-check to use enough water to fully submerge the almonds.
Allow the almonds to soak for at least 6 hours or overnight for the best results.
This soaking process helps to remove any bitterness and aids in the overall creaminess of the ice cream.
After the almonds have soaked, drain and rinse them thoroughly.
This step helps to wash away any residue and ensures a clean and fresh almond milk base.
Soaking the almonds allows them to fully absorb water, resulting in a smoother and creamier final product.
With the right equipment and technique, blending the almonds is a simple and straightforward process.
First, transfer the soaked and drained almonds to a blender or food processor.
Add 2 cups of fresh water to the almonds.
This ratio of almonds to water will help to create a creamy and rich almond milk base.
Next, blend the almonds and water on high speed until a smooth and creamy consistency is achieved.
This process can take a few minutes, depending on the power of your blender or food processor.
Its important to blend until the mixture is completely smooth, without any visible almond pieces or grit.
This step removes any remaining almond pulp or solids, resulting in a smoother and velvety ice cream.
Taking the time to blend the almonds thoroughly will ensure a smooth mouthfeel and a delightful ice cream experience.
This process helps remove any remaining almond pulp or solids, resulting in a silky and creamy texture.
To strain the almond milk, you will need a fine-mesh strainer or cheesecloth.
Place the strainer or cheesecloth over a bowl or large container to catch the strained liquid.
Carefully pour the blended almond milk into the strainer or cheesecloth.
This process helps separate the smooth liquid from any remaining almond solids.
Continue pressing and moving the mixture until all the liquid has passed through the strainer or cheesecloth.
The strained almond milk should be smooth and creamy, ready to be transformed into delectable ice cream.
In a mixing bowl, combine 2 cups of the strained almond milk with 1/2 cup of coconut cream.
The coconut cream adds richness and creaminess to the ice cream, enhancing its texture and flavor.
Adjust the amount of sweetener according to your taste preferences.
you’re free to always add more if you like a sweeter ice cream.
Next, add 2 teaspoons of vanilla extract and a pinch of salt to the mixture.
Using a whisk or spoon, thoroughly mix all the ingredients together until they are well combined.
This is your chance to get creative and customize the ice cream base to your liking.
In the next step, we will explore various options to add deliciousness to your almond milk ice cream.
This step allows you to customize your almond milk ice cream and create a unique and delicious frozen treat.
There are endless possibilities when it comes to flavoring your ice cream.
For a touch of indulgence, consider incorporating chocolate into your almond milk ice cream.
Feel free to get creative and mix and match flavors to suit your preferences.
In addition to flavors, the sweetener you choose can greatly impact the taste of the ice cream.
Taste the mixture as you go to make any necessary adjustments.
In the next step, we will guide you through the freezing process to achieve the perfect texture.
Freezing the ice cream allows it to firm up and develop a creamy and scoopable texture.
Start by transferring the ice cream mixture into a freezer-safe container.
Smooth out the surface of the ice cream mixture in the container, ensuring an even distribution.
This will help achieve a consistent texture throughout the ice cream as it freezes.
This will help prevent ice crystals from forming and ensure a smoother final product.
Remember, the exact freezing time may vary depending on your freezers temperature and the size of the container.
Freezing the ice cream is a crucial step to achieve the desired texture and consistency.
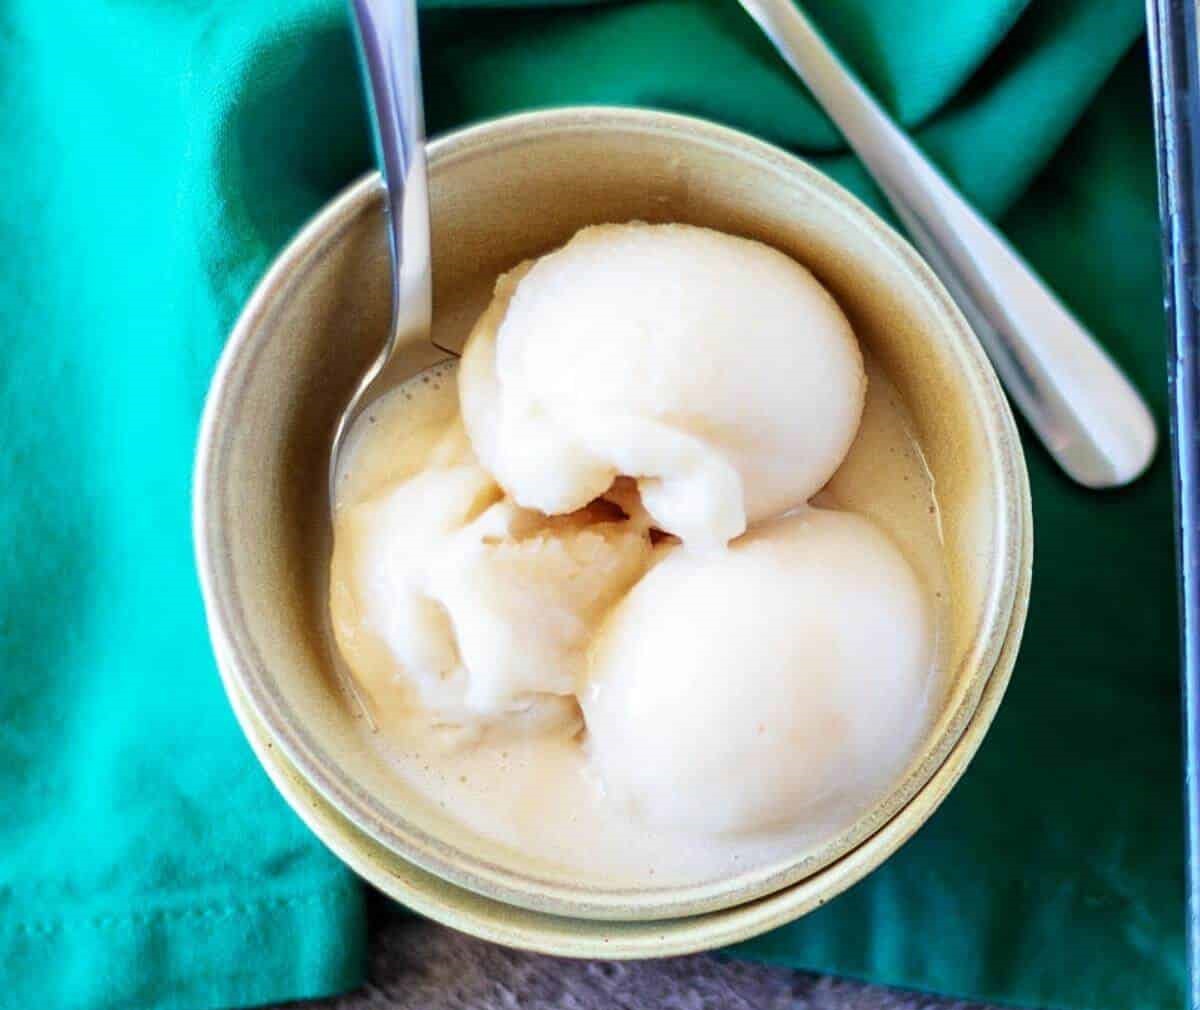
Step 7: Serving and Enjoying
Congratulations!
You have successfully made homemade almond milk ice cream without an ice cream maker.
Now, its time to savor and enjoy the fruits of your labor.
This will make it easier to scoop.
Gently scoop the almond milk ice cream into bowls or cones, creating perfectly portioned treats.
Notice how the flavors harmonize together, creating a delightful balance of sweetness and richness.
Remember, homemade almond milk ice cream is best enjoyed immediately after being frozen.
Just ensure to properly seal and cover the container to prevent any freezer burn.
Serving and enjoying the homemade almond milk ice cream is the ultimate reward for your hard work and creativity.
Take your time to relish each spoonful and appreciate the satisfaction of making a scrumptious frozen treat from scratch.
