Introduction
Are you looking to connect your HDMI devices to an AV input?
Perhaps you want to connect your modern gaming console to an older television or DVD player?
Some modern HDMI devices may not be compatible with traditional AV inputs due to differences in signal formats.
It is always advisable to check your devices compatibility and consult the manufacturers guidelines before attempting any modifications.
So, lets gather our tools and get started!
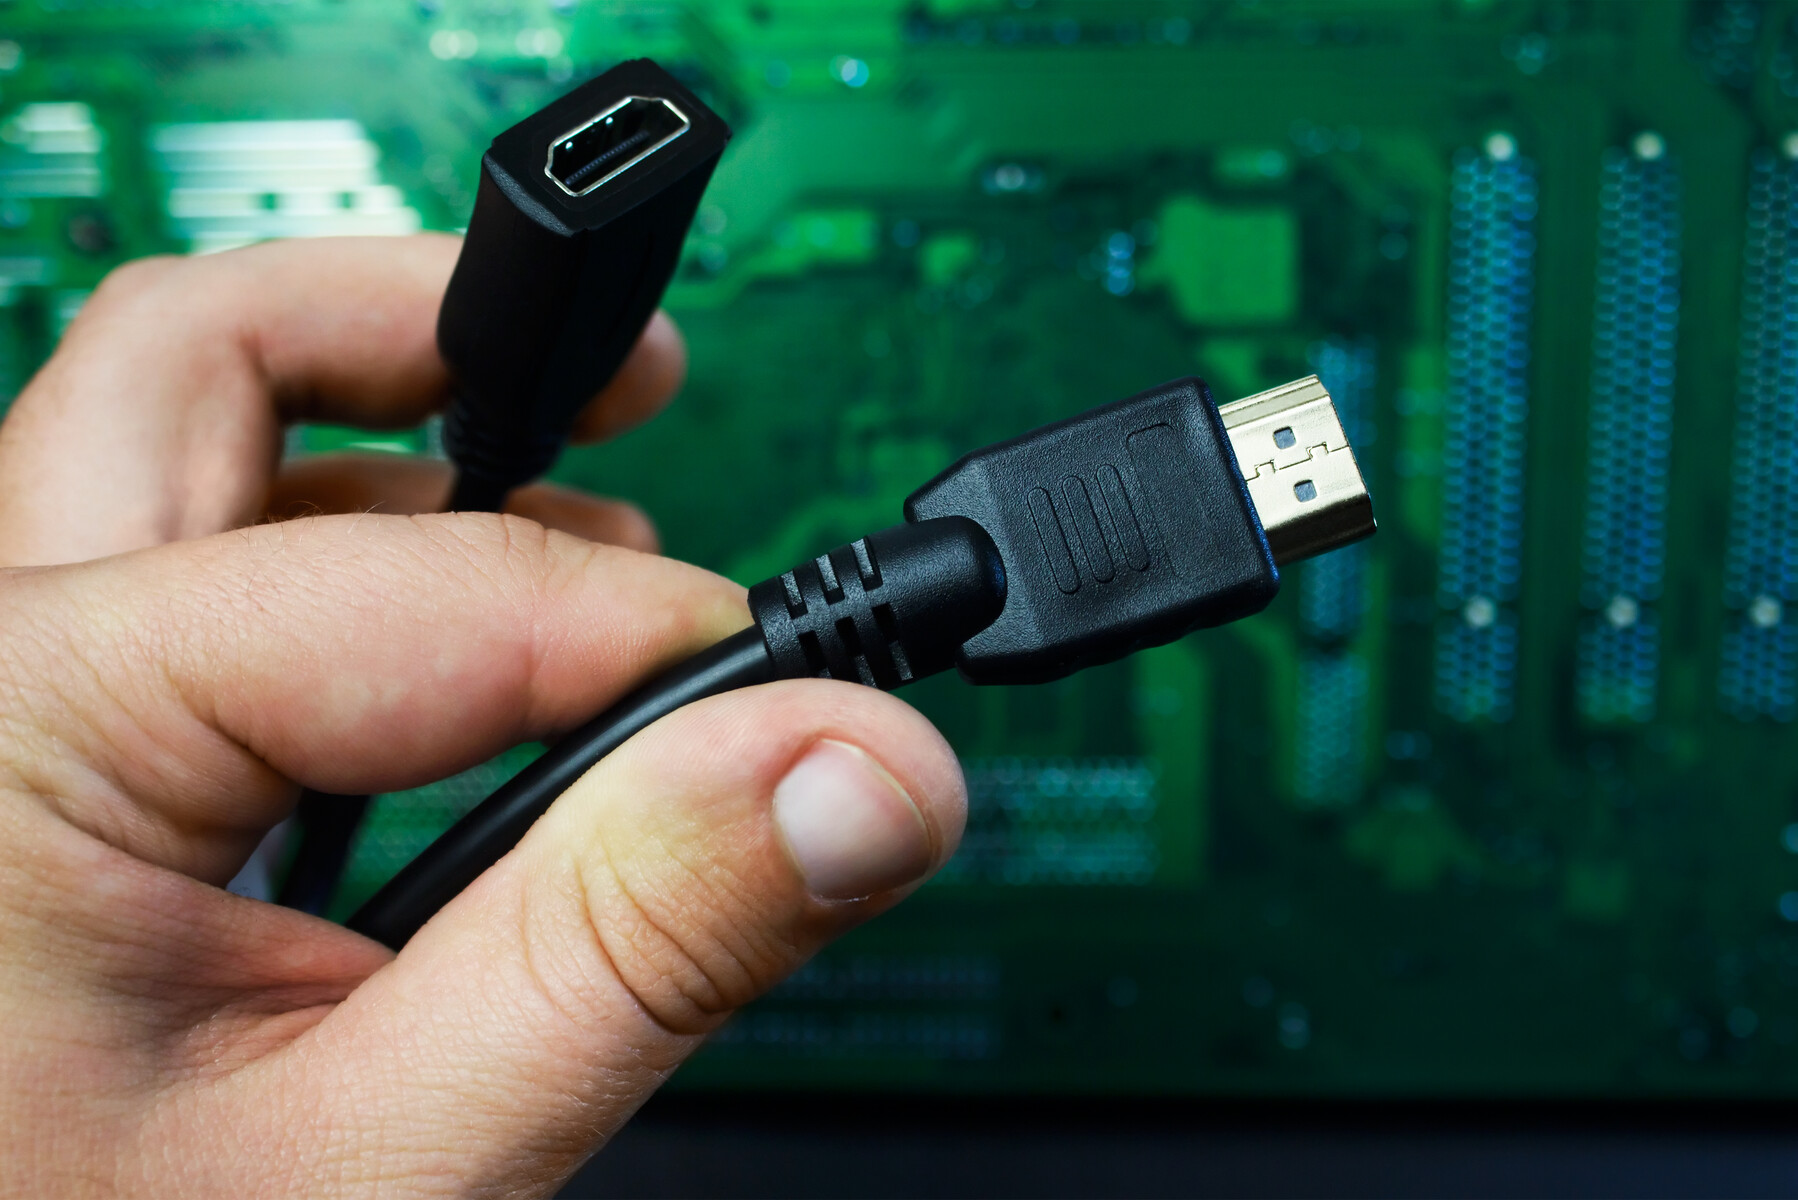
When selecting your HDMI cable, its important to choose a high-quality cable that meets your specific needs.
Opt for a long enough cable to connect your devices while allowing for flexibility in placement.
Additionally, ensure that the AV composite video cable has the appropriate RCA connectors for your AV rig.
These cables are typically color-coded: yellow for video, and red and white for audio.
A soldering iron and solder are used to create secure connections between the wires, ensuring optimal signal transmission.
when you land these materials ready, youre all set to move on to the next step.
Having everything readily available will make the process smoother and more efficient.
Ensure that the cable is of good quality and suitable length for your needs.
Next, youll need an AV composite video cable with RCA connectors.
This cable will transmit the audio and video signals from the destination AV rig.
Wire cutters/strippers are necessary for cutting and stripping the wires in the HDMI and AV cables.
This step allows for the proper connection of wires during the assembly process.
A soldering iron and solder are vital for creating secure connections between the wires.
These tools ensure a strong and reliable connection, minimizing the risk of signal loss or interference.
Heat shrink tubing is used to insulate and protect the soldered connections.
It provides a secure covering that prevents short-circuits and maintains the integrity of the cable.
However, if heat shrink tubing is not available, electrical tape can be used as an alternative.
However, you will typically find separate wires for video, audio, and other data signals.
see to it to handle these wires with care to avoid altering their integrity.
Lets move on to the next step and start connecting the wires.
This step is crucial for identifying and connecting the necessary wires for the HDMI to AV conversion.
In the next step, you will expose the wires in the AV composite video cable.
Lets continue the process!
This will allow you to connect the appropriate wires for the HDMI to AV conversion.
Its important to note that the colors mentioned above are commonly used for AV composite video cables.
However, depending on the specific cable you have, the wire colors may vary.
Always double-check the color-coding of your AV cable to ensure accurate connections.
Remember to take your time and ensure clean and secure connections.
Properly connecting the wires will guarantee optimal signal transmission between your HDMI and AV devices.
In the next step, we will discuss how to insulate the connections properly for long-term use.
Proper insulation is crucial for maintaining the integrity of the connections and preventing any signal loss or interference.
With the connections insulated, your DIY HDMI to AV cable is almost complete.
In the final step, we will discuss how to test the cable to ensure its functionality.
During the testing phase, pay attention to the quality of the video and audio signals.
Look for any distortions, color issues, or audio discrepancies.
Its worth mentioning that not all HDMI devices are fully compatible with all AV inputs, and vice versa.
Some devices may have specific requirements or limitations when it comes to signal formats or resolutions.
If the test is successful, congratulations!
You have successfully created your own HDMI to AV cable!
Just sit back, relax, and immerse yourself in the content.
By following the step-by-step process outlined in this guide, you have successfully made your DIY cable.
Always check the compatibility and guidelines of your specific devices before attempting any modifications.
Additionally, youve saved money by avoiding the need to purchase expensive adapters or converters.
As technology continues to evolve, its useful to have the ability to adapt and connect different devices.
They too can enjoy the benefits of this DIY project.
Now that you have successfully completed your cable, go ahead and connect your HDMI and AV devices.
Immerse yourself in the entertainment experience and enjoy the seamless connection between your devices!
