It is especially useful if you work with multiple computers or if you are a system administrator.
Tomake an external hard drive bootable for Windows 7, you will need to follow several steps.
First, you will need to connect the external hard drive to your rig.
Then, you will need to prepare, format, and mark the hard drive as active.
After that, you will need to copy the Windows 7 files to the hard drive.
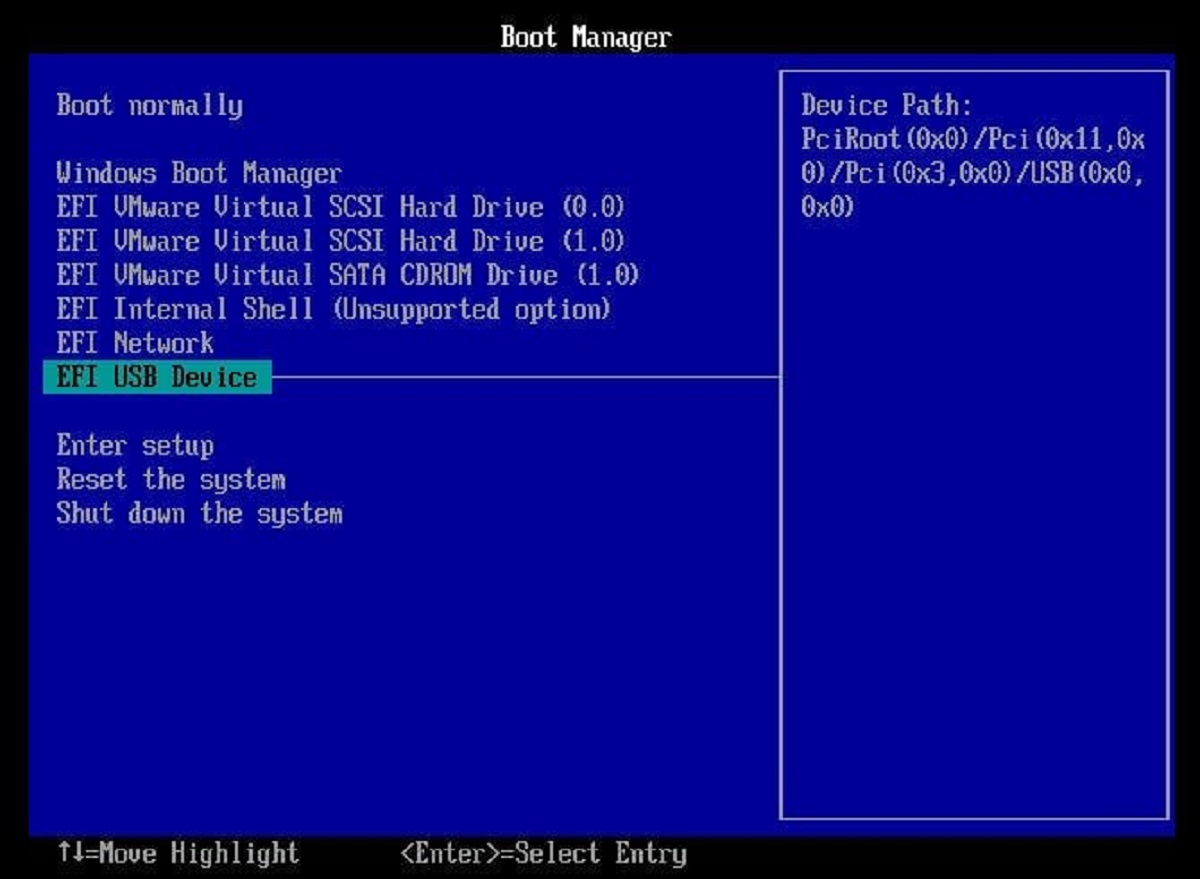
Finally, you will need to configure the BIOS and install Windows 7 from the external hard drive.
Remember the drive letter assigned to the partition, as you will need it for the following steps.
This step is important to ensure that the computer recognizes the hard drive as a bootable rig.
This will make the hard drive bootable with the Windows 7 operating system.
This allows you to install Windows 7 on a computer directly from the external hard drive.
If the installation files are detected, the Windows 7 setup process will begin.
Additionally, check that that the Windows 7 files are properly copied to the hard drive.
Heres how to do it:
Congratulations!
You have successfully installed Windows 7 from the external hard drive.
Thank you for following this step-by-step guide!
If you have any questions or difficulties, feel free to seek further assistance.
Conclusion
Congratulations on successfully making your external hard drive bootable for Windows 7!
Therefore, it is essential to back up any important files before proceeding.
Enjoy your bootable Windows 7 external hard drive and happy computing!
