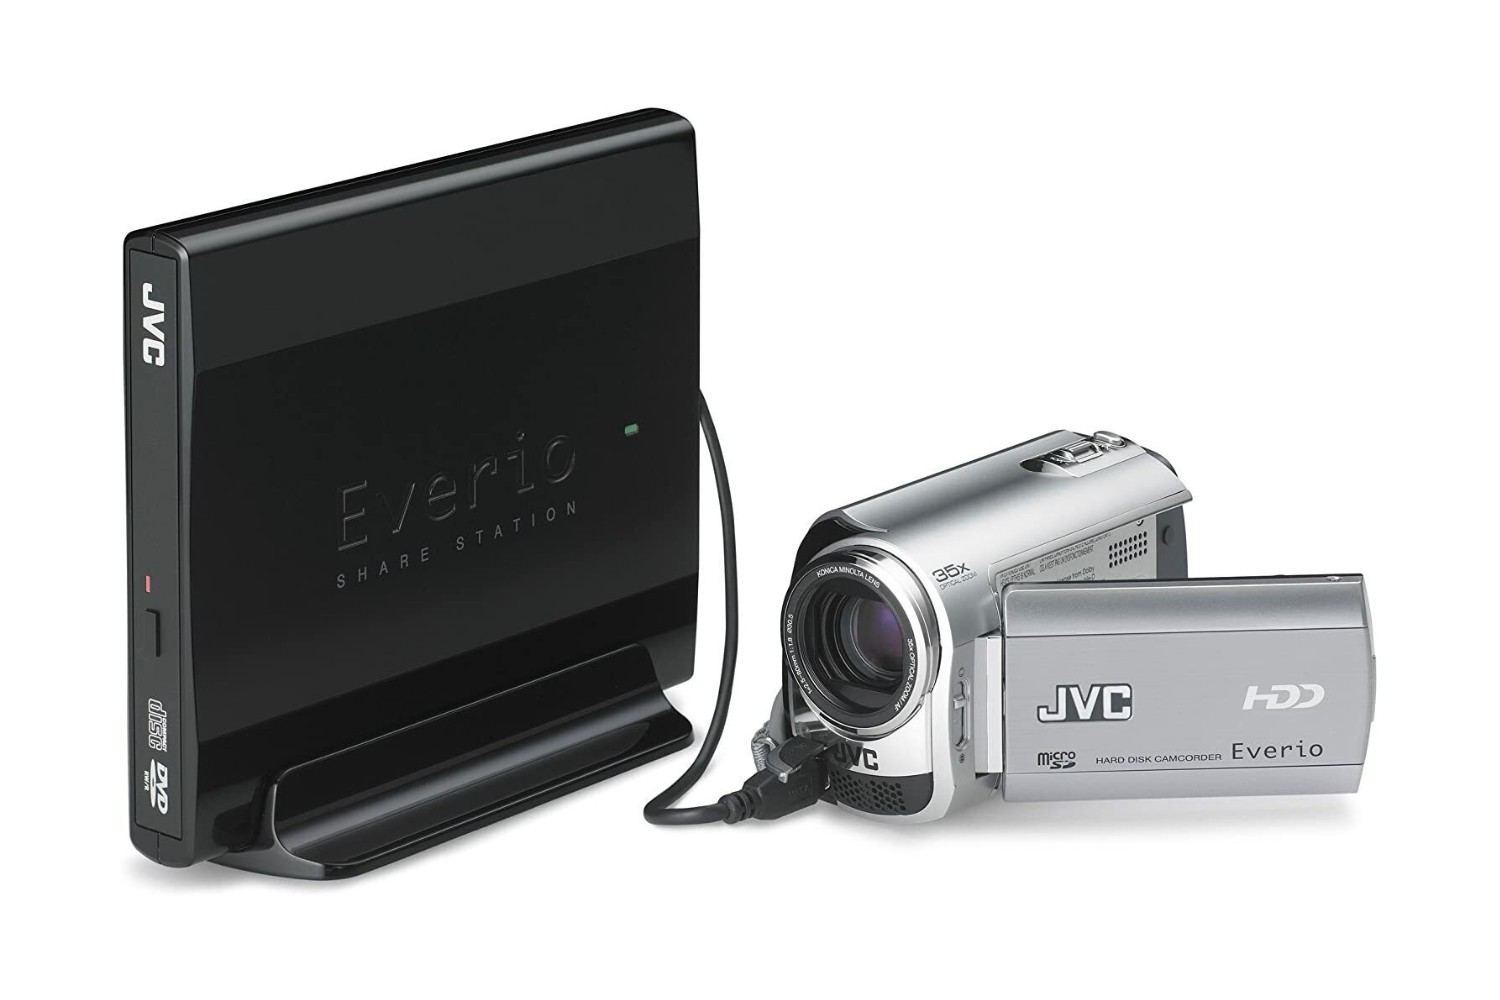
Begin by locating the appropriate cable that allows for the connection between your JVC camcorder and your gear.
Depending on the model of your camcorder, this cable may be a USB, Firewire, orHDMIcable.
Once the cable is securely connected, power on your JVC camcorder and then your system.
Upon successful connection, your system should recognize the JVC camcorder as an external unit.
Depending on your operating system, you may receive a notification indicating that a new machine has been connected.
Depending on your computers operating system, there are various methods to transfer video footage from your JVC camcorder.
Look for software that offers intuitive navigation and user-friendly tools for organizing and editing your video footage.
Upon launching the DVD authoring software, locate the option to import or add video files to your project.
Once the video files are selected, initiate the import process to bring them into the softwares workspace.
Begin by exploring the menu customization options offered by the DVD authoring software.
Consider incorporating a hierarchical menu structure that organizes your video content into logical sections or chapters.
During the customization process, pay attention to the visual coherence and user-friendliness of the DVD menu.
Within the DVD authoring software, locate the option to initiate the burning process.
Ensure that you have a compatible recordable DVD disc inserted into your computers optical drive before proceeding.
Conclusion
Congratulations!
