Introduction
Are you looking for a unique and mesmerizing lighting project?
Look no further than creating your own star lamp projector.
This DIY project combines the soothing beauty of starry night lights with the fun of hands-on crafting.
From preparing the materials to assembling the circuit and adding the finishing touches, we will cover it all.
Let your creativity guide you in personalizing your projector to make it uniquely yours.
This step will help you organize your workspace and make the assembly process much smoother.
Take your time to verify each item, and make any necessary adjustments or replacements as needed.
With the jar prepared, its time to move on to the next step: assembling the circuit.
The breadboard provides a convenient and temporary way to assemble and test the circuit before making any permanent connections.
With the circuit assembled, youve made significant progress towards creating your star lamp projector.
However, its not complete without connecting the LEDs.
Adjust their angles if necessary to achieve the desired light projection effect.
This step will bring everything together and allow you to see the stunning starry effect of your projector.
Lets proceed to step 5.
Carefully handle the glass jar while attaching the LEDs to ensure your safety and the integrity of the project.
Once all the LEDs are securely attached, take a moment to admire your progress.
The jar now contains the magical essence of starlight waiting to illuminate any space you choose.
This will create a captivating and dreamy display.
Lets move on to step 6 to complete this celestial masterpiece.
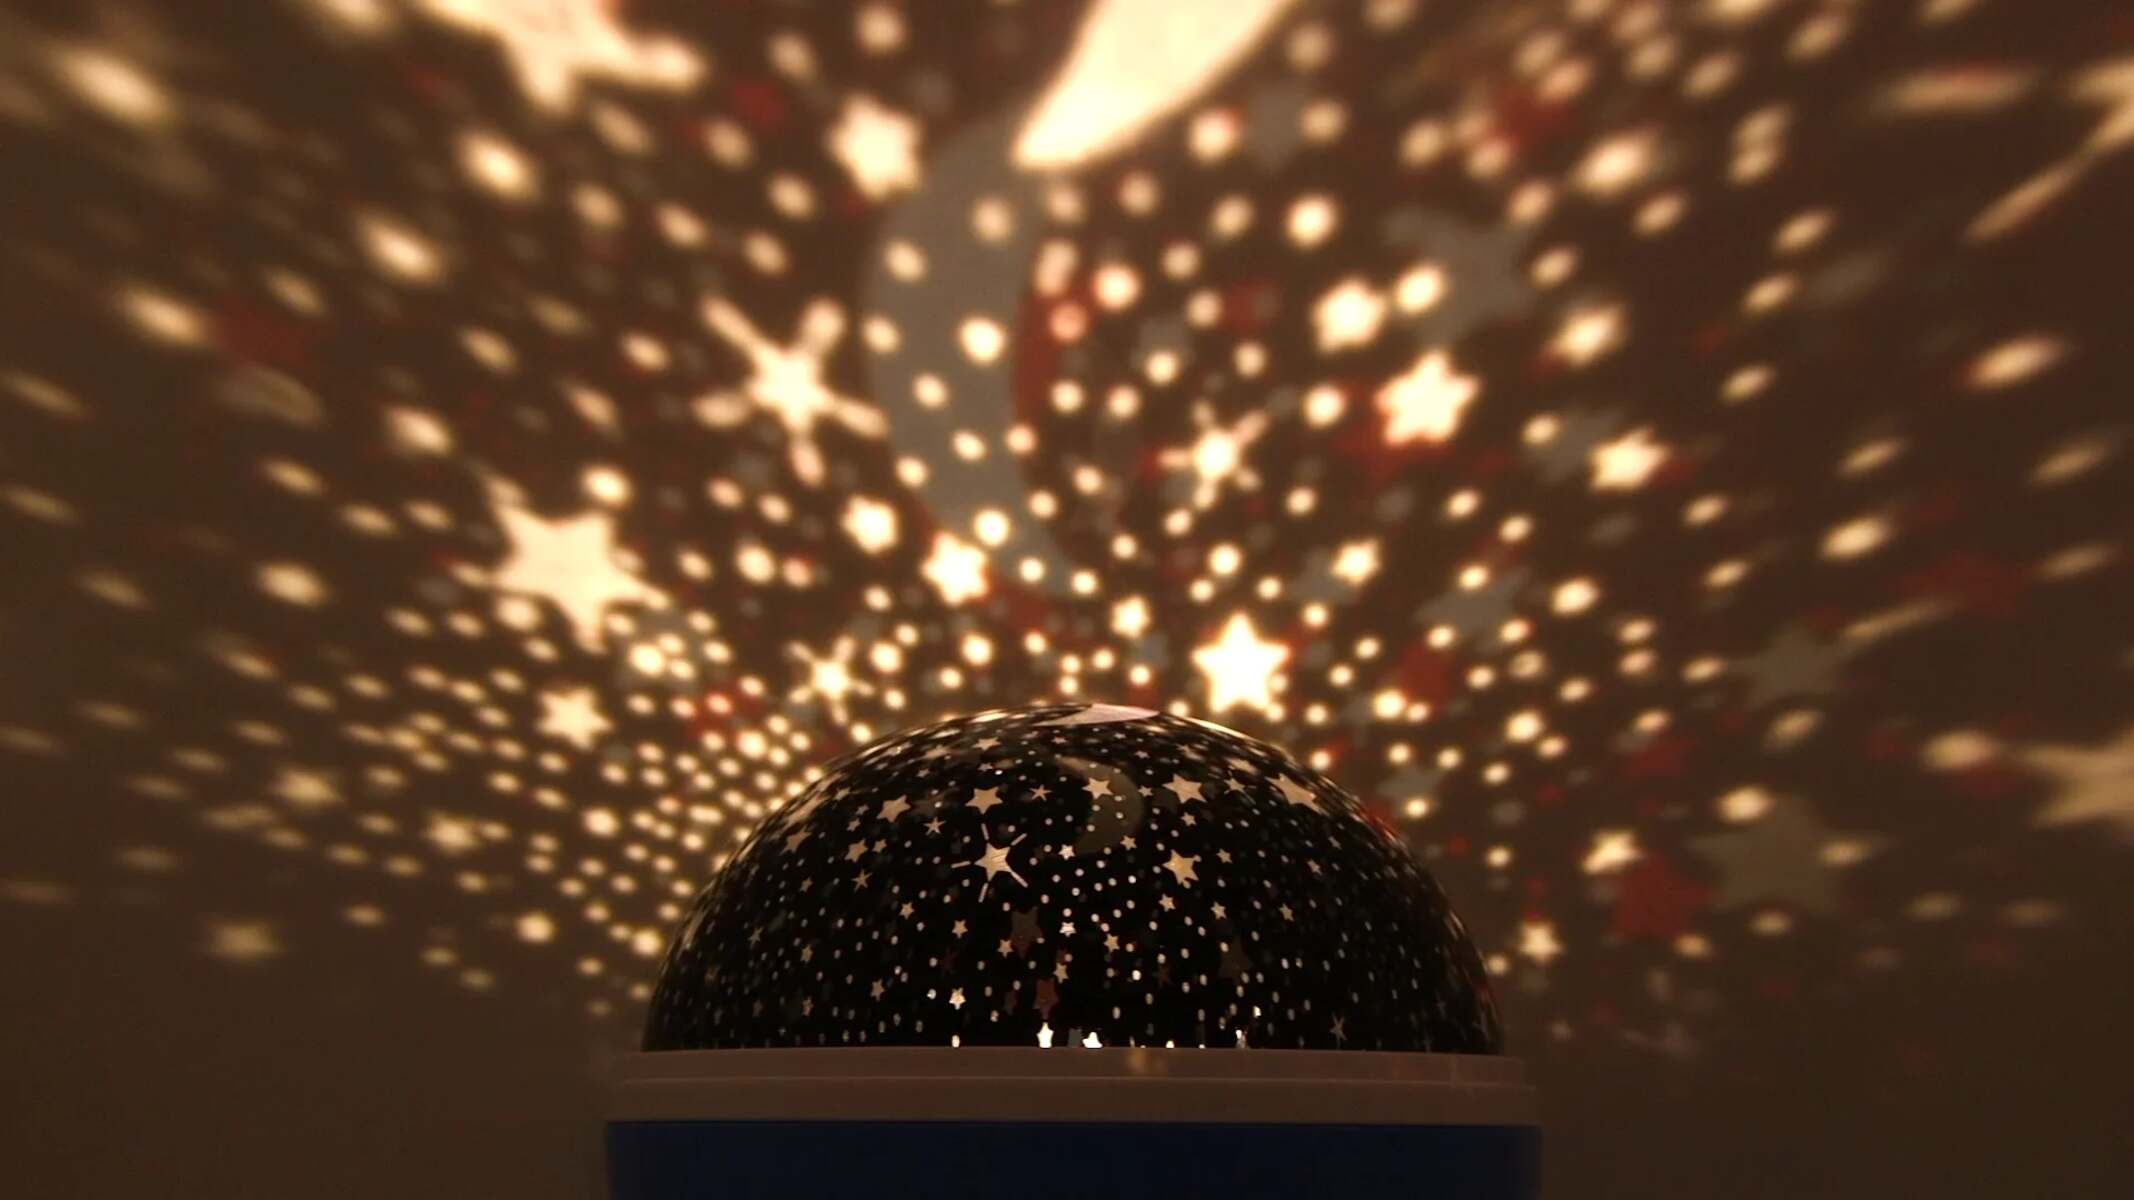
The film will create a captivating display of stars when the LEDs illuminate it from behind.
Youre now one step closer to enjoying the enchanting beauty of a starry night right in your own home.
Once the film is securely in place, its time toput your star lamp projector to the test.
Move on to step 7 to see the magic unfold before your eyes.
Enjoy the magical ambiance and the sense of wonder that your creation brings.
Lets move on to step 8 to put the finishing touches on your star lamp projector.
Let your imagination run wild and create a design that reflects your style and personality.
With the lamp beautifully decorated, youve completed the final step of the process.
Your star lamp projector is now ready to add a touch of magic to any space it graces.
Conclusion
Congratulations on successfully creating your very own star lamp projector!
Feel free to experiment and make adjustments to achieve your desired projection effect and personal style.
Youve crafted a truly special piece that will bring joy and wonder to anyone who experiences its magical glow.
