If youre looking to create your own server on Discord, youve come to the right place.
In this guide, we will walk you through the step-by-step process of setting up your very own server.
Whether you are using the Discord website or the desktop app, the steps are essentially the same.
Additionally, its a good idea to set a strong password to protect your account and ensure its security.
Both options provide a seamless and user-friendly experience.
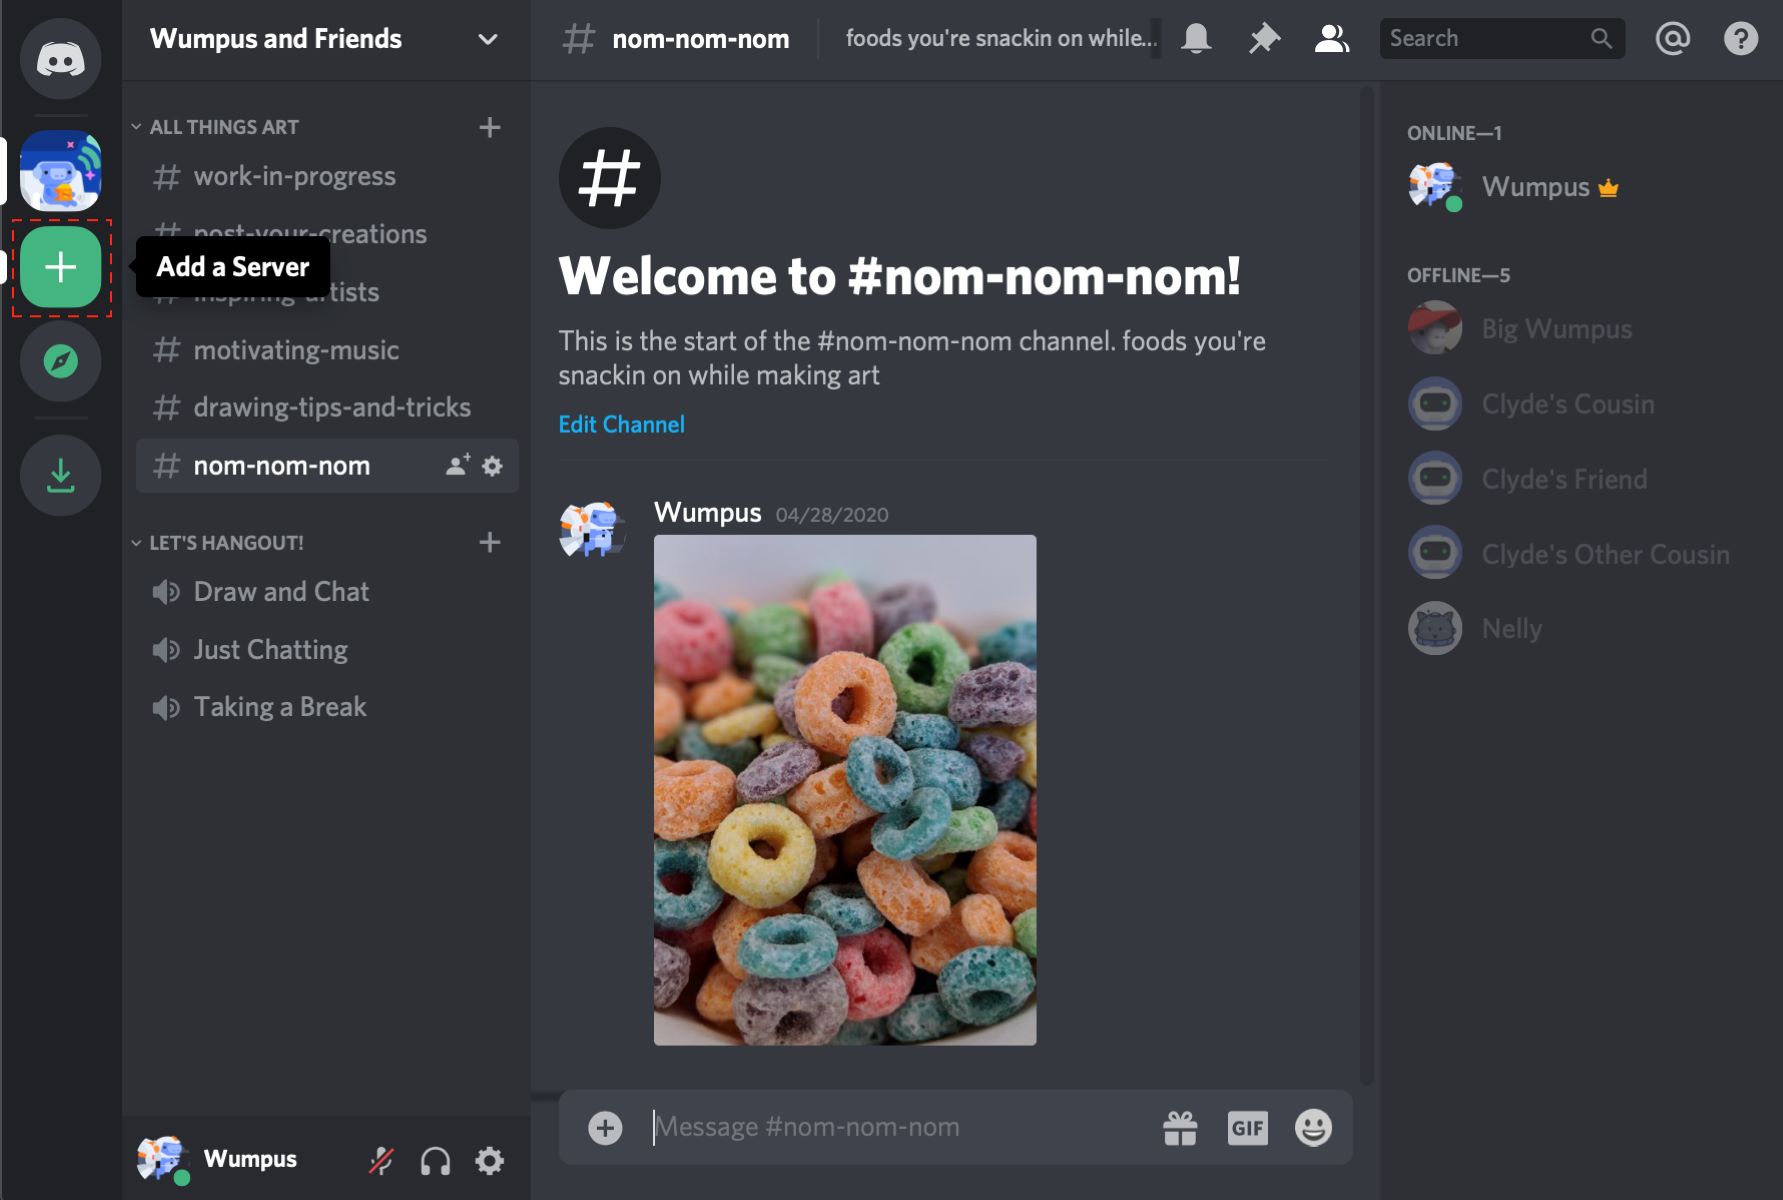
Step 3: Create a New Server
Congratulations!
You have successfully created your own server on Discord.
Discord provides a variety of customization options to help you create a visually appealing and organized server.
Experiment with different themes, channel layouts, and controls until you find the perfect configuration for your server.
With your server now customized, its time to invite friends and other members to join your server.
This will foster a lively and engaging community within your Discord server.
Encourage interaction, engagement, and collaboration within your server to create a vibrant and thriving community.
Utilize these features to create a safe and enjoyable experience for everyone in your server.
Channels play a crucial role in organizing discussions and facilitating communication within your community.
This allows you to prioritize important channels or group related channels together.
Furthermore, channels can be customized by assigning different roles and permissions to control access and participation.
This enables you to create private channels exclusive to specific roles or members.
With channels added, you have established the groundwork for communication and collaboration within your server.
The next step is to configure server controls, which will further enhance your servers functionality and appearance.
Remember to review and adjust these tweaks periodically as your server evolves and grows.
Configuring server controls allows you to create a safe, organized, and engaging environment for your server members.
It also helps establish guidelines and rules for behavior and content to maintain a positive community atmosphere.
In the next step, we will discuss how to manage server members and their roles.
Encourage open communication, address any issues or conflicts promptly, and enforce your servers guidelines consistently.
Remember to be fair and transparent in your actions as a server owner or administrator.
Communicate openly with your members and create a system that promotes accountability and mutual respect.
Throughout this guide, we have explored the step-by-step process of creating and managing your own server on Discord.
We started by creating a Discord account and accessing the Discord website or app.
We discussed the importance of inviting friends and other members to join your server to create a lively community.
Remember, a successful Discord server is built on active engagement, inclusivity, and effective moderation.
Continuously evaluate and adjust your server as needed to meet the evolving needs and preferences of your members.
So gather your friends, organize discussions, and start building your own unique space on the Discord platform!
