Introduction
Welcome to the fascinating world of DIY projectors!
You dont need any specialized equipment or technical expertise.
So, grab your tools and lets get started!
Keep in mind that this DIY projector is a fun and educational project, perfect for casual use.
Now, lets gather the necessary materials and embark on this exciting journey to create your very own projector!
Dont worry, you probably have most of these items lying around your house.
Now that you have the necessary materials and tools, its time to start building your DIY projector.
Get ready to unleash your creativity and enjoy the immersive experience of your homemade cinema!
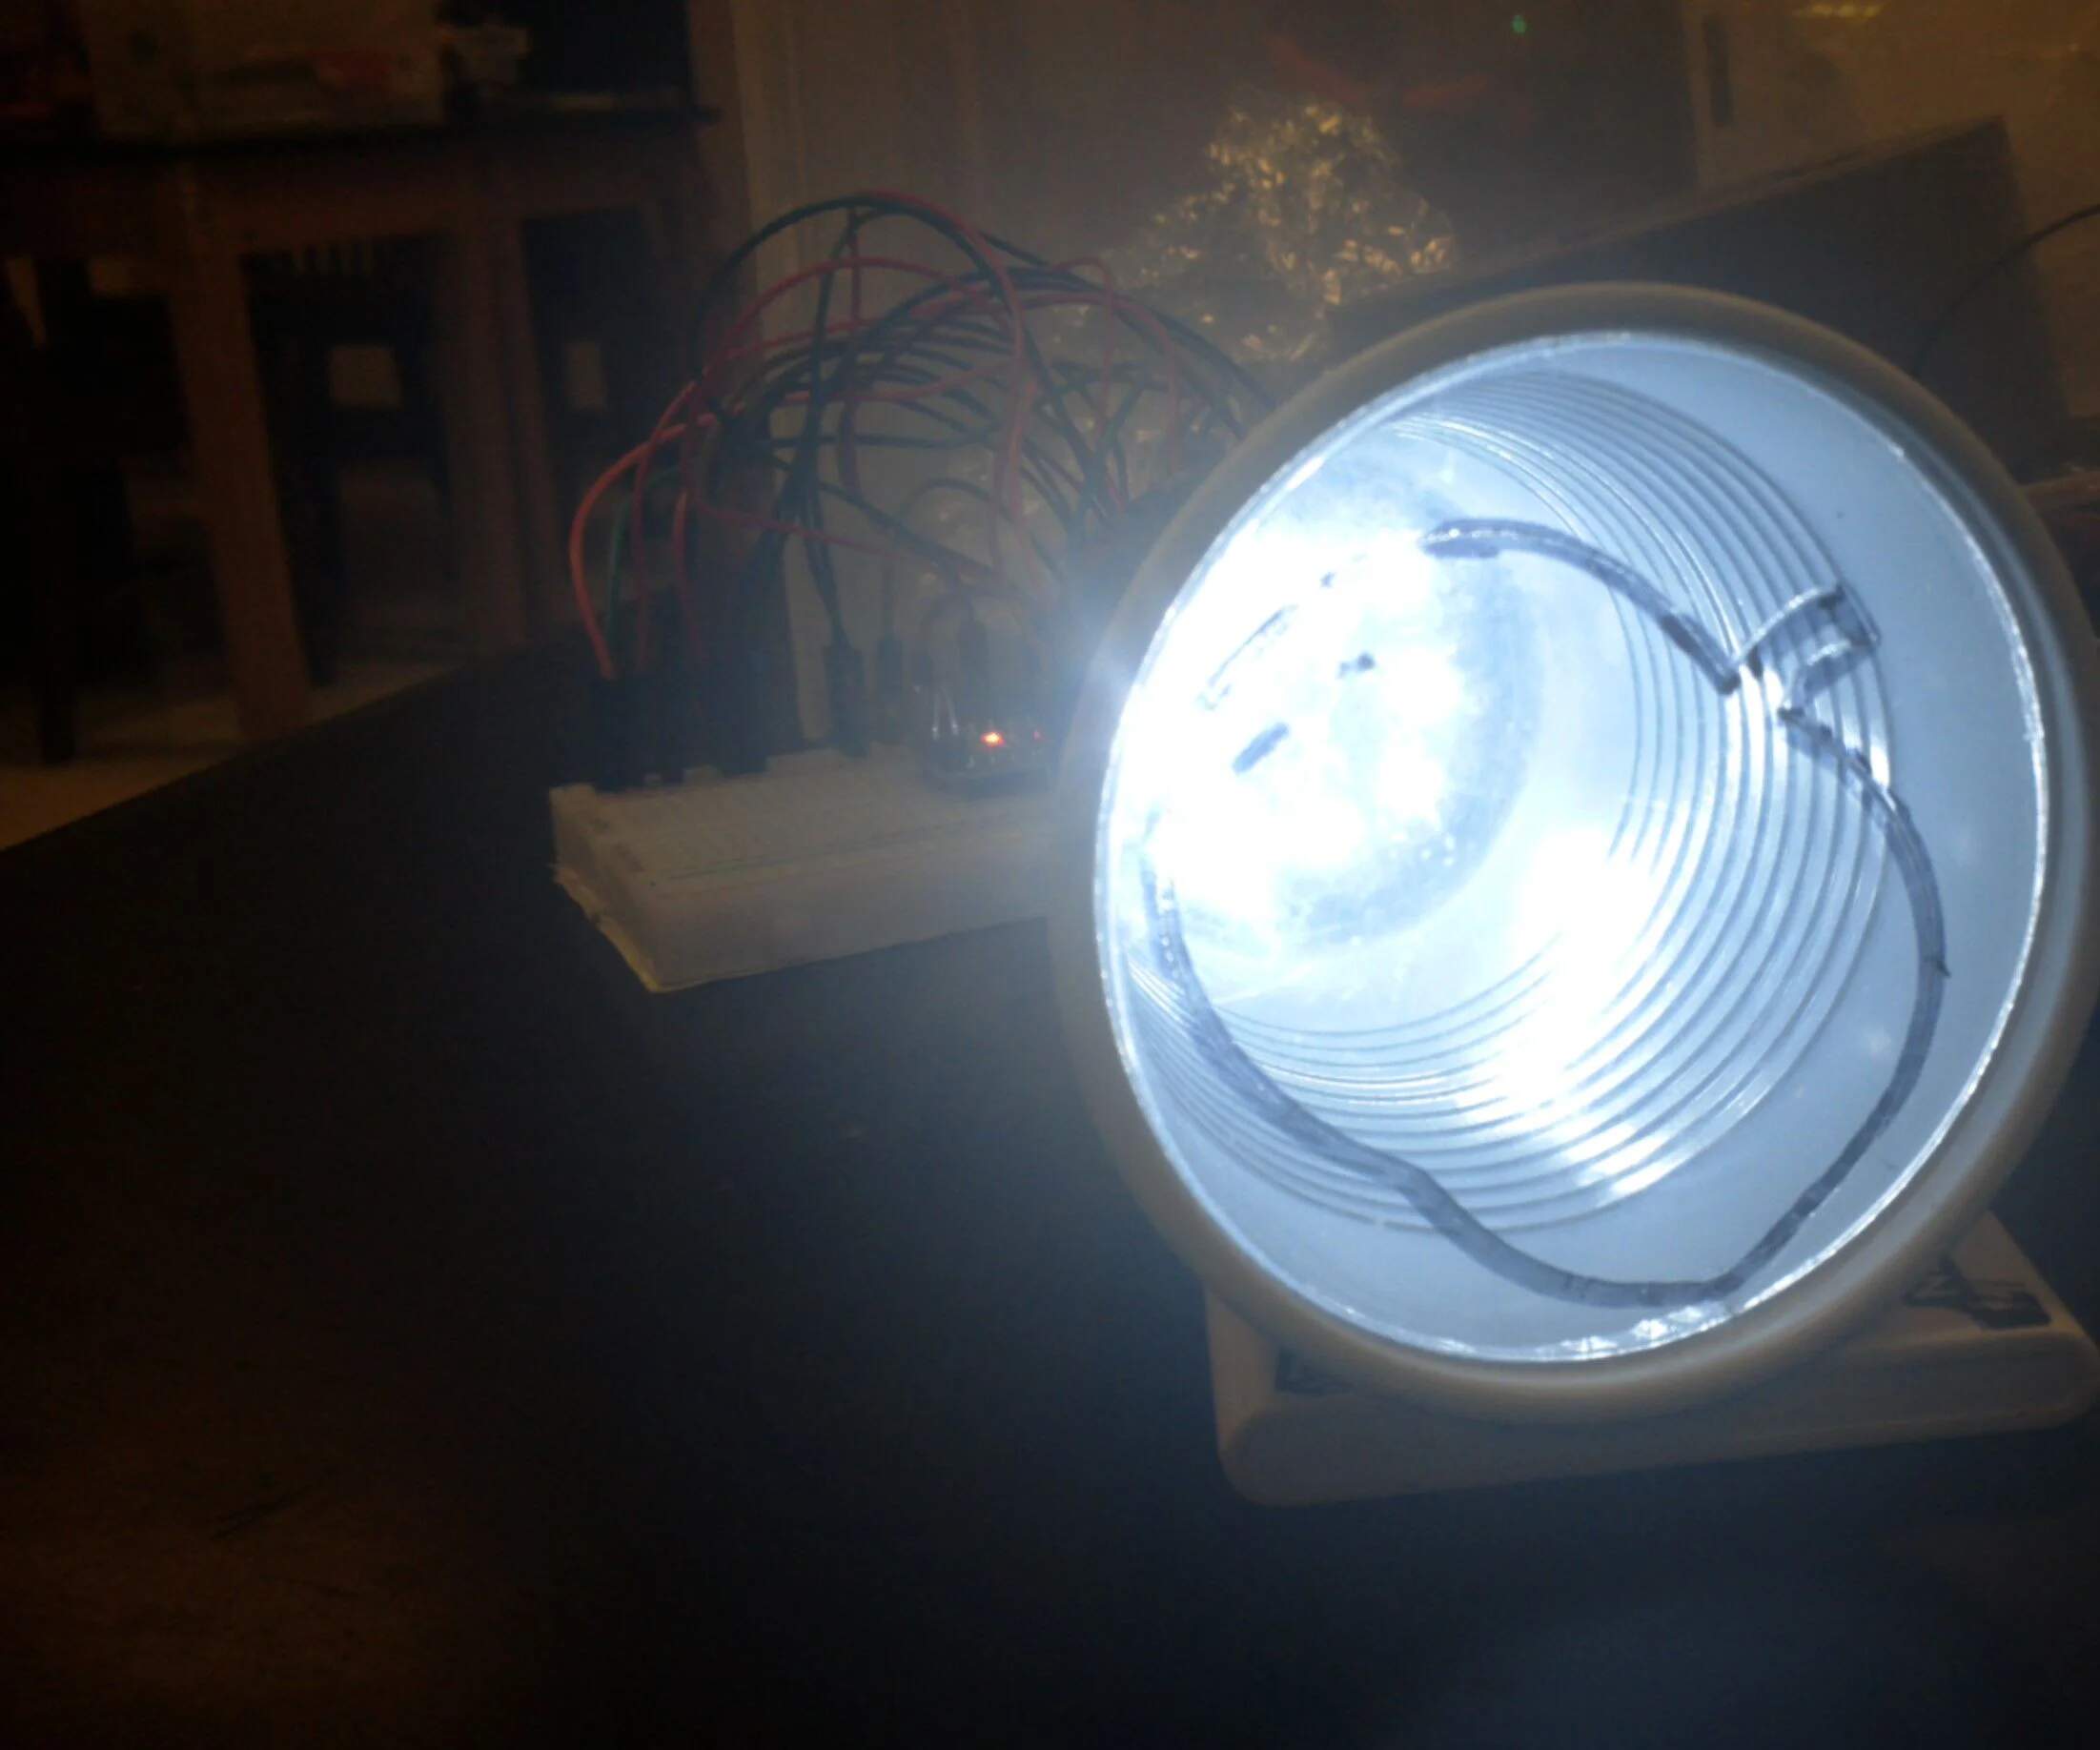
Aim for a powerful, adjustable flashlight that meets your specific requirements.
For this step, you will need a magnifying glass or lens with a larger diameter.
Stay tuned for the exciting part of constructing your DIY projector!
Remember to take your time and be precise when cutting and assembling the projection box.
A well-constructed box will provide stability to your DIY projector and help maximize the image quality.
Stick around for the next section to learn how to securely position your flashlight within the projection box!
Proper mounting will ensure stability and allow you to position the light source accurately for optimal projection.
By securely mounting the flashlight, youll have greater control over the projection angle and position.
This will allow you to fine-tune the image and achieve the desired visual experience when projecting.
With the flashlight now mounted, youre making progress!
In the next step, well cover adding the projection lens to the box.
Stick around to learn how to complete your DIY projector construction!
Properly aligning and securing the lens will ensure that the projected image is sharp and well-focused.
The proper alignment and secure placement of the lens will contribute to a clear and focused projected image.
With the projection lens in place, youre nearing the completion of your DIY projector.
Its important to note that finding the perfect focus may require some trial and error.
Experiment with different distances and adjust the flashlights focus to achieve the best results for your specific environment.
Take your time to find the optimal focus, as it can significantly enhance your viewing experience.
With the focus now adjusted, youre almost ready to enjoy your DIY projector in action.
In the next step, well discuss how to test the projector and make any final adjustments.
During the testing phase, pay attention to any potential issues or areas for improvement.
Its normal to make minor adjustments to optimize the performance of your DIY projector.
These adjustments may include refining the focus, improving light-blocking, or enhancing the audio quality.
Enjoy the process of fine-tuning and refining your projector to suit your preferences!
You have successfully completed the construction and testing of your DIY projector.
Remember, this DIY projector may not compete with high-end commercial projectors in terms of image quality and brightness.
However, it offers an affordable and accessible option for small gatherings, movie nights, or impromptu presentations.
Its a great way to share movies, photos, and presentations with friends and family.
Properly aligning and adjusting the focus will ensure a clear and sharp image on your desired surface.
Sit back, relax, and immerse yourself in the captivating visuals and crisp sound of your homemade cinema!
So, grab some popcorn, turn off the lights, and let the show begin!
