Electric skateboards have become increasingly popular, offering a fun and eco-friendly way to navigate through the city streets.
While there are many high-end electric skateboards available on the market, they often come with hefty price tags.
The width of the deck will affect stability and balance, while the length will determine maneuverability.
Choose a size that suits your body punch in and riding preferences.
Material:Skateboard decks are commonly made from layers of maple or bamboo.
Maple decks are known for their durability and stiffness, providing a stable and solid ride.
Bamboo decks, on the other hand, offer more flexibility and a smoother ride.
Consider your preference for rigidity versus flex when choosing the material for your deck.
Check the dimensions and mounting options to ensure a proper fit.
Higher wattage motors generally offer more power and can achieve higher speeds.
Consider your desired speed and performance requirements to choose a motor that suits your needs.
Check the mounting options and dimensions to ensure a proper fit.
Budget:Consider your budget when selecting a motor.
Look for motors with good reviews and a reputation for durability and longevity.
Higher capacity batteries will provide a longer range but may be heavier and more expensive.
Consider your daily commuting needs and choose a battery that offers sufficient range for your desired rides.
Voltage:Voltage plays a significant role in the performance of your electric skateboard.
Higher voltage batteries can deliver more power, resulting in increased acceleration and speed.
However, its important to ensure that the battery voltage is compatible with your chosen motor and motor controller.
Consider the pros and cons of each chemistry, including factors like energy efficiency, safety, and cost.
Choose a battery that is lightweight and compact while still providing sufficient power and range.
Ensure that it is compatible with the mounting options available on your skateboard deck.
Its advisable to choose a battery with a built-in BMS or to include a separate BMS in your setup.
Price:Battery prices vary based on capacity, voltage, and brand.
Check the voltage and current ratings to ensure a proper match.
These features can enhance your riding experience and provide greater control over your skateboards performance.
Look for controllers with a proven track record of providing smooth and precise speed control.
Read reviews and feedback from users to gain insight into the performance and reliability of different motor controllers.
Opt for a compact and lightweight controller if you have limited space or prefer a sleeker design.
Budget:Set a budget for your motor controller and consider the balance between cost and quality.
Warranty and Support:Check the warranty and customer support provided by the motor controller manufacturer.
Ensure that they can handle the current and voltage required for your electric skateboard.
Its advisable to use connectors with proper insulation and secure locking mechanisms to prevent any loose connections.
Soldering Equipment:Depending on your setup, you might need soldering equipment to connect wires and components.
Switches and Buttons:Consider adding switches or buttons to control the power supply to your electric skateboard.
These can be mounted conveniently on your skateboard deck or within easy reach while riding.
Look for enclosures that are waterproof and durable, providing adequate protection for your battery.
Ensure that the ESC is compatible with your chosen motor and motor controller.
These items can enhance the functionality and convenience of your electric skateboard.
Its crucial to pay attention to the quality of the electronics and wiring components to ensure reliability and safety.
Always double-check the compatibility of each item and refer to the manufacturers guidelines for proper installation and usage.
Step 6: Assembling the Skateboard
1.
Prepare the Deck:Ensure that your skateboard deck is clean and free of any debris.
Place it on a flat surface and gather all the components you need for the assembly.
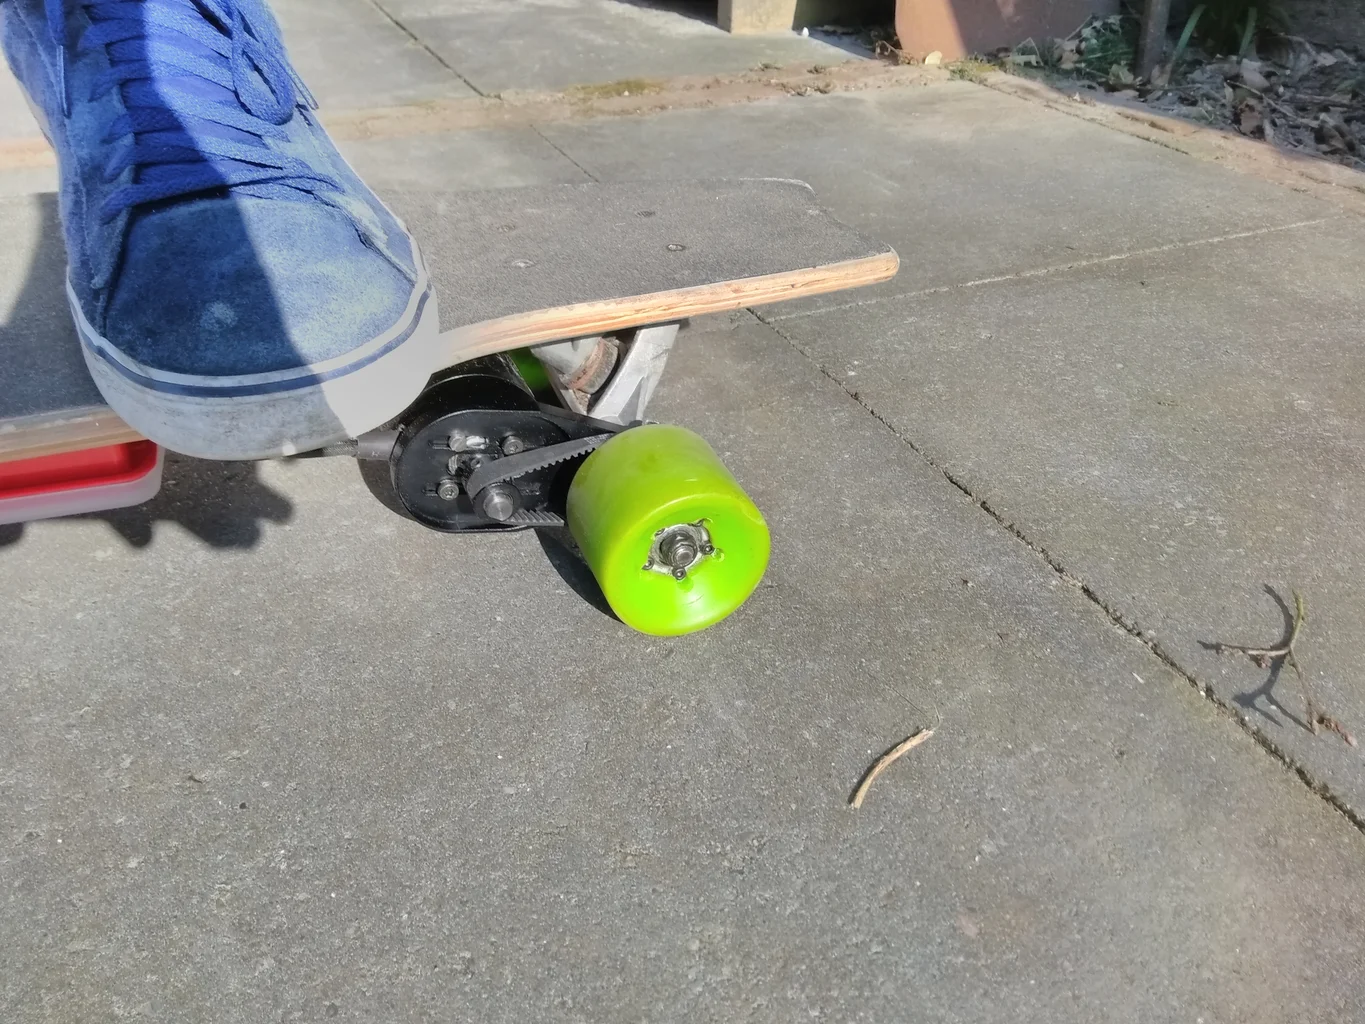
Attach the Trucks:Start by attaching the trucks to the deck.
Use the appropriate mounting hardware and ensure to tighten the bolts securely.
Ensure that the trucks are aligned properly and that they are evenly mounted on the deck.
- load the Motor Controller:Determine the ideal location for the motor controller on your skateboard deck.
Ensure that the battery is positioned in a way that maintains balance and stability while riding.
This will prevent any accidental damage or interference while riding.
Ensure that all wires are properly insulated and away from moving parts.
Test the Connections:Before finalizing the assembly, conduct a thorough test of all the connections and components.
Proper assembly is crucial for the safe and efficient operation of your electric skateboard.
Step 7: Installing the Motor and Motor Controller
1.
Positioning the Motor:Determine the ideal location for mounting the motor on the skateboard deck.
check that it is aligned with the truck and centered on the deck for optimal balance.
look to see if any additional hardware or brackets are required for the motor installation.
Secure the Motor:Use the appropriate mounting hardware to secure the motor to the skateboard deck.
see to it the motor is tightly fastened and does not have any loose parts or movement.
Double-check the alignment to ensure the motor is perpendicular to the deck.
Connect the Motor Wires:Connect the motor wires to the motor controller following the manufacturers instructions.
Ensure you have a proper connection with no loose or exposed wires.
Use connectors or soldering, depending on the bang out of connectors provided with your motor and motor controller.
Mount the Motor Controller:Determine the best location for mounting the motor controller on the skateboard deck.
This will help keep the wires organized and prevent them from getting tangled or damaged.
check that the wiring is secure and does not interfere with the moving parts of the skateboard.
Test the acceleration, braking, and overall performance.
Make any necessary adjustments or troubleshooting if you bump into any issues.
Check the overall setup to ensure everything is in place and ready for a test ride.
Proper installation of the motor and motor controller is essential for a safe and enjoyable riding experience.
Take your time, follow the manufacturers instructions, and ensure secure connections.
By completing this step accurately, youll be ready to experience the power and thrill of your electric skateboard.
Step 8: Mounting the Battery
1.
Choose the Mounting Location:Determine the ideal location for mounting the battery on your skateboard deck.
Consider the weight distribution, accessibility, and overall balance of the board.
Choose a position that ensures stability and does not hinder your ability to ride comfortably.
Use the appropriate mounting hardware to secure the battery in place.
double-check it is tightly fastened and does not have any movement or wobble.
Ensure Wiring Accessibility:Position the battery in a way that allows easy access to the wiring connections.
Verify that the battery connections are correctly aligned with the motor controller or any wiring harnesses.
By properly mounting the battery, you ensure a secure and stable power source for your electric skateboard.
Take the time to position and secure the battery correctly and double-check all the connections.
Heres what it’s crucial that you do:
1.
Safety should always be a priority when riding any bang out of skateboard.
Start slowly and gradually increase speed to get a feel for the acceleration and braking system.
Pay attention to any vibrations, noises, or irregularities that may indicate a problem.
Monitor Battery Performance:Keep an eye on the batterys performance during the test ride.
Note how much distance you cover and whether the batterys charge is depleting faster than anticipated.
This will help you determine the batterys range and whether any adjustments are needed.
Check Motor Functionality:Evaluate the motor performance during the test ride.
Ensure that it is functioning properly, providing smooth acceleration and responsive braking.
Assess Handling and Stability:Pay attention to how the skateboard handles and its overall stability.
see to it the trucks are turning smoothly, and the board feels balanced while riding.
Note any wobbling or instability, as this may indicate a need for adjustments or fine-tuning.
Refer to the manufacturers instructions or seek guidance from online forums or communities that specialize in electric skateboards.
Fine-Tuning:Depending on the test ride results and any troubleshooting conducted, you may need to make adjustments.
Take the necessary steps to optimize the operation of your electric skateboard.
Its important to spend sufficient time testing and troubleshooting to ensure the safety and functionality of your electric skateboard.
Conclusion
Congratulations!
You have successfully built your very own cheap electric skateboard.
As you continue to ride your electric skateboard, its important to remember safety precautions.
Always wear the necessary protective gear and follow traffic rules and regulations.
Furthermore, feel free to continue exploring and improving your electric skateboards performance and customization.
Lastly, dont forget to share your knowledge and passion for electric skateboards with others.
Help beginners who are interested in building their own electric skateboards by sharing your experiences and insights.
Join online communities and forums to connect with fellow riders and learn from their experiences as well.
