Introduction
Welcome to the exciting world of 3D printing!
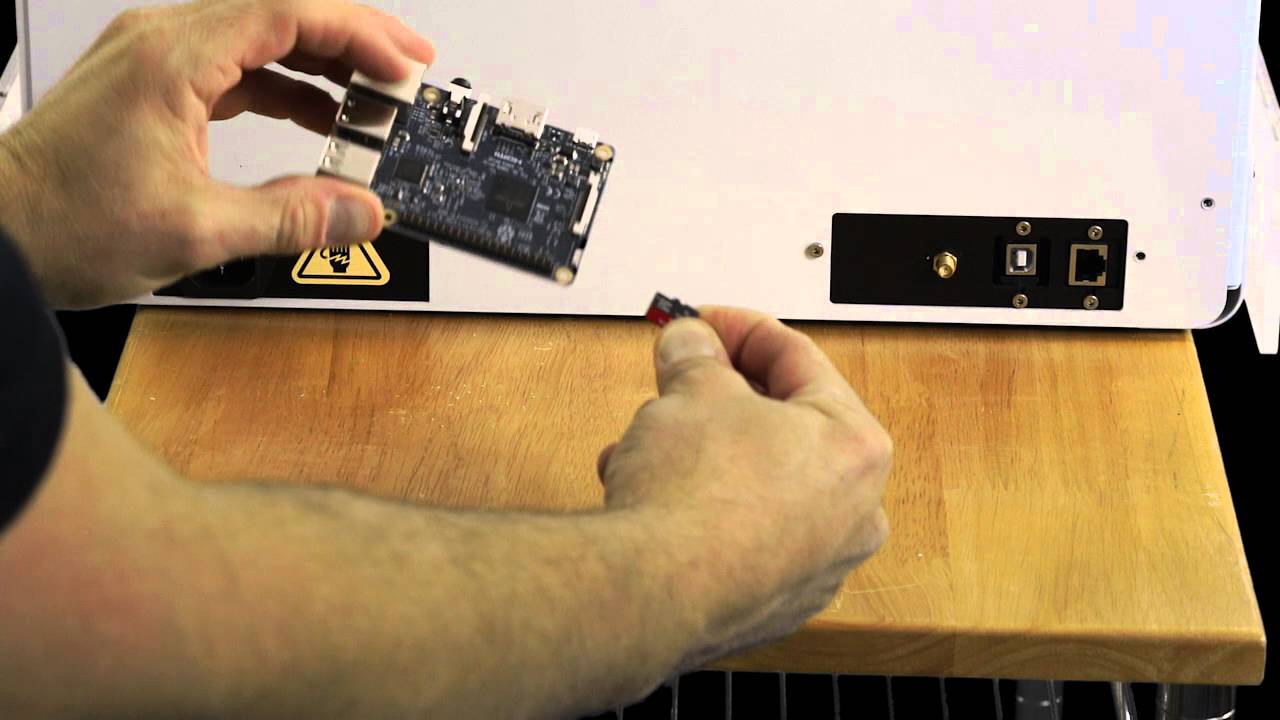
The Raspberry Pi is a small, credit card-sized computer that is both powerful and versatile.
Plus, building your own printer is a rewarding experience that will give you a sense of accomplishment.
Gathering all the necessary components in advance will ensure a smooth and uninterrupted build process.
In the next section, we will discuss the process of assembling the hardware components of your printer.
In the next section, we will discuss the importance of calibrating your 3D printer for optimal performance.
Testing your printer is essential to ensure that it is functioning correctly and capable of producing high-quality prints.
Conclusion
Building your own 3D printer with a Raspberry Pi can be a fun and rewarding experience.
Remember, 3D printing is not just about the end result; it is a continuous learning process.
Experimentation and iteration will be key to unlocking the full potential of your 3D printer.
Now its time to embark on your own 3D printing adventures.
Start by exploring different models, experimenting with various materials, and continuously refining your printer configs.
Let your creativity soar as you bring your concepts to life through the fascinating world of 3D printing.
