One such example is live streaming the Vuforia app on the HoloLens.
We will cover everything from equipment and software requirements to configuring the HoloLens for live streaming.
Well also provide tips and tricks to ensure a successful live stream.
So, lets dive in and explore the exciting world of live streaming Vuforia on the HoloLens!
What is live streaming on HoloLens?
Live streaming on the HoloLens offers numerous advantages.
Furthermore, live streaming on the HoloLens can be utilized by businesses for training purposes.
This approach eliminates the need for physical presence and offers a cost-effective and scalable solution.
Moreover, live streaming on the HoloLens can be used for entertainment purposes.
Overall, live streaming on the HoloLens revolutionizes the way weinteract with augmented reality.
Lets explore some of the key benefits of this unique combination:
1.
They can explore 3D models, manipulate virtual objects, and experience immersive AR experiences alongside the live streamer.
This level of interactivity adds a sense of engagement and participation that traditional media cannot provide.
Cost-effective solution:Live streaming on the HoloLens eliminates geographical constraints and the need for physical presence.
It offers a scalable solution that can cater to global audiences without the need for additional resources.
This level of immersion enhances understanding, engagement, and retention of the presented information.
Showcasing innovation:Live streaming the Vuforia app on the HoloLens demonstrates technological advancements and innovation.
It serves as a powerful tool for marketing, branding, and staying at the forefront of AR technology.
These are just a few of the many advantages of live streaming the Vuforia app on the HoloLens.
Here is a step-by-step guide to help you set everything up:
1.
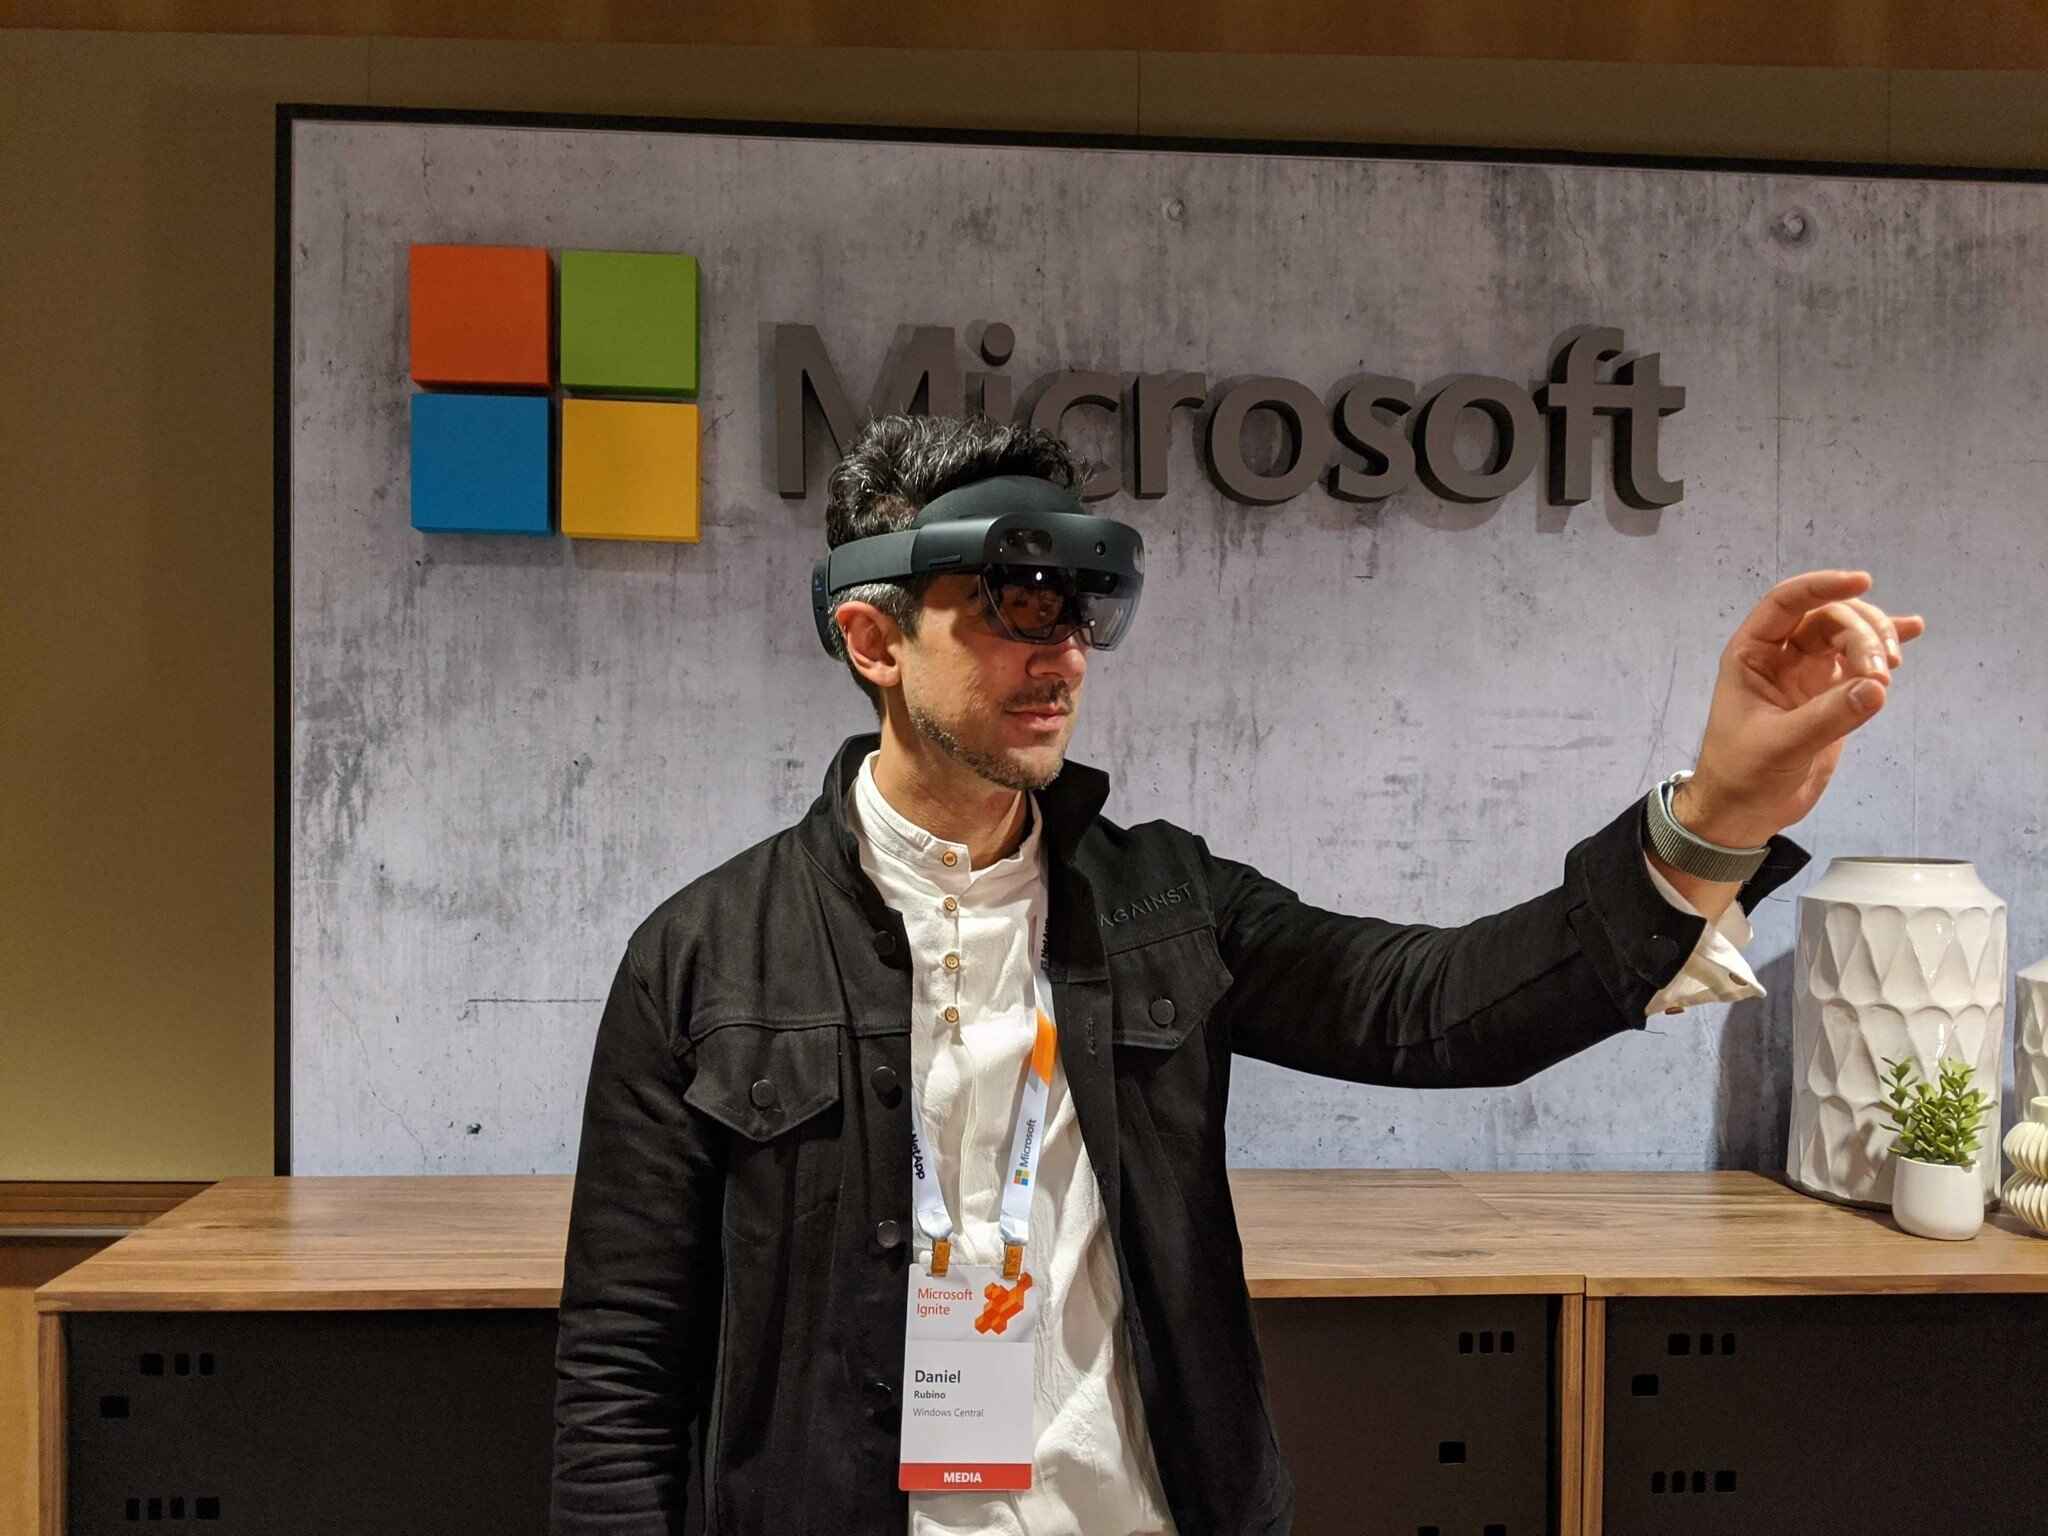
HoloLens gadget:The first and most crucial piece of equipment youll need is the HoloLens gadget itself.
Ensure that it is charged and ready for use.
Familiarize yourself with the devices controls and functionalities to make the live streaming process seamless.
Stable internet connection:A stable and reliable internet connection is essential for smooth live streaming.
Connect your HoloLens equipment to a high-speed Wi-Fi connection or use an Ethernet connection if available.
This will ensure a consistent and uninterrupted streaming experience.
Choose a software that suits your needs and install it on your rig.
Connect the recording equipment to your system using the necessary cables.
This can help provide better sound clarity, especially if youre conducting live presentations or virtual training sessions.
Stay tuned for step 2!
Step 2: Configuring the HoloLens unit for live streaming
1.
Go to the prefs app on your unit, select Update & Security, and then select For developers.
From there, enable Developer mode to unlock the developer-specific features and prefs.
Under the Developer mode prefs, fire up the option to allow app installation from unknown sources.
Connect your HoloLens to your gear and pop swing open the live streaming software.
Verify that the live stream is successfully capturing and displaying the augmented reality content from your HoloLens.
Check audio and video quality, and make any necessary adjustments or configurations.
Explore the various features and functionalities of the software to optimize your streaming experience.
By following these steps, you could successfully configure your HoloLens unit for live streaming the Vuforia app.
The next step will guide you through installing and configuring the live streaming software on your gear.
Step 3: Installing and configuring the live streaming software
1.
Choose a software that suits your requirements and download it from the official website of the software developer.
Configure the software:After installation, initiate the live streaming software and proceed to configure the necessary controls.
Set up scene layout:The live streaming software allows you to customize your stream layout.
Arrange and position these elements as desired to create an engaging and professional-looking stream.
Start a test stream and verify that everything appears as expected in the preview window.
Make adjustments as necessary to achieve the desired output.
The next step will guide you through testing the live streaming setup to ensure everything is working smoothly.
Testing allows you to identify and rectify any issues or shortcomings before going live.
Here are the steps to follow for testing your live streaming setup:
1.
- initiate the live streaming software:Launch the live streaming software on your setup.
Make any necessary adjustments to the layout or appearance of these elements.
Check audio and video quality:Start a test stream and closely observe the audio and video quality.
Ensure that the audio levels are optimal, with clear and distortion-free sound.
Check the video feed to confirm that it accurately captures the holographic content from your HoloLens rig.
Ideally, the latency should be minimal to provide a real-time experience for your viewers.
Ensure that the streaming software is correctly sending this information to provide context and attract viewers.
Encourage them to engage with the stream through chat or other interactive features offered by the streaming platform.
These recommendations will help you deliver a high-quality experience and captivate your audience.
Here are some tips to consider:
1.
Plan and rehearse:Before going live, plan your content and rehearse your presentation.
A well-structured and organized stream will keep your viewers engaged.
Practice using the HoloLens and the streaming software to ensure smooth transitions and interactions during the stream.
Showcasing the best perspective:Consider the perspective from which you are displaying the holographic content.
Ensure that the HoloLens captures the most engaging and visually appealing angle.
Experiment with camera placements and angles to provide the best viewing experience for your viewers.
Optimize audio quality:Remember that audio quality is crucial for an immersive experience.
Use a microphone or audio interface to ensure clear and crisp audio throughout your stream.
Be mindful of any background noise or distractions that may disrupt the audio quality.
Collaborate with others:Consider collaborating with others to bring diversity and expertise to your live stream.
Guest speakers or co-streamers can add valuable insights, create engaging discussions, and attract a wider audience.
Promote your stream:Dont forget to promote your live stream before the broadcast.
Encourage them to save the date and set reminders to join your live stream.
Be interactive and spontaneous:Engage your viewers through spontaneous interactions and unexpected surprises.
Conduct live Q&A sessions, polls, or quizzes related to your content.
Show enthusiasm and let your personality shine through during the stream.
Analyze and improve:After each live stream, take time to analyze the performance and viewer feedback.
Review the stream analytics, pay attention to viewer engagement, and note areas for improvement.
Adjust your approach for future streams based on these insights.
Now, armed with all these valuable insights, you are ready to embark on your live streaming journey!
Utilize additional cameras and optimize the audio quality to enhance the overall viewer experience.
