Introduction
Welcome to our guide on how to jump-start a PSU (Power Supply Unit).
A PSU is a critical component of a computer that supplies power to all other hardware components.
Jump-starting the PSU can help determine if it is the cause of the problem.
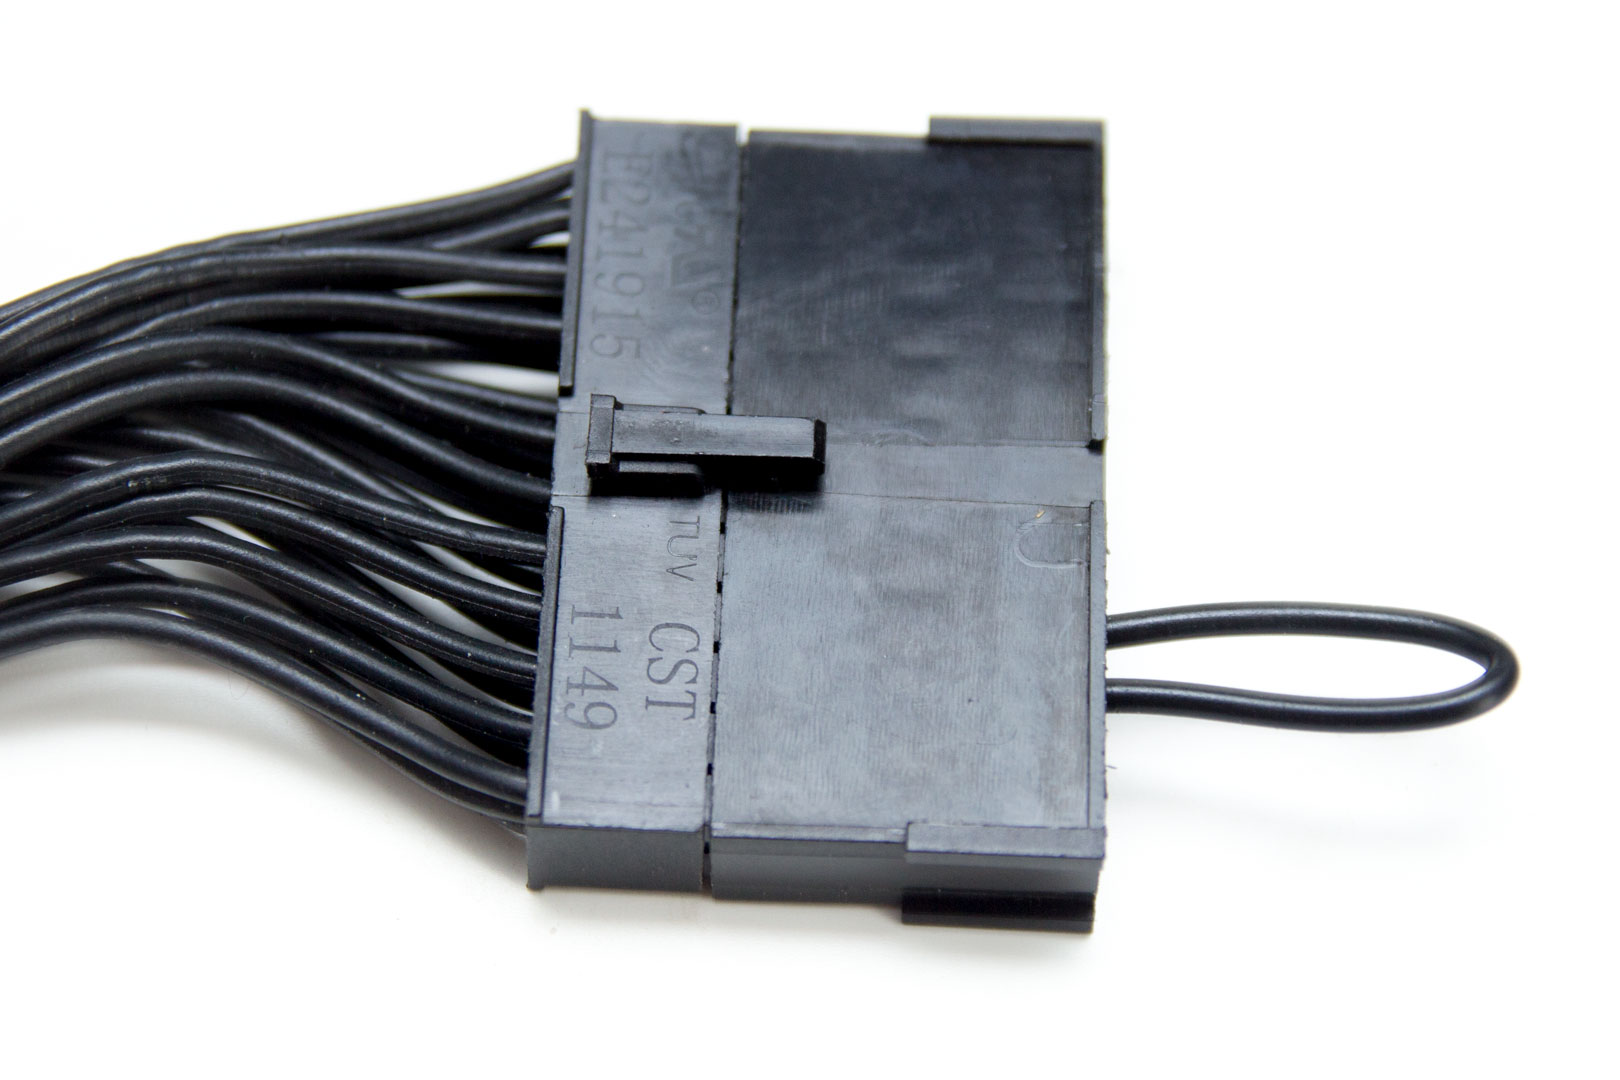
Before diving into the process of jump-starting a PSU, its important to gather the necessary tools.
Additionally, having a multimeter can come in handy for testing the output voltage of the PSU later on.
Always verify to unplug the computer from the power outlet and disconnect all cables before working inside the case.
Be cautious of static electricity by grounding yourself by touching a metal object before handling any sensitive components.
What is a PSU and Why is Jump-Starting Necessary?
By jump-starting the PSU, you essentially bypass the power switch and directly apply power to the PSU.
Jump-starting the PSU can help you narrow down the source of the power-related issues in your rig.
Additionally, jump-starting a PSU can help in troubleshooting other hardware problems.
This information can be valuable when seeking further assistance or considering replacement options.
Its important to note that jump-starting a PSU should be done with caution and only as a diagnostic step.
You may need to consult the manufacturers documentation or online resources specific to your PSU for more accurate instructions.
Keep in mind that jump-starting the PSU is a diagnostic step and does not fix underlying issues.
With the PSU tested, you could now troubleshoot any other issues you may encounter during the booting process.
Lets discuss some common troubleshooting tips in the next section.
Conclusion
Jump-starting a PSU can be a valuable step in troubleshooting power-related issues with your system.
Remember to always prioritize safety when working with electrical components.
