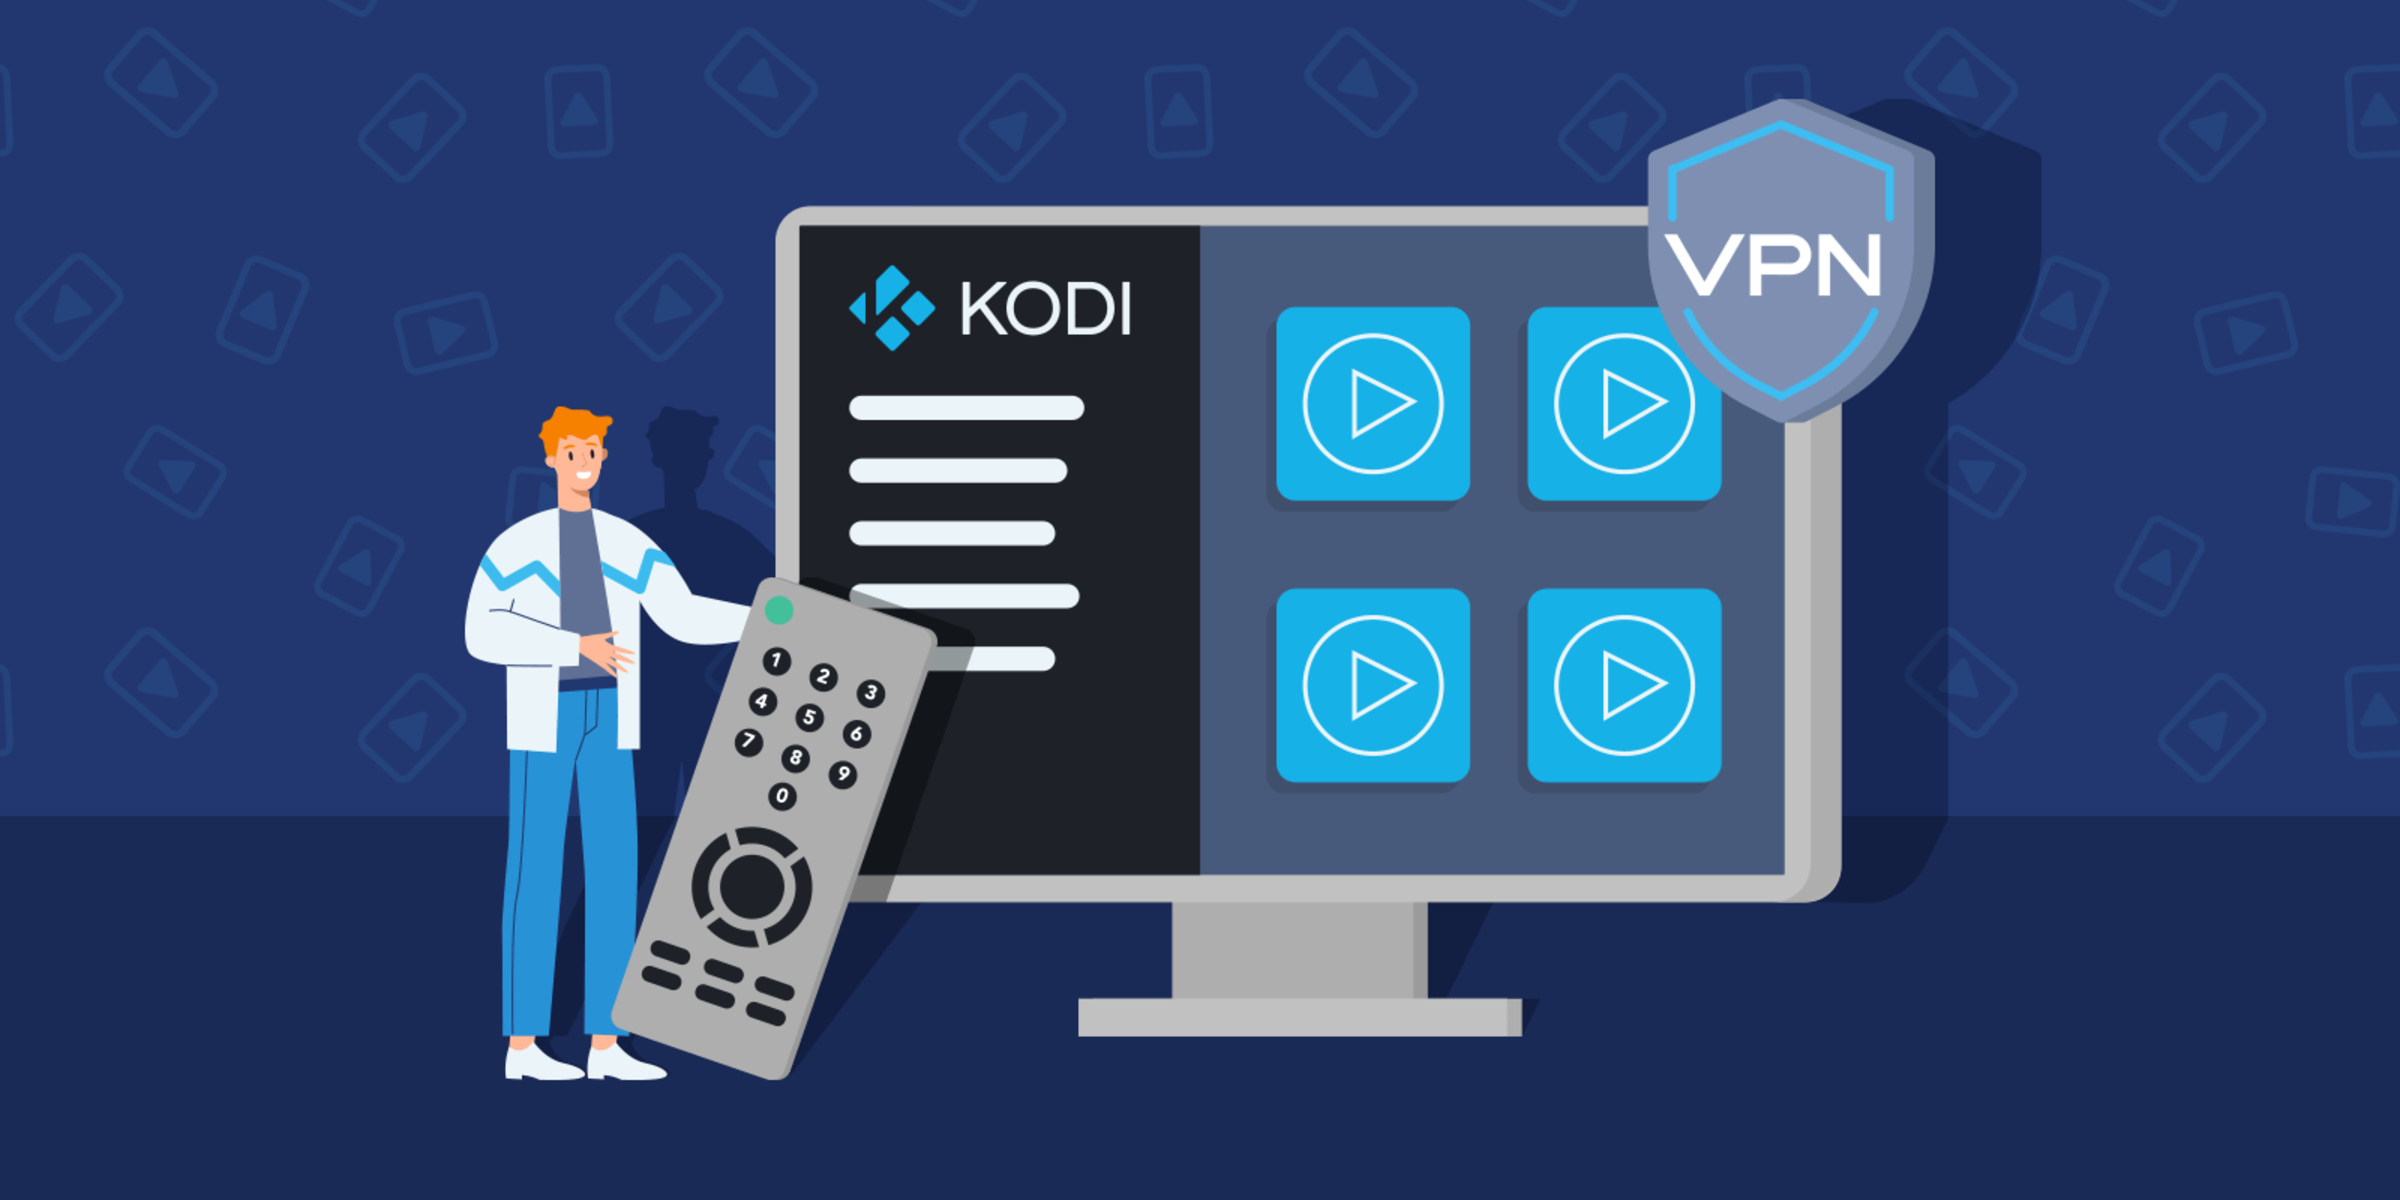
Introduction
Welcome to our guide on how to install a VPN on Kodi.
This is where a VPN comes in.
This allows you to bypass geo-restrictions and access content that would otherwise be unavailable in your country.
There are several reasons why you might want to use a VPN when using Kodi.
Firstly, it provides an extra layer of security by encrypting your data and protecting your privacy.
Secondly, a VPN allows you to access geographically restricted content on Kodi.
This is useful for expatriates, travelers, or anyone who wants to enjoy content from different regions.
Lastly, using a VPN on Kodi can bypass internet service provider (ISP) throttling.
In this guide, we will walk you through the process of installing a VPN on Kodi.
Whether youre a beginner or an experienced Kodi user, weve got you covered.
What is VPN and why do you need it for Kodi?
But what does this have to do with Kodi?
When it comes to Kodi, a VPN serves two important purposes.
Firstly, it enhances your online security and privacy.
It prevents unauthorized access to your personal information and ensures that your online activities remain private and anonymous.
This means that if youre not in the right location, you wont be able to access that content.
With a VPN, however, you might overcome these restrictions.
Furthermore, using a VPN on Kodi can also help you avoid ISP throttling.
This can result in buffering issues and a frustrating streaming experience.
Here are some factors to consider when choosing a VPN provider:
1.
Security and Privacy:Look for a VPN provider that prioritizes security and privacy.
test whether they offer strong encryption protocols such as OpenVPN or IKEv2.
Server web connection:A wide web connection of servers in different locations is important for accessing geo-restricted content.
ensure the VPN provider has servers in the countries where the content you want to stream is available.
Speed and Performance:Take into consideration the speed and performance of the VPN provider.
- gadget Compatibility:find out if the VPN provider supports the devices you plan to use Kodi on.
User-Friendly Interface:Look for a VPN provider that has an intuitive and user-friendly interface.
A well-designed app or software makes it easier toconnect to VPNservers and manage your tweaks.
Customer Support:Consider the level of customer support offered by the VPN provider.
Look for providers that offer 24/7 live chat support or comprehensive documentation to help you troubleshoot any issues.
Pricing:Finally, compare the pricing plans of different VPN providers.
While free VPNs may seem tempting, they often come with limitations and may compromise your privacy.
Invest in a reputable paid VPN that offers a good balance of features and value for money.
Step 2: Downloading and installing the VPN app
1.
Visit the VPN Providers Website:Go to the official website of the VPN provider you have chosen.
Look for a Download or Get Started button on their homepage.
Select Your gadget:The website should have a list of supported devices.
Choose the operating system that matches your machine, such as Windows, macOS, Android, or iOS.
Download the App:punch the download button to start the download process.
The app should be downloaded as an installer file (.exe for Windows or .dmg for macOS).
Save the file to a location on your unit that you might easily access.
Launch the app by double-clicking on its icon.
Select a server location that is compatible with the content you wish to access on Kodi.
punch the Connect button to establish a connection to the VPN server.
You have successfully downloaded and installed the VPN app on your machine.
Double-press the app icon to open it.
tap on it to proceed.
Fill in the required fields with accurate information.
double-check to choose a strong and unique password to protect your account.
If you agree with the terms, pick the checkbox or tap on the Agree button to proceed.
drop your email address and the password you set during the account creation process.
choose the enter or Sign In button to proceed.
Select a server that is appropriate for your desired content on Kodi.
The closer the server is to your physical location, the faster your connection speed is likely to be.
The VPN app should indicate that you are now connected and protected.
You have successfully created an account and logged in to the VPN app.
Step 4: Connecting to a VPN server
2.
Depending on the VPN provider, you may see a map or a dropdown list of locations.
The app will establish a connection to the chosen server and encrypt your internet traffic.
The app will typically display a connection progress indicator.
You may see a green icon or a message stating that you are protected.
launch the VPN app and press the Disconnect or similar button.
You have successfully connected to a VPN server.
In the next step, we will guide you through setting up the VPN on Kodi.
Step 5: Setting up VPN on Kodi
1.
Launch Kodi:launch the Kodi media player on your gear.
- press System parameters:In the parameters menu, navigate to the System tab and press System parameters.
Enable Unknown Sources:In the Add-ons section, verify that the Unknown Sources option is enabled.
This allows you to install third-party add-ons on Kodi.
punch the box icon in the upper-left corner to get into the Add-on surfing app.
- go for the VPN Provider:Look for the VPN provider you have chosen and choose it.
You will usually find VPN add-ons under the Services category or the providers name.
Wait for the add-on to be downloaded and installed.
Find the newly installed VPN add-on and open it.
Choose a server that aligns with your desired content or streaming preferences.
The VPN add-on will initiate the connection and display a status indicating that you are connected.
You have successfully set up the VPN on Kodi.
In the next step, we will guide you through verifying your VPN connection.
Step 6: Verifying your VPN connection
1.
Open Kodi:Launch the Kodi media player on your gear.
In the System tweaks menu, select System Information.
Check IP Address:In the System Information screen, locate the connection section.
Look for the IP Address entry and compare it with the IP address of the VPN server you selected.
If the IP addresses match, it means that your Kodi traffic is being routed through the VPN server.
Visit Geo-Restricted Content:Test the accessibility of geo-restricted content on Kodi.
Select a streaming add-on or channel that is only available in a specific region and attempt to stream content.
If the content plays without any issues, it indicates that your VPN connection is successfully bypassing geo-restrictions.
These websites will display information about your current IP address and its location.
Verify that the IP address shown matches the location of the VPN server you connected to.
There are several websites that offer such tests, such as dnsleaktest.com or ipleak.net.
They may have specific instructions or resources to help you diagnose and resolve any VPN connection issues.
By following these steps, you might effectively verify your VPN connection while using Kodi.
In the next step, we will provide some tips for troubleshooting common VPN-related issues that you may encounter.
Troubleshooting these issues can help ensure a smooth and uninterrupted streaming experience.
Here are some tips for troubleshooting common VPN-related issues:
1.
Restarting the VPN app or your rig may also help resolve connection errors.
A server closer to your physical location may provide faster connection speeds.
Some VPN apps offer options to use custom DNS servers or to prevent DNS leaks.
Enabling these features can help mitigate DNS-related issues.
Ensure that you are using a VPN app or add-on that is compatible with your specific version of Kodi.
Updating both Kodi and the VPN app to their latest versions can also help resolve compatibility issues.
Firewall or Antivirus Restrictions:In some cases, firewalls or antivirus software may interfere with the VPN connection.
Temporarily disabling these security measures or adding exceptions for the VPN app can help troubleshoot connection issues.
They can provide personalized assistance and guide you through resolving any persistent problems.
Remember, each VPN provider may have specific troubleshooting steps or resources available on their website.
Conclusion
Congratulations!
You have successfully learned how to install and set up a VPN on Kodi.
It not only protects your privacy but also allows you to access geo-restricted content on Kodi.
Take into consideration factors such as equipment compatibility, user-friendly interface, and customer support before making your decision.
after you snag selected a VPN provider, proceed with downloading and installing their app onto your unit.
Create an account, enter, and connect to a VPN server to secure your connection.
Remember, always use a VPN responsibly and abide by the laws and regulations of your country.
Enjoy streaming on Kodi, knowing that your connection is protected and your online activities remain private.
