Introduction
Welcome to the ultimate guide on how to install a USB microphone on Studio One!
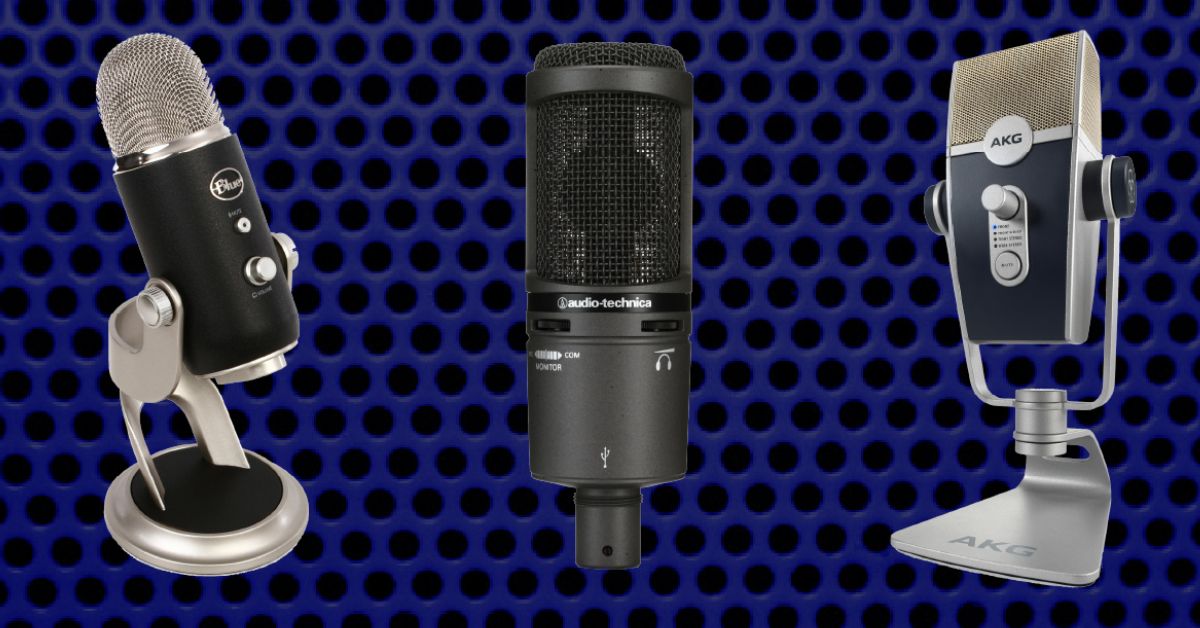
USB microphones have become increasingly popular due to their ease of use and versatility.
Additionally, we will explain how to install any required drivers specific to your USB microphone model.
Once the hardware installation is complete, we will guide you through the necessary configuration options in Studio One.
Exciting recording opportunities await!
This will ensure a smooth and successful setup of your USB microphone with Studio One.
They will provide the necessary information based on the version and operating system you plan to use.
Try connecting the microphone to a different USB port or using a different USB cable if necessary.
In the next step, we will cover the installation of any necessary drivers specific to your USB microphone.
you should keep the drivers up to date by periodically checking the manufacturers website for any available updates.
Once the drivers are installed, youre one step closer to using your USB microphone with Studio One.
Conclusion
Congratulations!
You have successfully installed and configured your USB microphone on Studio One.
We began by emphasizing the importance of checking compatibility and system requirements to ensure a smooth installation process.
Preparing your USB microphone properly and positioning it correctly will greatly improve the audio quality of your recordings.
Connecting your USB microphone to your system is a straightforward process, with most models being plug-and-play devices.
In cases where specific drivers are required, we guided you through the process of downloading and installing them.
Afterward, we focused on configuring Studio One to recognize and utilize your USB microphone.
Now, its time to start making magic happen with your newfound recording setup!
