Introduction
Welcome to our guide on how to roll out the Noctua CPU cooler!
Noctua is renowned for manufacturing high-quality cooling solutions that deliver exceptional results.
This step-by-step installation guide will walk you through the process, ensuring a hassle-free experience.
This will help streamline the process and ensure a successful installation.
Lets take a look at what youll need.
The first step is to shut down your setup and disconnect the power source.
Its essential to work on your machine in a safe and powered-off state to avoid any potential electrical hazards.
Next, carefully read the instruction manual that came with your Noctua CPU cooler.
Each model may have specific installation steps and requirements that you should be aware of beforehand.
Familiarize yourself with the manual to familiarize yourself with the process.
Having everything within reach will save you time and make the installation smoother.
once you nail everything ready, find a well-lit and spacious area to work on.
double-check you have enough space to maneuver the CPU cooler and enter the motherboard without any obstructions.
Use a clean cloth or cotton swabs dampened with isopropyl alcohol to wipe away the old thermal paste.
Ensure that both surfaces are clean and dry before proceeding.
Keep reading to learn how.
It fills the microscopic gaps between the CPU and the cooler, improving thermal conductivity.
This will provide optimal heat transfer and ensure the most efficient cooling performance.
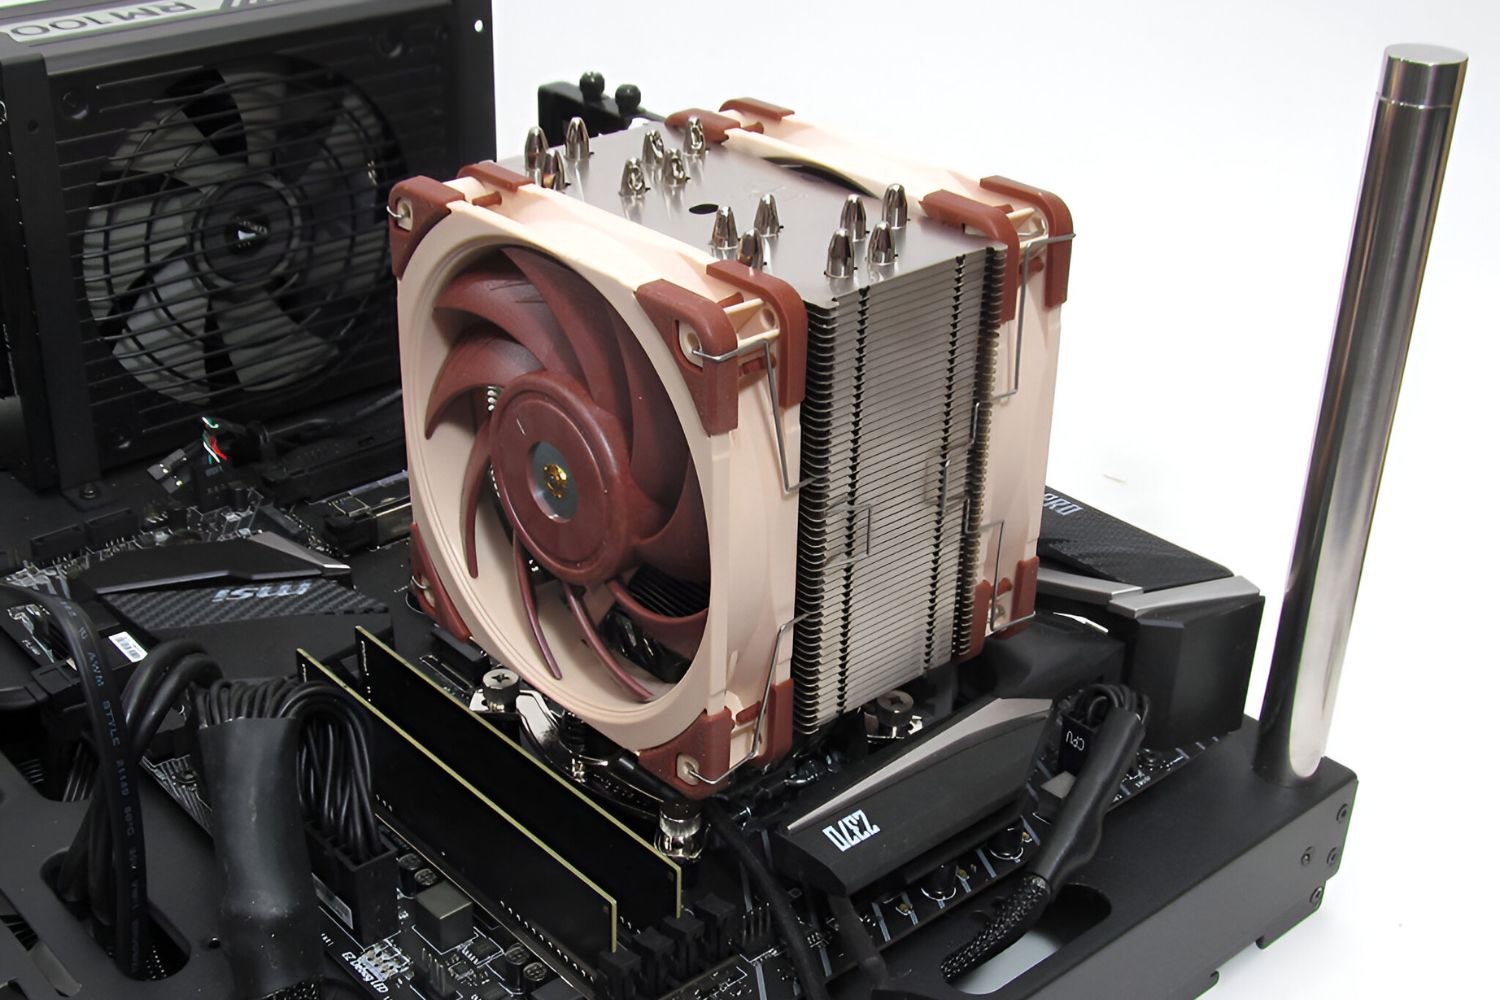
Once the thermal paste is applied, you could proceed to plant the Noctua CPU cooler onto the motherboard.
Read on for the next section on the installation process.
Read on for the next section on connecting the fan(s) to your Noctua CPU cooler.
Be mindful of fan placement and airflow direction, as this can significantly impact cooling performance.
Consult the instruction manual for your specific Noctua CPU cooler model for any additional fan installation instructions or recommendations.
The next section will cover the steps for securing the cooler onto the motherboard.
Properly securing the cooler will prevent any movement or instability, ensuring continuous and efficient cooling performance.
A properly secured cooler also reduces the risk of damage due to movement or vibrations during system operation.
Once the cooler is securely fastened, youre almost done with the installation process.
It contains detailed information and specific troubleshooting steps for your CPU cooler model.
Conclusion
Congratulations on successfully installing your Noctua CPU cooler!
We then provided a list of required tools and materials to have on hand for the installation process.
We then detailed the process of installing the Noctua CPU cooler with precision and securing it firmly.
Connecting the fan(s) and properly managing cables were highlighted to ensure efficient cooling and airflow.
Congratulations once again on your successful installation of the Noctua CPU cooler.
Enjoy the cooler temperatures and improved performance of your CPU!
