Introduction
Are you looking to boost the performance of your desktop computer?
Installing an mSATA SSD could be the perfect solution.
This guide will take you through the step-by-step process of installing an mSATA SSD on your desktop.
confirm to follow the instructions carefully and consult your desktops user manual if needed.
Additionally, its always a good idea to back up your important files before making any hardware changes.
Now, lets get started on transforming your desktop into a high-performance machine by installing an mSATA SSD!
This will save you time and ensure a hassle-free experience.
Its important to handle your desktop with care during this step to avoid any accidental damage.
Remember to handle the motherboard and other internal components with care to avoid any static discharge.
Double-check that the mSATA SSD is firmly in place and properly secured.
This will ensure a reliable connection and optimal performance.
A securely closed case helps maintain proper airflow and protects the internal components from dust and other potential threats.
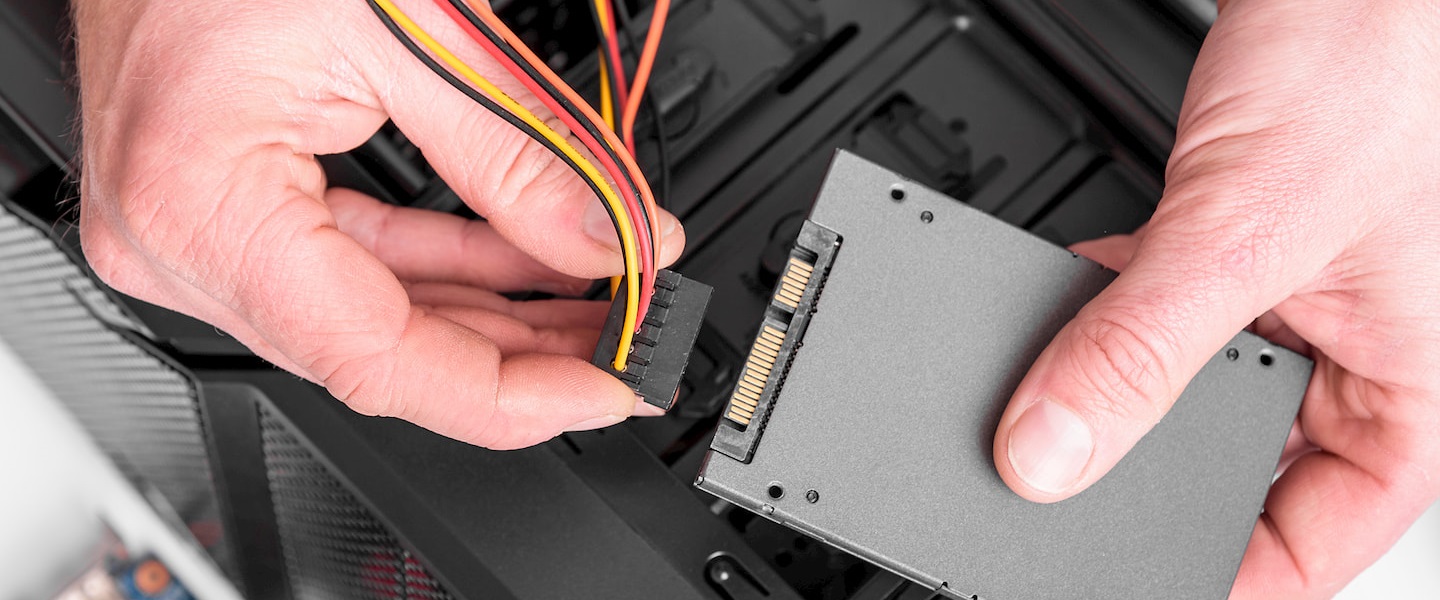
Step 8: Connect and Boot Up
Congratulations!
You have successfully installed and connected the mSATA SSD to your desktop.
Its time to take advantage of its improved storage capabilities and enjoy the faster performance it offers.
Conclusion
Congratulations on successfully installing an mSATA SSD on your desktop!
Installing an mSATA SSD allows for faster boot times, quicker tool loading, and improved file transfer speeds.
Enjoy faster utility launches, speedier file transfers, and an overall enhanced computing experience.
Thank you for choosing to upgrade your desktop with an mSATA SSD.
