Introduction:
Welcome to the comprehensive guide on how to install a motherboard!
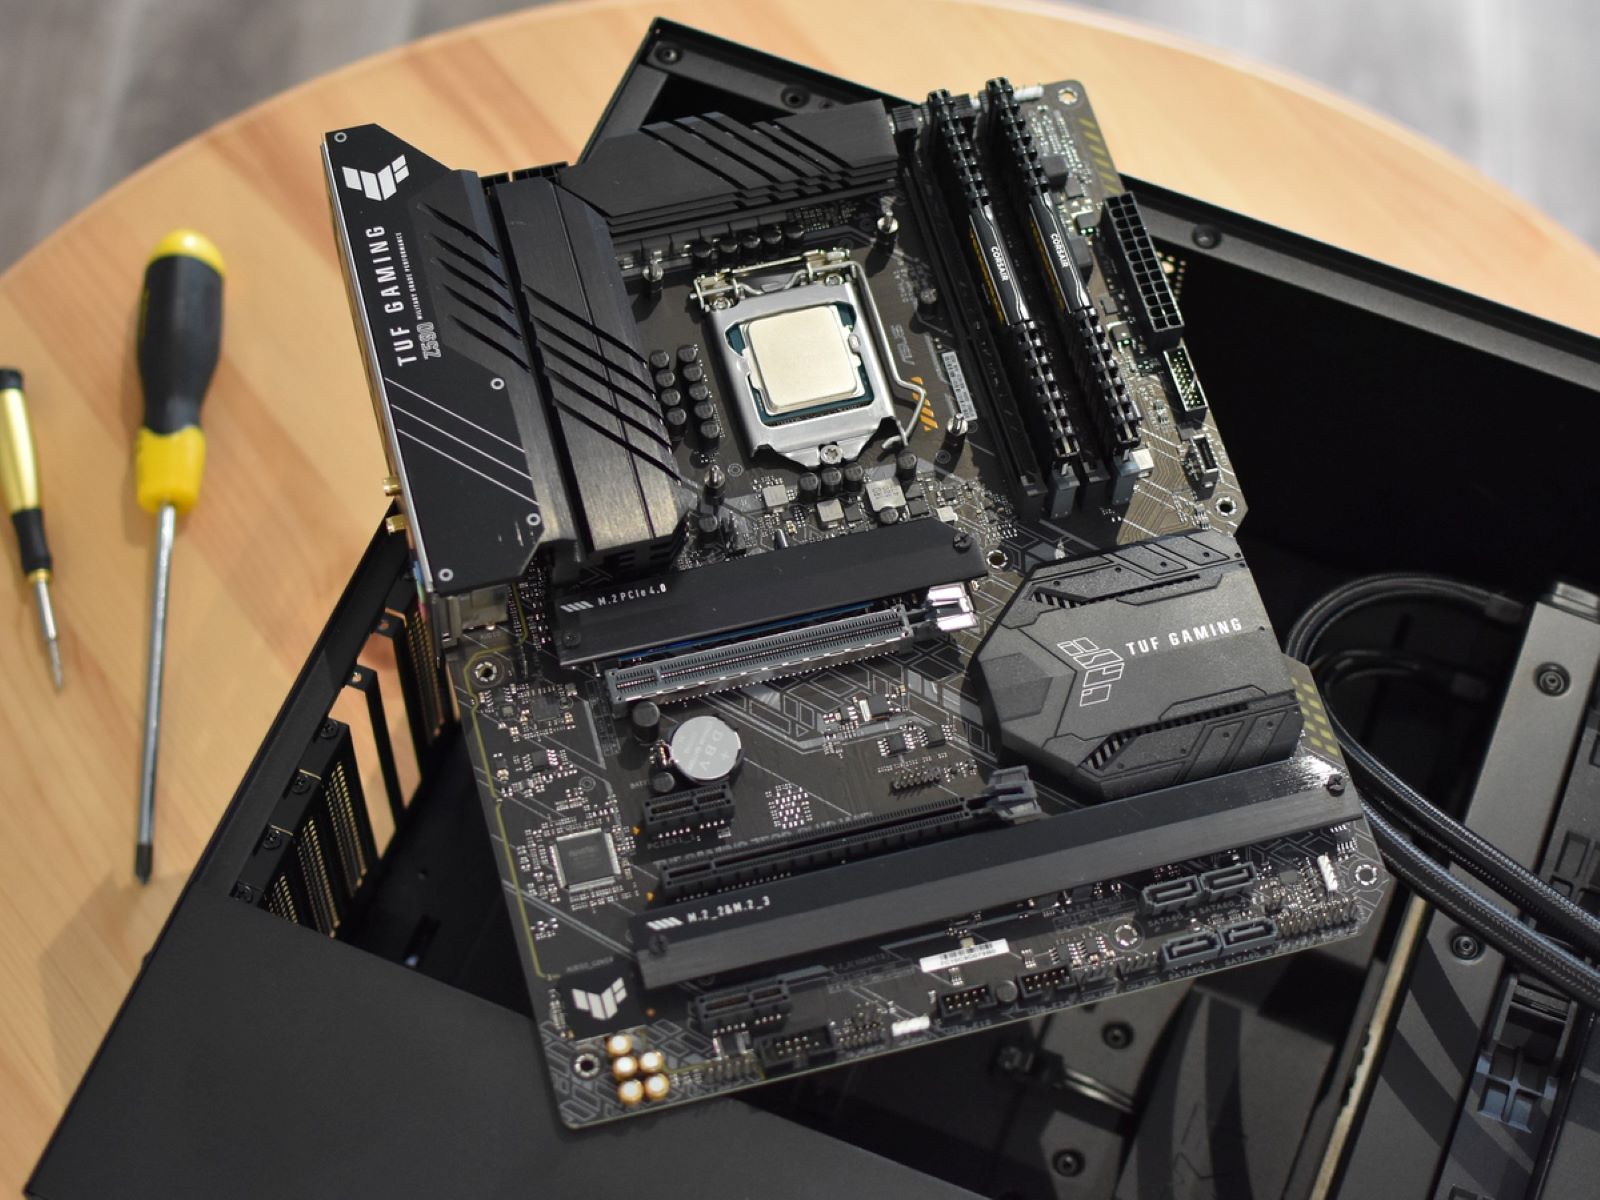
Amotherboardis the main circuit board in a computer that allows all other components to communicate with each other.
It is crucial for the overall functionality and performance of your setup.
In this guide, we will cover everything you should probably know to properly install a motherboard.
Well start by discussing the tools and equipment youll need for the installation process.
Finally, well provide some tips for troubleshooting and testing the motherboard to ensure it is working correctly.
Whether youre a seasoned computer enthusiast or a beginner, this guide is designed to be accessible and straightforward.
So, without further ado, lets get started on installing your new motherboard!
Having the right tools will make the installation smoother and ensure that you dont encounter any unnecessary difficulties.
Here are the essential items youll need:
These tools and equipment are essential for a successful motherboard installation.
Having them ready before you jump in will save you time and make the process smoother.
Now that youve gathered the necessary tools, lets move on to preparing the work area.
Now that your work area is ready, its time to gather the necessary components for the installation process.
By having everything organized and readily available, youll be able to proceed with the installation smoothly.
Refer to the motherboards manual or manufacturers website for detailed information.
By gathering all the necessary components beforehand, youll streamline the installation process and avoid any unnecessary delays.
With the components ready, youre now ready to evaluate the motherboard compatibility in the next step.
This step ensures a smoother installation process and sets the foundation for optimal performance.
By aligning and inserting the CPU correctly, youve completed a crucial step in installing the motherboard.
With the CPU inserted, youre ready to move on to the next step in the motherboard installation process.
With the CPU cooler installed, youve completed another important step in the motherboard installation process.
The CPU is now equipped with a cooling solution, ready to move forward.
In the next step, we will implement the RAM modules onto the motherboard.
Bycorrectly installing the RAMmodules, youve taken another important step in the motherboard installation process.
The RAM is now securely installed and ready to provide the necessary memory for your system.
In the next step, we will mount the motherboard onto the computer case.
Refer to the motherboards manual and the case manufacturers instructions for any specific guidelines and recommendations.
By correctly mounting the motherboard, you provide a stable and secure foundation for all the components.
Additionally, ensure that the power supply can provide adequate wattage to meet the power requirements of your components.
By correctly connecting the power supply, youre now ready to provide the necessary power for your system.
The motherboard is powered and ready to be connected to the front panel cables in the next step.
Secure any cables using cable ties or Velcro straps to improve cable management and airflow within the computer case.
This will help to keep your system organized and prevent any potential cable interference.
Proceed to the next step for guidance on powering on and testing your motherboard.
You have successfully installed and tested your motherboard, bringing your gear one step closer to completion.
Conclusion:
Congratulations on successfully installing your motherboard!
By following these step-by-step instructions, you have assembled the foundation of your system system.
We started by preparing the work area and gathering all the necessary tools and equipment.
Double checking all the connections was crucial to prevent any potential issues or errors during the installation process.
Finally, you powered on and tested the motherboard to ensure that all components are functioning correctly.
By successfully installing the motherboard, you have set the stage for building a powerful and efficient computer system.
Thank you for following this guide, and we hope you found it helpful and informative.
Happy computing with your newly installed motherboard!
