By following a few simple steps, youll be up and running with yourLogitech webcamin no time.
This guide will provide you with step-by-step instructions on how to install your Logitech webcam.
So, lets get started on setting up your Logitech webcam and unlocking a world of video communication possibilities.
By doing so, it’s possible for you to avoid any compatibility issues and ensure smooth operation.
Start by checking the specifications of your operating system.
Refer to the product manual or the Logitech website for detailed information on supported operating systems.
Next, check the available USB ports on your machine.
In terms of hardware requirements, check the minimum processor speed and RAM capacity recommended by Logitech.
Having a computer that meets or exceeds the recommended specifications will allow for optimal performance and video quality.
Lastly, ensure that you have a stable internet connection.
Ensuring compatibility and having an optimal setup will contribute to a seamless and enjoyable experience with your Logitech webcam.
Taking a few simple steps to prepare your machine can help avoid any unnecessary issues or complications.
Heres what you oughta do:
Firstly, verify your setup is powered on and running smoothly.
Next, close any unnecessary applications or programs that are currently running on your machine.
This will free up system resources and prevent any potential conflicts with the installation process.
Its also advisable to disable any antivirus or firewall software temporarily.
Ensure that you have administrative privileges on your setup.
Administrative access allows you to make system-level changes required for the installation of software and drivers.
Its also a good idea to free up disk space on your box before installing the Logitech webcam software.
This will ensure that you have enough storage available for the software installation and any future updates.
Lastly, ensure that your rig is connected to a stable power source or has sufficient battery charge.
Interruptions in power can disrupt the installation process and potentially cause issues with the Logitech webcam software.
Plugging your laptop into an outlet or ensuring that your desktop computer has a reliable power supply is essential.
Step 3: Download the Logitech Webcam Software
Start by visiting the official Logitech website.
Navigate to the support or downloads section of the website and locate the appropriate software for your webcam model.
Logitech provides specific software for each webcam model, ensuring compatibility and optimal performance.
when you’ve got identified the correct software for your webcam, snag the download link.
After the download is complete, locate the downloaded file.
This will create a folder containing the necessary installation files.
During the installation process, you may be prompted to accept the end-user license agreement and choose installation options.
double-check to read the license agreement carefully and choose the desired installation options.
For a typical installation, you could usually proceed with the default tweaks.
After the installation is complete, the Logitech webcam software will be installed on your box.
double-check to keep the software updated by checking for any available updates on the Logitech website periodically.
Downloading and installing the Logitech webcam software is an essential step in utilizing the full potential of your webcam.
Step 4: plant the Software
Locate the downloaded Logitech webcam software file on your box.
Double-press the file to start the installation process.
Click Yes or Allow to proceed with the installation.
The installation wizard will guide you through the setup process.
Read the instructions carefully and follow the on-screen prompts.
For a typical installation, you’ve got the option to usually proceed with the default controls.
when you obtain made your selections, click Install to begin the installation.
After the installation is complete, you may be prompted to kickstart your system.
good idea to cycle your gear to ensure that the software is properly integrated into the system.
Double-choose the shortcut to initiate the software.
Upon launching the software, you will have access to various features and options to control your Logitech webcam.
Explore the different tabs and options to customize your webcam parameters according to your preferences.
These updates often bring new features and bug fixes, improving the overall performance of the software.
By following these steps, you could successfully roll out the Logitech webcam software on your system.
Once installed, you could fully utilize the capabilities of your webcam and personalize your video communication experience.
Connect one end of the cable to the USB port on your gear.
ensure to choose a USB port that is easily accessible and provides a stable connection.
Next, connect the other end of the USB cable to the USB port on the webcam.
Ensure that the connection is secure and that the cable is inserted fully into the ports.
This will allow you to use the microphone during video calls or recordings.
Once the webcam is connected, position it in a suitable location.
Refer to the webcams user manual for specific instructions on adjusting the focus.
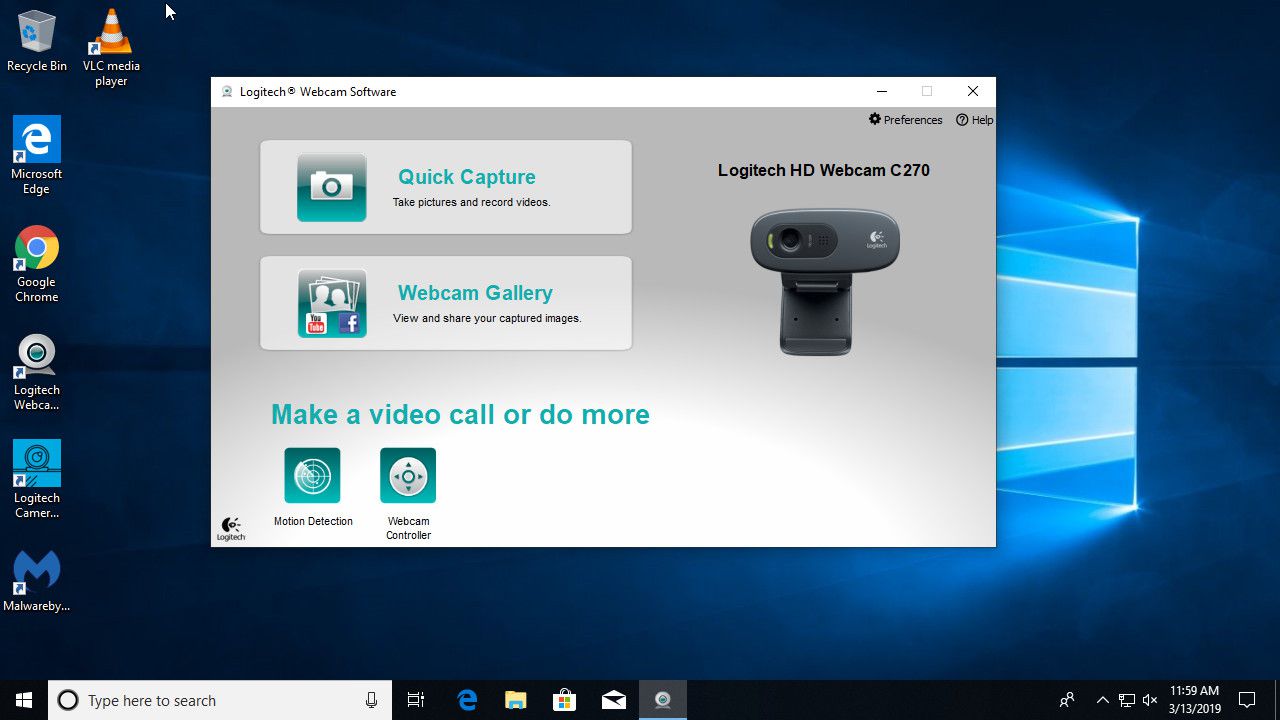
Launch the Logitech webcam software on your system.
Double-punch the shortcut to initiate the software.
In the Logitech webcam software, you will find various configs that allow you to customize your webcams performance.
Fine-tuning these controls can enhance your video quality and overall webcam experience.
Open a video conferencing app or webcam recording software and select your Logitech webcam as the default camera.
Verify that the webcam is capturing video and that the audio is working properly if applicable.
Logitechs support website is also a valuable resource for finding solutions to common issues.
Popular options include Zoom, Skype, Microsoft Teams, or online webcam testing websites.
Adjust any other video prefs, such as resolution or frame rate, according to your preferences.
Initiate a video call or start recording a video to test your webcam.
Check that the webcam is capturing video and that the image quality is clear and sharp.
Move around and observe if the webcam tracks your movements smoothly.
If your Logitech webcam has a built-in microphone, ensure that the audio is working correctly.
During the test, pay attention to any latency or lag in the video or audio.
While testing, you’re free to also experiment with different lighting conditions.
Additionally, it’s possible for you to visit Logitechs support website or contact their customer support for assistance.
Remember to update the webcam software periodically to ensure you have the latest features and fixes.
Regularly test your webcam to maintain the best possible performance.
By following these steps, you could successfullytest your Logitech webcamand troubleshoot any potential problems.
A properly functioning webcam will enhance your video communication, online meetings, and content creation experiences.
During the installation process, ensure to check the system requirements of your machine and prepare it accordingly.
Download and load the Logitech webcam software, following the on-screen instructions.
Connect the webcam to your gear, position it correctly, and adjust the prefs to suit your preferences.
Once everything is set up, its crucial to test your webcams functionality.
Pay attention to lighting conditions and adjust configs as needed.
Regularly update the webcam software to ensure you have access to the latest features and improvements.
Whether youre connecting with colleagues, friends, or family, a high-quality webcam can elevate your virtual interactions.
Remember to maintain your webcams functionality by keeping it clean and protected when not in use.
Regularly test your webcam to ensure it continues to deliver optimal performance.
