Upgrading to an SSD has several advantages over traditional hard disk drives (HDDs).
Having the right equipment will make the installation process more convenient and efficient.
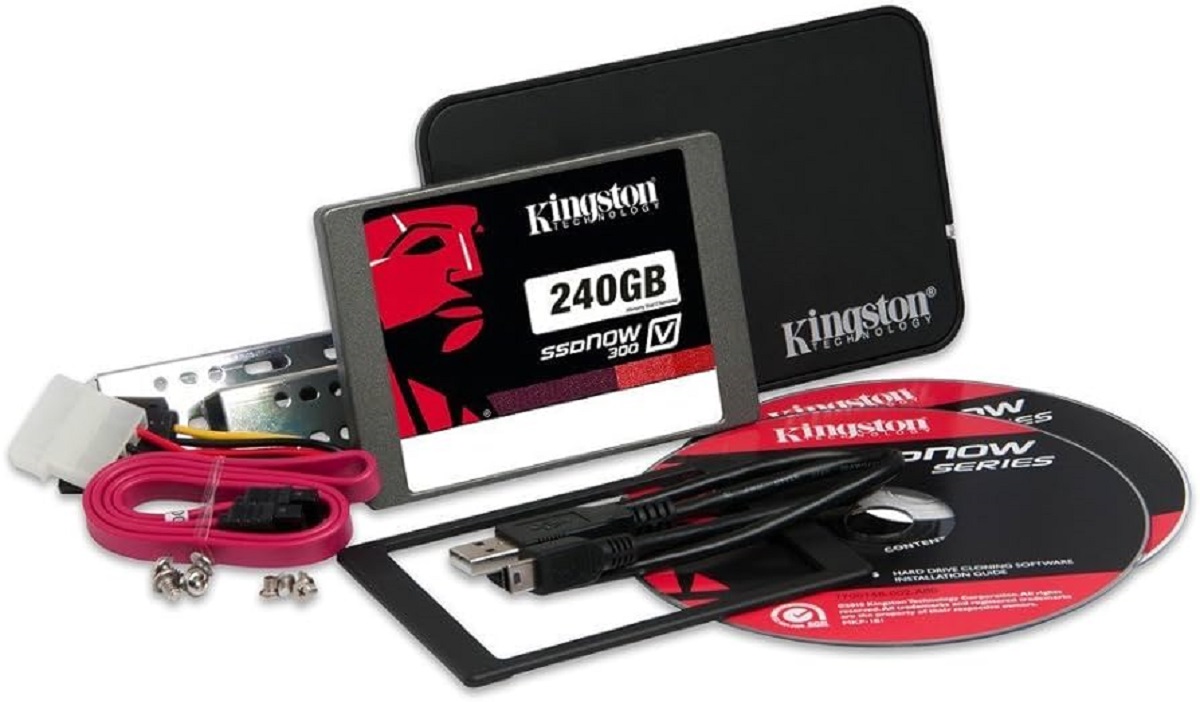
In the next section, we will discuss the tools and materials required for this installation.
when you land completed these tasks, youll be ready to start the actual installation process.
Gathering these items beforehand will help streamline the installation process and prevent any unnecessary delays or disruptions.
Having everything within reach will save you time and ensure a smoother process.
Taking this precaution will protect you from any electrical hazards.
Next, locate the screws or latches that secure the computer case.
Unscrew the screws or release the latches to initiate the case.
verify to ground yourself by touching a metal surface to discharge any static electricity.
Carefully disconnect any cables connected to the drive, including the data and power cables.
Take note of how the cables are connected, as you will need to reconnect them to theKingston SSD.
Carefully remove the old drive from its slot in the drive bay.
Gently slide the drive into the slot until it is fully inserted.
check that the connectors on the SSD are facing outward for easy cable connection.
If necessary, use screws or brackets to secure the Kingston SSD in place.
Be careful not to overtighten the screws.
Ensure that the cables are properly inserted and firmly connected.
Double-check the orientation of the connectors to avoid any potential damage.
Once all the necessary cables are connected, carefully terminate the computer case.
Secure the case by tightening any screws or reattaching any latches that hold it in place.
Wait for the operating system to recognize the Kingston 240GB SSD.
You have successfully installed the Kingston 240GB SSD into your desktop computer.
This will allow you to enter the internal components of your setup safely.
Now you might proceed to the next step of disconnecting cables and removing the old drive.
Now you are ready to proceed with the next step, installing the Kingston 240GB SSD.
Take care to handle the old drive and cables with caution to prevent any damage during the removal process.
By following these installation steps, you have successfully installed the Kingston 240GB SSD into your desktop computer.
The SSD is now securely positioned in the drive bay and properly connected with the necessary cables.
Proceed to the next step to connect cables and kill the case of your system.
The Kingston 240GB SSD is securely installed and ready for use.
By following these steps, you have successfully powered on your box and configured the Kingston 240GB SSD.
Congratulations on completing the installation process!
Conclusion
Congratulations!
Thank you for choosing Kingston as your storage solution.
Enjoy the increased performance and productivity that the Kingston 240GB SSD brings to your computing journey!
