Introduction
Welcome to our step-by-step guide on how to install an Ethernet jack.
Before we dive into the details, its essential to plan your installation carefully.
Proper planning will save you time and ensure a successful installation.
Here are some key steps to consider:
1.
Consider the devices you want to connect and the locations where youll be using them the most.
This will help you decide on the number of Ethernet jacks required and their placement.
Assess the Cable Route:Next, examine the route from yournetwork switchor router to the desired installation area.
Take note of any obstacles like walls, floors, or ceilings that may obstruct the cable.
Utilizing existing wiring can save time and effort.
Consider Cable Length:Measure the required length from thenetwork switch or router to each installation area.
Be sure to account for any additional length needed to initiate the cable along the walls or ceilings.
Its always better to have extra cable length for flexibility rather than falling short during the installation.
Ensure that your web connection switch or router supports PoE or plan for power injectors/adapters if necessary.
Check local regulations and obtain any required permissions before proceeding with the installation.
Having all the required tools and materials readily available will make the installation process smoother.
Having everything prepared will make the installation process much smoother.
Heres a list of what youll need:
1.
Ethernet Jack:Choose an Ethernet jack that suits your needs.
There are various types available, including keystone jacks, wall plate jacks, and surface mount jacks.
Ethernet Cable:Get high-quality Ethernet cables of the required length to connect your devices to the Ethernet jack.
Its recommended to use Cat 5e or Cat 6 cables for optimal performance.
Measure the distance between the jack and your web link switch or router to ensure you have enough cable.
Ensure that it has enough available ports to accommodate the number of Ethernet jacks you plan to install.
If you already have a connection setup, check its compatibility with the jack and cables youre using.
The size of the saw should match the dimensions specified by the Ethernet jack youre using.
A drywall saw will help you make clean and precise cuts.
Screwdriver:Youll need a screwdriver to secure the Ethernet jack to the wall or wall plate.
The exact punch in of screwdriver required will depend on the screws provided with the Ethernet jack.
ensure to have all these tools and materials readily available before you begin the installation process.
Having everything prepared will help you work efficiently and ensure a successful installation of your Ethernet jack.
Take some time to assess your needs and determine where you want the Ethernet connection to be available.
Heres how to proceed:
1.
Evaluate rig Placement:Consider the devices you want to connect via Ethernet and where they will be located.
Identify areas where you frequently use devices like computers, gaming consoles, smart TVs, or streaming devices.
These are the areas where youll want to have Ethernet connectivity.
Check Wall Accessibility:Examine the walls in your chosen areas and determine if theyre easily accessible.
Look for existing electrical outlets or wall plates that can serve as potential installation points.
If accessibility is an issue, you may need to consider alternative options like surface mount jacks.
Consider Furniture Placement:Take into account the layout of your furniture in the installation area.
Ensure that the Ethernet jacks placement does not interfere with the positioning of your furniture or create any obstructions.
You want to have easy access to both the Ethernet jack and your connected devices.
Keep in mind the distance and any potential obstacles such as walls, floors, or furniture.
Its advisable to choose a route that minimizes cable visibility and protects the cable from potential damage.
Consider Aesthetics:Think about the overall aesthetic look of the installation area.
you’re able to also opt for wall plates that match your decor and complement the surroundings.
There are several options available, each with its own advantages and considerations.
Heres a breakdown of the different types of Ethernet jacks:
1.
Keystone Jacks:Keystone jacks are popular and versatile options for Ethernet installations.
They can be easily inserted into a compatible wall plate, patch panel, or surface mount box.
Wall Plate Jacks:Wall plate jacks are installed directly onto an electrical box or wall surface.
They provide a clean and professional appearance, seamlessly blending into your existing electrical outlets or switches.
They can be mounted directly onto walls, baseboards, or any other suitable surface.
Surface mount jacks are a good option for temporary installations or situations where drilling into walls is not desirable.
Inline Couplers:Inline couplers are used to join two Ethernet cables together.
Inline couplers are simple to use and can be easily disconnected if required.
They provide a centralized location for connecting various devices to the data pipe.
Choose a jack that suits your specific needs and matches your connection infrastructure.
This step is crucial as it ensures a proper fit and seamless installation.
Heres how to proceed:
1.
Additionally, keep a stud finder handy to avoid drilling into any studs or other obstacles behind the wall.
Typically, a hole with a diameter slightly larger than the jacks faceplate is required.
Use a measuring tape or ruler to mark the outline of the hole on the wall.
Adjust the position as necessary to ensure a balanced and aesthetically pleasing installation.
This step is essential to prevent damaging any structural components or electrical wiring.
Adjust the location of the hole if needed to avoid obstacles.
Slowly rotate the saw to cut through the wall.
Take your time and maintain control over the saw to create a clean and precise cut.
Check the Fit:After cutting the hole, test the fit of the Ethernet jack.
The jack should sit flush against the wall, with the faceplate covering the hole.
This will ensure a clean installation and prevent any interference with the Ethernet jack or cables.
By measuring and cutting the hole accurately, youll ensure a seamless fit for your Ethernet jack.
Step 4: Run Ethernet Cable through the Wall
1.
Prepare the Cable:Measure and cut the Ethernet cable to the appropriate length for the planned route.
Leave some extra length to allow for flexibility during the installation process.
This will help you avoid drilling into any obstacles and ensure a smooth cable run.
Use a drill with a drill bit suitable for the size of the cable.
Carefully drill small holes at the top and bottom of the wall, near the desired installation area.
Use a fish tape or cable puller to guide the cable and ensure a smooth and snag-free installation.
Be patient and take your time to avoid damaging the cable or any existing wall structures.
Ensure that the cable has enough slack to reach the jack comfortably without being too tight or excessively loose.
This will not only improve the appearance of the installation but also protect the cable from damage.
This will provide a clean finish and help prevent drafts or pests from entering through the holes.
In the next step, well discuss how to connect the Ethernet cable to the jack.
Step 5: Connect the Ethernet Cable to the Jack
1.
Be cautious not to cut into the inner wire pairs.
Trim the Wires:Trim the excess wire length so that each wire is approximately the same length.
This will ensure that the wires will properly align with the pins or terminals on the Ethernet jack.
This step is crucial to avoid potential connectivity issues or signal degradation.
Testing will confirm whether the cable has been properly terminated and whether the Ethernet jack is functioning correctly.
Ensure that each jack is connected to the appropriate wires and that the connections are accurate and secure.
In the next step, well discuss how to secure and mount the Ethernet jack in place.
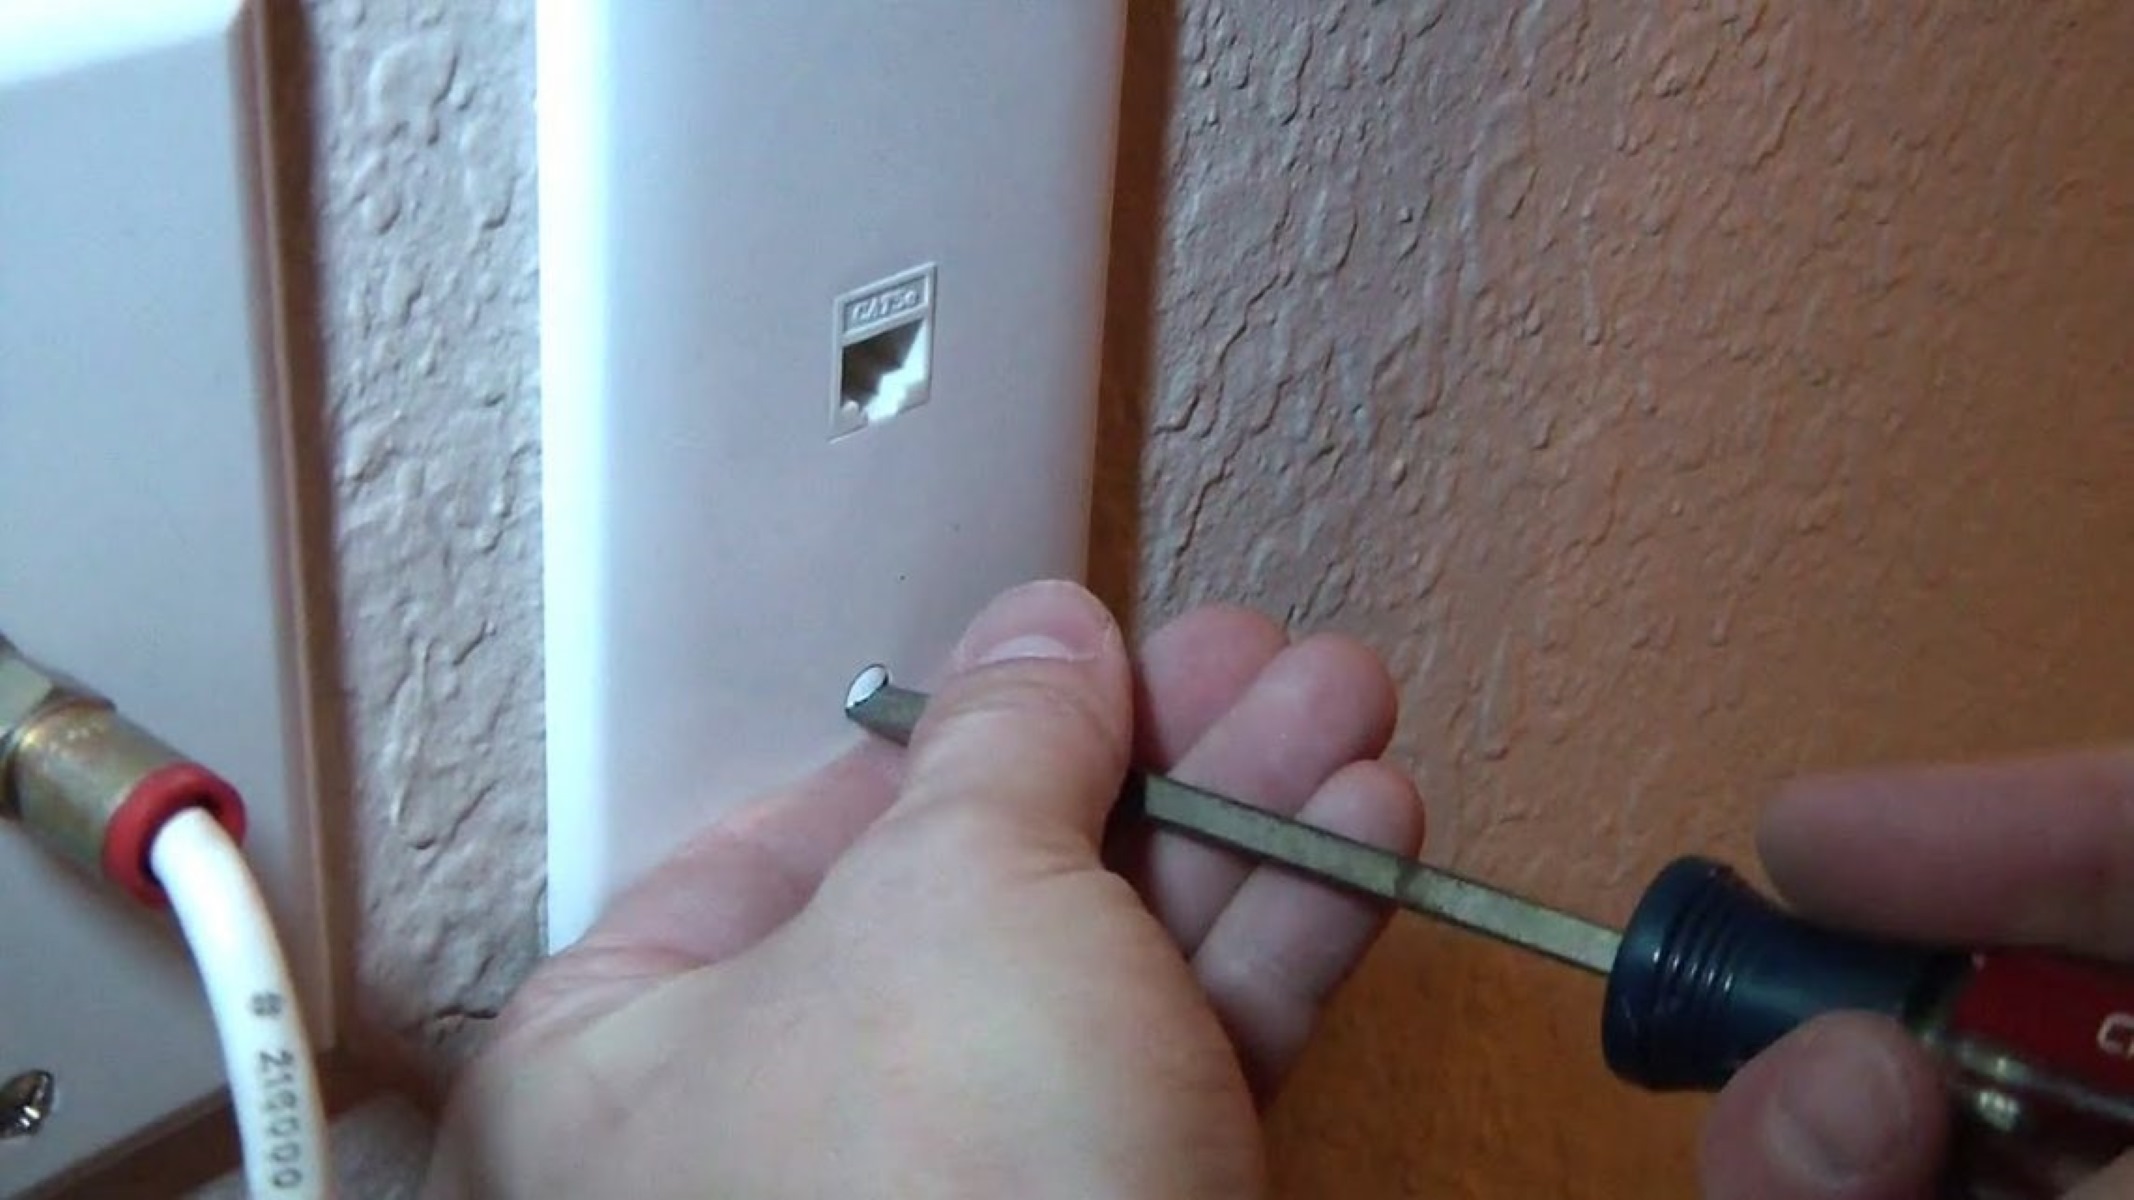
Step 6: Secure and Mount the Ethernet Jack
- confirm it is firmly seated and aligned properly.
Be cautious not to overtighten and damage the jack or the mounting surface.
Ensure a Flush Fit:Confirm that the Ethernet jack sits flush against the wall or wall plate.
A flush fit will provide a clean and professional appearance and prevent any strain on the cable connections.
This will help protect the cable from accidental tugs or damage and improve the overall aesthetics of the installation.
Avoid tight bends or kinks in the cable, as they can impact performance.
Label the Jack:To facilitate easy identification in the future, consider labeling the Ethernet jack.
Use a label maker or adhesive labels to identify the jacks purpose or the equipment connected to it.
This will save time and effort when troubleshooting or making changes to your data pipe setup.
In the final step, well discuss how to test the Ethernet connection to confirm its functionality.
Step 7: Test the Ethernet Connection
1.
Check the Link LED:Examine the Link LED indicator on the Ethernet jack or internet switch.
Ensure that the rig is configured to obtain an IP address automatically, either through DHCP or manual tweaks.
Compare the results to your internet service providers expected speeds to verify that you are receiving the promised bandwidth.
Maintain Consistent internet Performance:Monitor the Ethernet connection over a period of time to ensure consistent internet performance.
Check for any fluctuations in speed or interruptions in connectivity.
if you stumble on any issues, troubleshoot the web connection setup or consult a professional for assistance.
This will help identify any compatibility issues or limitations with specific devices.
Conduct Regular Maintenance:Regularly inspect and maintain your Ethernet connection and the surrounding area.
Check for loose cables, damaged jacks, or any signs of wear and tear.
Clean the Ethernet jack and cable connections to remove any dust or debris that could impact performance.
Conclusion
Congratulations!
Remember to regularly inspect and maintain your Ethernet connection to prolong its lifespan and ensure optimal performance.
Thank you for joining us on this journey to install an Ethernet jack.
We hope this guide has empowered you to take control of your web connection connectivity.
Happy browsing and networking!
