Introduction
Welcome to our comprehensive guide on how to install a CPU on a motherboard.
The CPU, or Central Processing Unit, is the brain of your machine.
It performs all the necessary calculations and instructions, allowing your machine to run applications and perform various tasks.
Thus, ensuring a correct and secure installation is essential for optimal performance and longevity of your system.
In this article, we will walk you through the step-by-step process of installing a CPU on amotherboard.
Well cover everything from gathering the necessary tools and equipment to attaching the CPU cooler.
This will ensure that you follow the manufacturers guidelines and avoid any potential damage or compatibility issues.
Now, lets get started with our step-by-step guide on how to install a CPU on a motherboard.
This will ensure that you have everything within reach and avoid any interruptions during the installation.
This step involves a few important tasks to ensure a proper installation process.
Taking the time to properly prepare the motherboard will help prevent any complications or damage during the installation process.
Now, lets move on to preparing the CPU in the next step.
This step involves handling the CPU with care and making sure its ready for installation.
By following these steps, you will ensure that the CPU is well-prepared for installation.
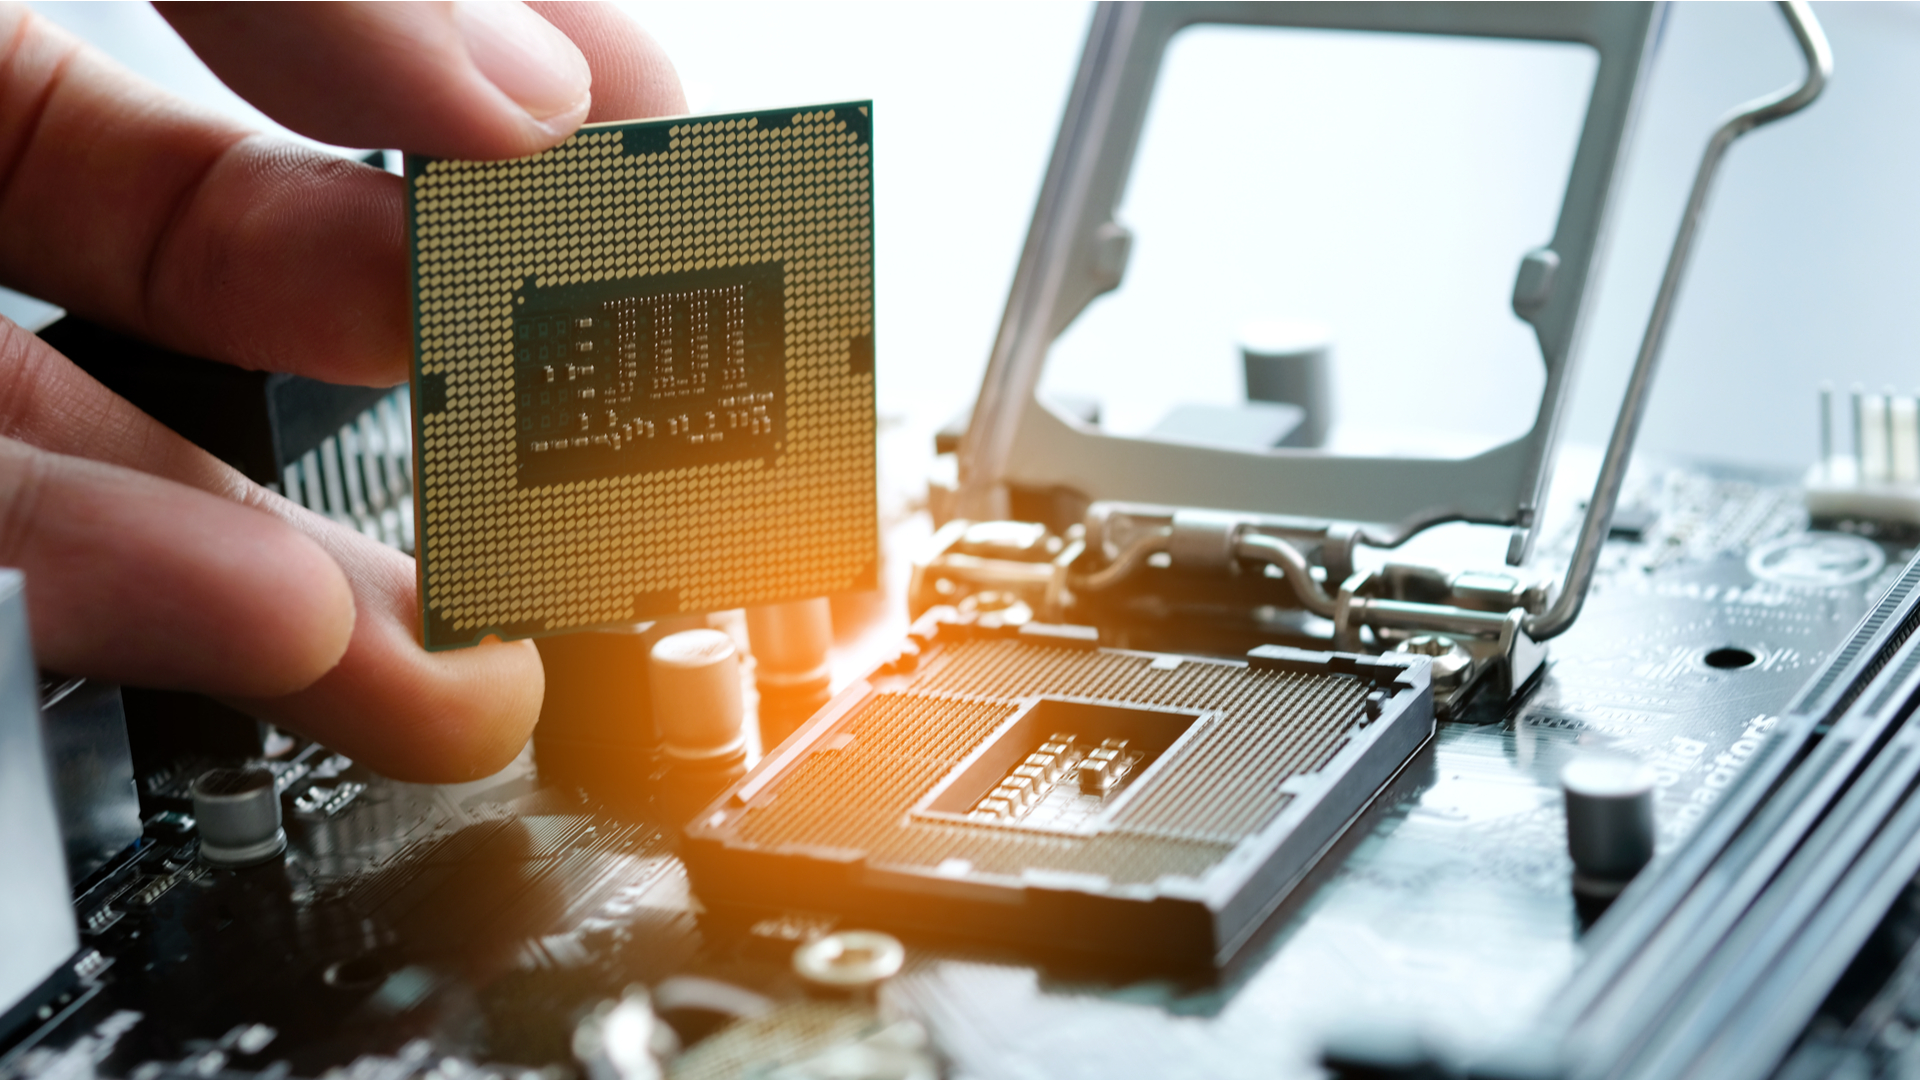
Now, lets move on to the next step: installing the CPU on the motherboard.
This step requires careful handling to ensure a secure and proper installation.
This is essential for maintaining a stable connection and preventing any movement or dislodging of the CPU during use.
Thermal paste helps improve the heat transfer between the CPU and the CPU cooler, enhancing overall cooling performance.
Remember that thermal paste is essential to ensure efficient heat transfer between the CPU and the cooler.
A proper program of thermal paste helps prevent overheating and maintains optimal CPU performance.
The CPU cooler plays a vital role in dissipating heat generated by the CPU and ensuring its optimal performance.
Properly attaching the CPU cooler is essential to maintain adequate cooling for the CPU.
It helps ensure the CPU operates within its temperature limits, preventing performance issues and potential damage.
With the CPU cooler securely attached, were almost done with the installation process.
Take a moment to celebrate your progress before moving on to the final step: finalizing the installation.
Step 8: Finalizing the installation
Congratulations!
Youre in the final stage of the CPU installation process.
By following these final steps, youve successfully installed the CPU on your motherboard.
Once again, congratulations on completing the CPU installation!
Youre one step closer to enjoying a fully functional computer system.
Conclusion
Congratulations on successfully installing your CPU on the motherboard!
In this guide, we covered the step-by-step process of installing a CPU on a motherboard.
Next, we securely installed the CPU onto the motherboard and attached the CPU cooler for efficient heat dissipation.
If necessary, we applied thermal paste to improve the heat transfer between the CPU and the cooler.
Now that youve completed the CPU installation, youre one step closer to enjoying a fully functional computer system.
