We will also cover important tips and troubleshooting techniques to help you ensure a successful installation.
In addition, keep in mind that each system may have its own unique layout and configuration.
If something is missing or damaged, reach out to Corsairs support for assistance.
Once youve completed these steps, youre ready to unbox the cooler and proceed with the installation.
Once youve completed these steps, youre ready to move on to the next section: Mounting the Radiator.
Take your time to ensure that the radiator is securely attached and positioned according to your cases layout.
Refer to your motherboards manual to identify the specific headers for the CPU fan and pump connections.
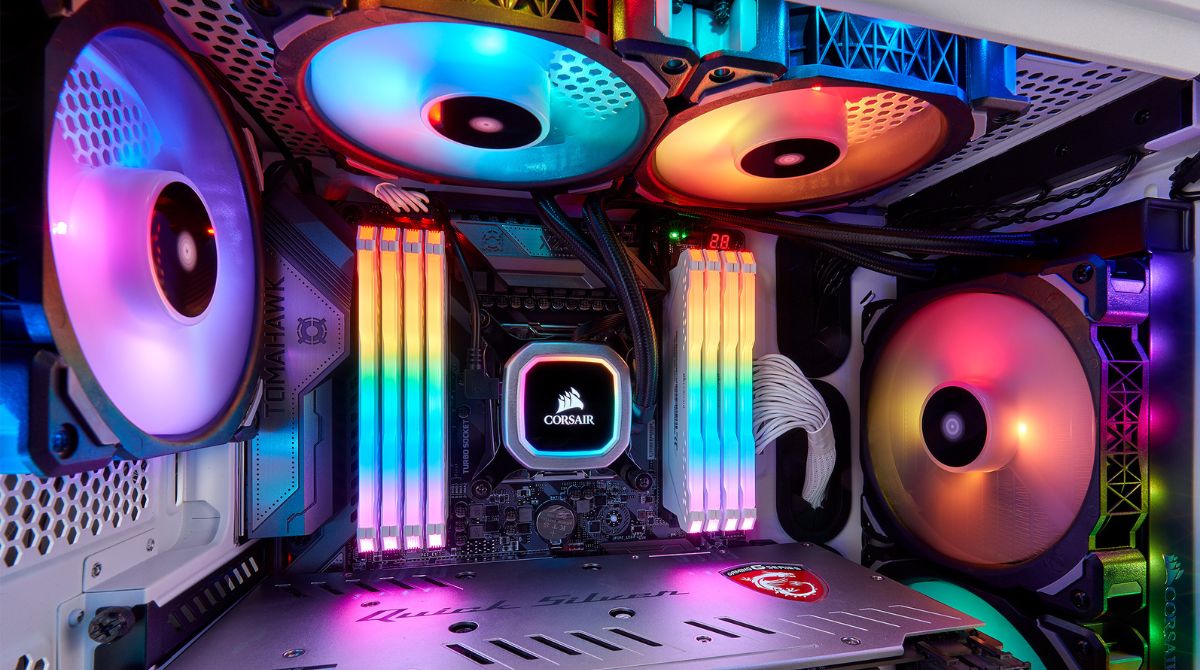
By following these steps, you have successfully installed the CPU block of the Corsair H100i Pro.
Ensure that all the connections are securely in place, and the CPU block is mounted properly.
Next, we will move on to connecting the hoses and fans.
Avoid applying excessive force or bending the hoses beyond their recommended range.
Proper hose and fan connections are essential for the efficient functioning of the Corsair H100i Pro CPU cooler.
Next, we will move on to connecting the USB cable for software control and monitoring.
These drivers enable proper communication between the cooler and the iCUE software.
They have knowledgeable staff who can provide specialized guidance based on your specific situation.
Conclusion
Congratulations!
You have successfully completed the installation and configuration of the Corsair H100i Pro 75 CFM Liquid CPU Cooler.
Corsairs customer support team is also available to provide guidance and assistance if needed.
Thank you for choosing the Corsair H100i Pro 75 CFM Liquid CPU Cooler.
Enjoy your enhanced cooling experience and maximize the potential of your system!
