Installing a CPU cooler may seem like a daunting task, especially if youre new to computer hardware.
This will ensure a smooth and efficient installation process.
Take your time and be cautious when handling delicate components to avoid any accidental damage.
With the cooler installed, youre one step closer to improving the overall cooling performance of your system.
Take your time to tighten the mounting screws evenly and check for any interference or loose components.
With the CPU cooler securely fastened, youre one step closer to completing the installation process.
With the fan connected, your Cooler Master Hyper 212 Evo setup will be complete and ready for operation.
Monitor temperatures, inspect for any physical issues, and address any concerns that arise during testing.
With these steps completed, you’re able to enjoy improved cooling performance and enhanced system stability.
Conclusion
Congratulations!
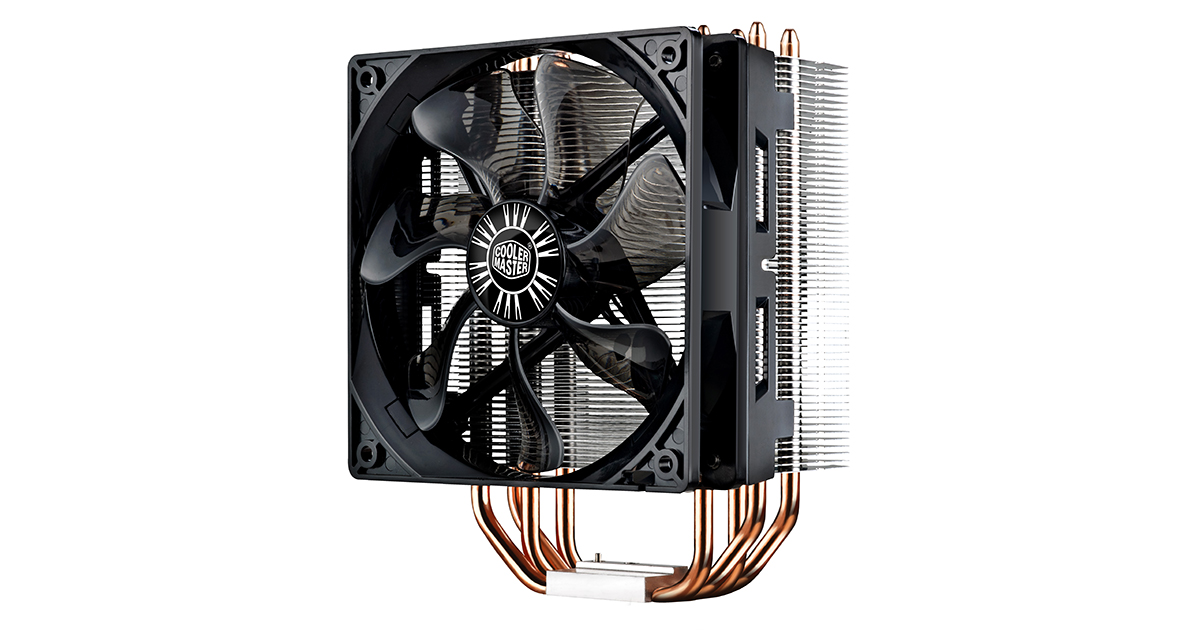
You have successfully installed the Cooler Master Hyper 212 Evo RR-212E-20PK-R2 CPU Cooler with 120mm PWM Fan.
This can lead to improved system stability and longevity.
Remember, proper maintenance and regular cleaning of the CPU cooler are essential to maintain its performance over time.
Dust and debris can accumulate on the heat sink and fan, hindering airflow and reducing efficiency.
Regularly checking and cleaning the cooler will help keep your system running smoothly.
Thank you for following this installation guide.
We hope it has been informative and helpful in your journey to upgrade your computers cooling system.
Enjoy the improved cooling performance provided by the Cooler Master Hyper 212 Evo CPU cooler!
