Whether you have an older model or the latest model, the installation process remains the same.
This step ensures that you dont lose any files or documents during the process.
Remember to give your unit enough time to power off completely before proceeding to the next step.
Take a moment to inspect the inside and familiarize yourself with the layout before proceeding to the next step.
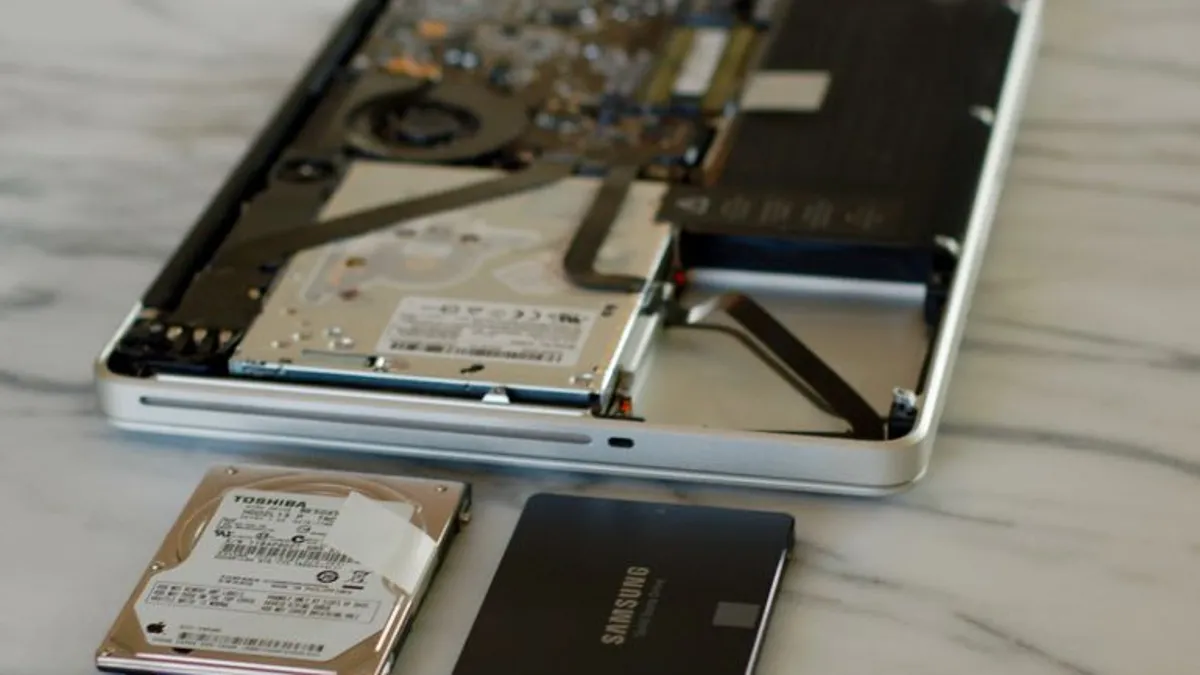
Take a moment to inspect the hard drive slot and prepare for the next step installing the SSD.
Take your time to align and secure the SSD properly to ensure a successful installation.
By installing the SSD, you have completed a significant step in upgrading your MacBook Pro.
Now its time to move on to the next step replacing the bottom case.
Tightening the screws evenly and maintaining alignment is essential for a professional-looking finish.
The final steps involve powering on your equipment and initializing the new SSD.
Step 9: Power on and initialize the new SSD
Congratulations!
Your MacBook Pro will feel like a whole new machine.
Additionally, always handle the internal components of your MacBook Pro with care and caution to prevent any damage.
Thank you for following this guide, and best of luck with your upgraded MacBook Pro!
