In this guide, well walk you through the step-by-step process of installing an SSD without reinstalling Windows.
Well cover everything from backing up your data to cloning your operating system and finalizing the installation.
Get ready to give your rig a boost in speed and performance!
While the installation process itself is usually safe and secure, its better to be safe than sorry.
There are several methods you’ve got the option to use to back up your data.
Another option is to make use of cloud storage services.
Services like Google Drive, Dropbox, and OneDrive offer secure and convenient options for backing up your data.
Remember to include any personalized controls, bookmarks, and preferences from applications or browsers.
Take your time to carefully review and double-check that you have backed up all the necessary files and data.
It can be frustrating to lose important information, so its important to be thorough in this step.
This ensures that you’re free to safely work on the hardware and avoid any potential damage.
Remember to handle the internal components of your setup with care and avoid touching any sensitive parts.
Additionally, online communities and forums can provide guidance and suggestions specific to your setup model.
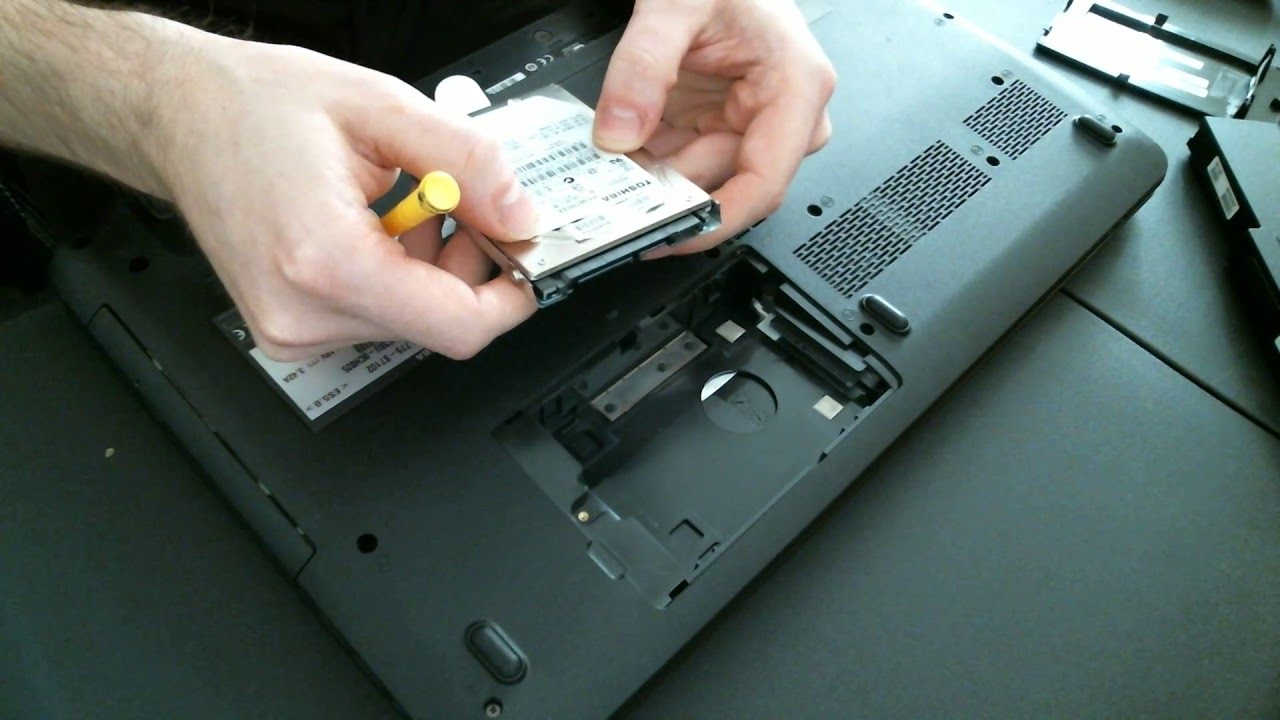
when you obtain identified a suitable drive bay, youre ready to proceed with mounting your SSD.
The next section will guide you through the steps of mounting the SSD securely in the drive bay.
M.2 SSDs are typically inserted into a specific slot on the motherboard.
Consult your computers manual or the manufacturers website for detailed instructions on how to install an M.2 SSD.
A loose or improperly connected cable may result in the SSD not functioning correctly.
If youre installing an M.2 SSD, skip the SATA power and data cable connections.
M.2 SSDs typically connect directly to the motherboard using the M.2 slot and do not require separate cables.
You have successfully powered up your machine with the newly installed SSD.
cycle your rig and enter the BIOS/UEFI options to set the SSD as the primary boot drive.
Save the changes and exit the BIOS/UEFI tweaks.
your gear will now boot from the SSD, providing you with improved speed and performance.
Now that youve removed the old hard drive, your setup is fully upgraded with the new SSD.
Enjoy the enhanced speed, performance, and reliability that the SSD brings to your computing experience!
Finalize the Installation
Congratulations!
You have successfully installed and finalized the installation of your new solid-state drive.
By following these steps, you have taken a significant step towards optimizing your computers storage and overall performance.
Remember to regularly back up your data to ensure that your important files are always protected.
We began by emphasizing the importance of backing up your data before starting the installation process.
This ensures that your valuable files and information are safely stored and protected during the upgrade.
We then discussed the crucial step of selecting the right SSD for your needs.
These steps ensured that the SSD was properly installed and ready for use.
your setup is now equipped to handle demanding tasks and provide a more efficient computing experience.
Remember, continue practicing good data management habits and regularly back up your data to ensure its safety.
Keep your SSD and system updated with the latest firmware and software releases to maintain optimal performance.
Enjoy the enhanced speed, responsiveness, and efficiency of your upgraded system!
