Gone are the days of slow boot times and sluggish tool launches.
In this guide, we will walk you through the process of installing an SSD on yourDellXPS M140 laptop.
Are you ready to give your Dell XPS M140 a speed boost?
Lets dive in and get started!
Its always better to be safe than sorry when working with delicate hardware components.
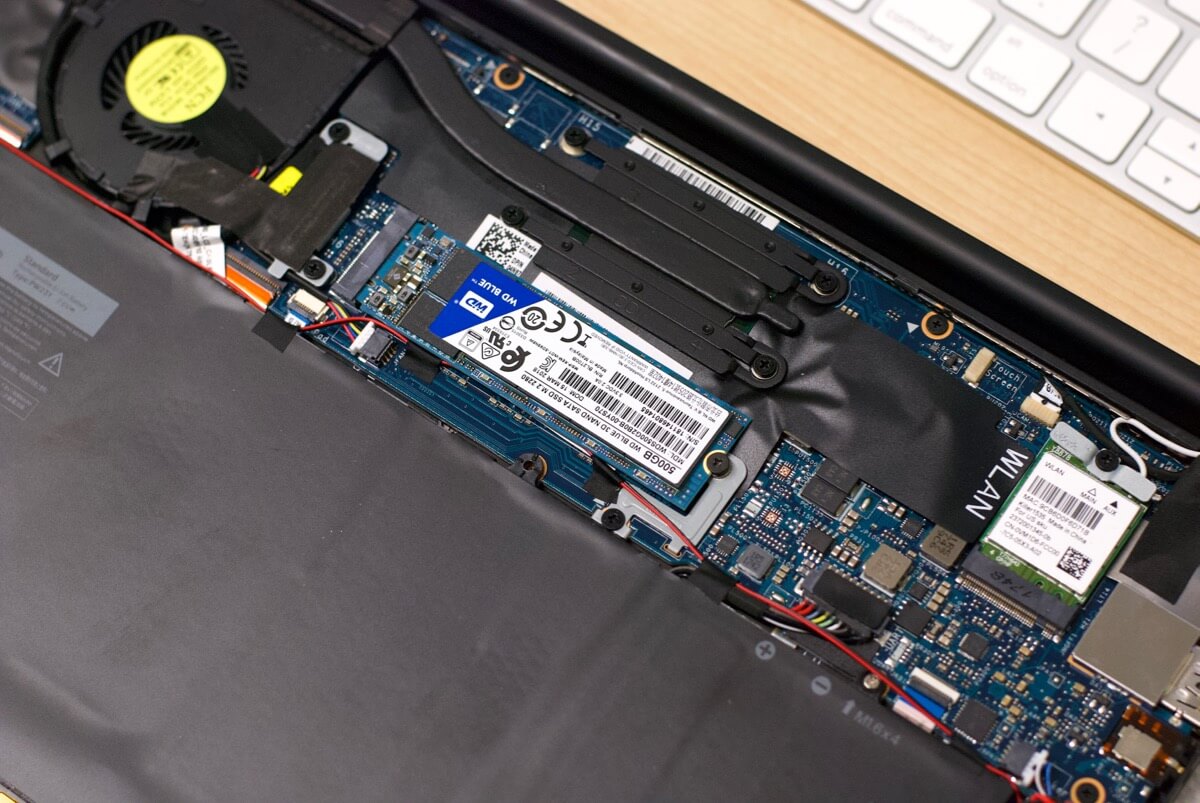
By completing this step, you have successfully removed the old hard drive from your Dell XPS M140 laptop.
Proper alignment and connections are crucial for optimal performance and reliability.
Its important to note that some SSD models may require additional steps or specific installation processes.
In the next step, well learn how to secure the solid state drive in place.
Its always better to be safe than sorry when it comes to delicate hardware components.
If your SSD requires any specific securing mechanisms, refer to the manufacturers instructions for proper installation.
In the next step, well guide you through the process of reassembling your laptop.
Double-check each step to double-check you havent missed any components or screws.
A thorough and careful reassembly will ensure the longevity and optimal performance of your laptop.
Enjoy faster boot times, quicker file transfers, and a more responsive computing experience!
Conclusion
Congratulations!
You have successfully installed a solid state drive (SSD) in your Dell XPS M140 laptop.
By following the step-by-step guide provided, you have upgraded your laptops storage and significantly improved its performance.
Say goodbye to slow load times and hello to a more efficient computing experience.
Remember to always prepare your laptop before starting the installation process.
Consult the manufacturers instructions or their website for any specific guidelines.
Enjoy the benefits of your new solid state drive and take advantage of the improved performance it brings.
Thank you for choosing this guide, and happy computing!
