Before we dive into the installation process, its essential to understand the benefits of using a solid-state drive.
This makes them significantly faster, more durable, and quieter compared to their HDD counterparts.
Having everything prepared will ensure a smooth and efficient installation.
This will save you time and frustration during the installation process.
By following these steps, you have successfully installed the SSD into your Dell Inspiron laptop.
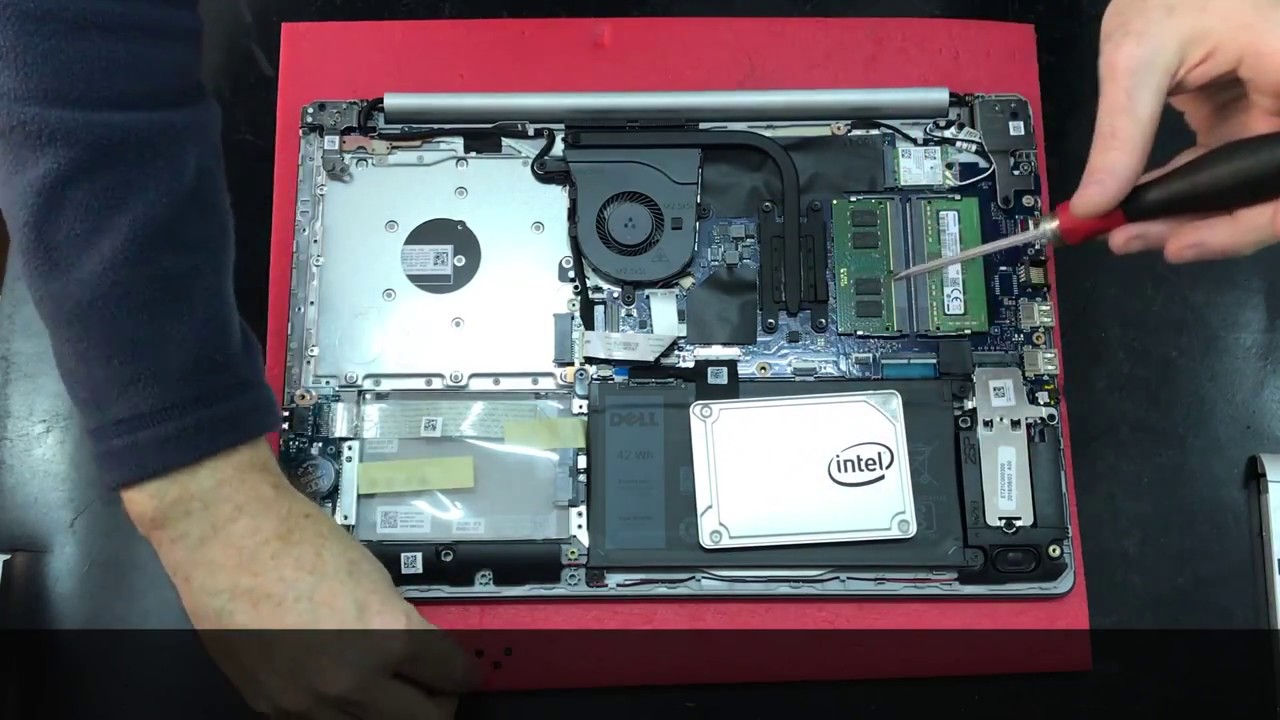
Connecting the new drive to the laptop is a critical step in the installation process.
It establishes the necessary communication and power supply to fully utilize the capabilities of the newly installed SSD.
By following these steps, you have successfully secured the solid-state drive in place within your Dell Inspiron laptop.
This step is crucial to ensure the stability and reliability of the SSD during regular laptop usage.
Next, lets move on to the exciting step of reassembling your laptop after installing the new drive.
Take your time and double-check that all connections are securely in place.
Without a valid license, you may not be able to activate and fully use your operating system.
You have completed the entire process of installing and optimizing a solid-state drive into your Dell Inspiron laptop.
Enjoy the enhanced speed and reliability that the SSD brings to your computing experience.
Remember to always backup your important files and data before performing any hardware upgrades to ensure their safety.
Additionally, take proper precautions to avoid static electricity and handle your laptop and its components with care.
These steps are essential to ensure optimal performance and reliability.
Enjoy the improved performance and responsiveness that the SSD brings to your Dell Inspiron laptop.
Thank you for following this guide on how to install a solid-state drive into a Dell Inspiron laptop.
