However, the overall process remains similar across most Dell laptops.
Consider factors such as storage capacity, interface, and form factor when choosing an SSD.
Avoid working on surfaces that generate static electricity, such as carpets or rugs.
If necessary, use an anti-static mat to further protect your equipment.
This step ensures that you wont lose any files or documents during the transition.
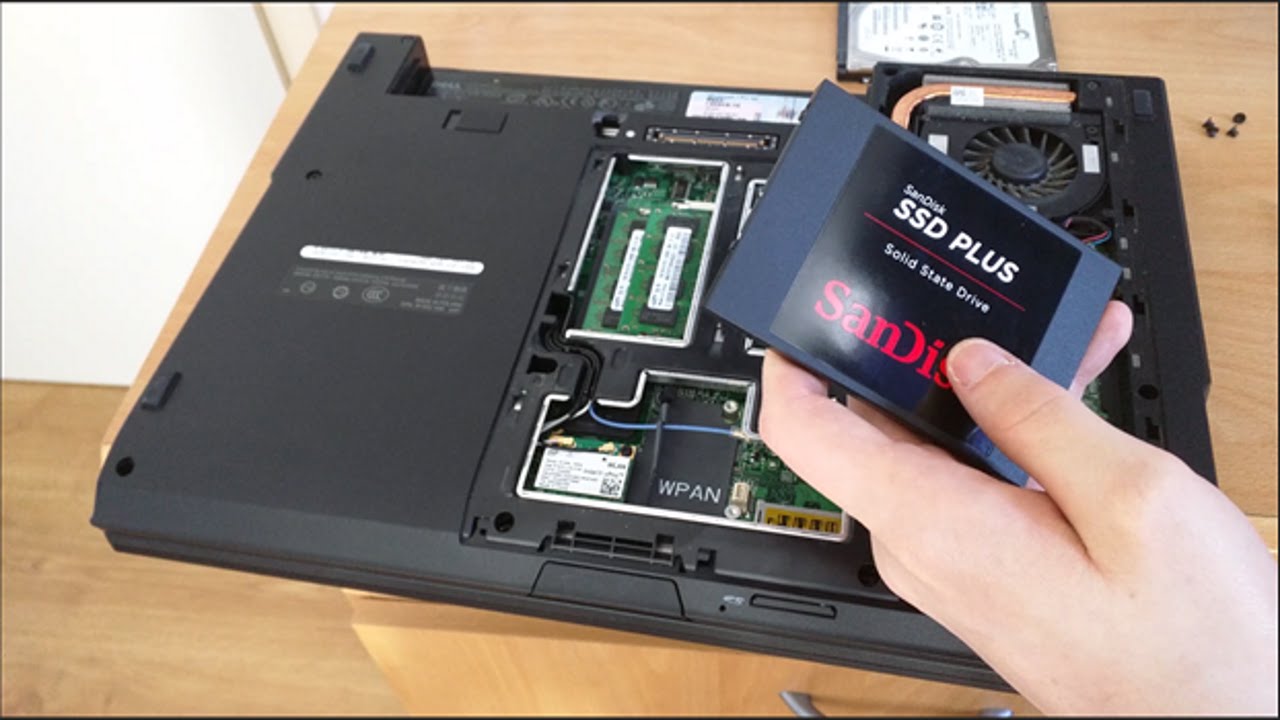
after you snag located the hard drive, its time to proceed with removing it from your Dell laptop.
The next step will guide you through the process of properly installing the SSD and securing it in place.
Double-check that the SSD is properly seated and securely connected to the laptop.
With the SSD installed and connected, youre one step away from completing the upgrade.
Ensure that all cables are properly connected and that no cables are pinched or strained during the reassembly process.
Be patient, as this is a normal part of the process.
Therefore, see to it you have backed up all important files before proceeding with this step.
In the next step, well discuss how to restore your backed-up data onto the newly installed SSD.
Take the time to open files, test applications, and ensure everything is operating as expected.
Enjoy the improved performance and faster load times that come with the upgrade.
Regularly back up your SSD to prevent data loss and keep your laptop running smoothly for years to come.
Conclusion
Congratulations on successfully installing a solid state drive (SSD) in your Dell laptop!
Remember, regular backups are crucial to prevent data loss.
This will ensure that your data remains protected, even if unexpected issues arise.
Enjoy the enhanced speed and efficiency of your Dell laptop with the new solid state drive.
