We will also provide helpful tips and precautions to make the installation process as smooth as possible.
confirm to follow each step carefully and double-check your work to avoid any potential damage to your components.
Now, lets gather the necessary tools and materials before we begin the installation process.
This will ensure a smooth and successful installation process.
This will save you time and prevent any interruptions during the process.
This will also help in safeguarding your components and maintaining the overall functionality of your box system.
Its important to handle the side panel with care to avoid any damage to the case or its components.
This area is designed to accommodate the power supply and provide the necessary ventilation for cooling.
This will prevent any damage to the power supply or other components inside the case.
Apply enough pressure to ensure a secure fit without putting excessive force.
With the power supply properly secured with screws, you have completed this step.
Next, lets move on to connecting the power supply cables.
This will help with airflow, cable management, and overall aesthetics of your PC build.
Take extra care when handling the cables and connectors, as they can be delicate.
Avoid applying excessive force or bending the cables at sharp angles to prevent damage.
With the power supply cables properly connected, you have completed this step successfully.
Next, lets move on to reattaching the side panel of the PC case.
This can cause damage to the case or strip the screw holes.
Once the side panel is reattached, your PC case will be sealed and ready for use.
The side panel helps to provide stability, security, and proper airflow within the case.
This will contribute to the performance and longevity of your gear system.
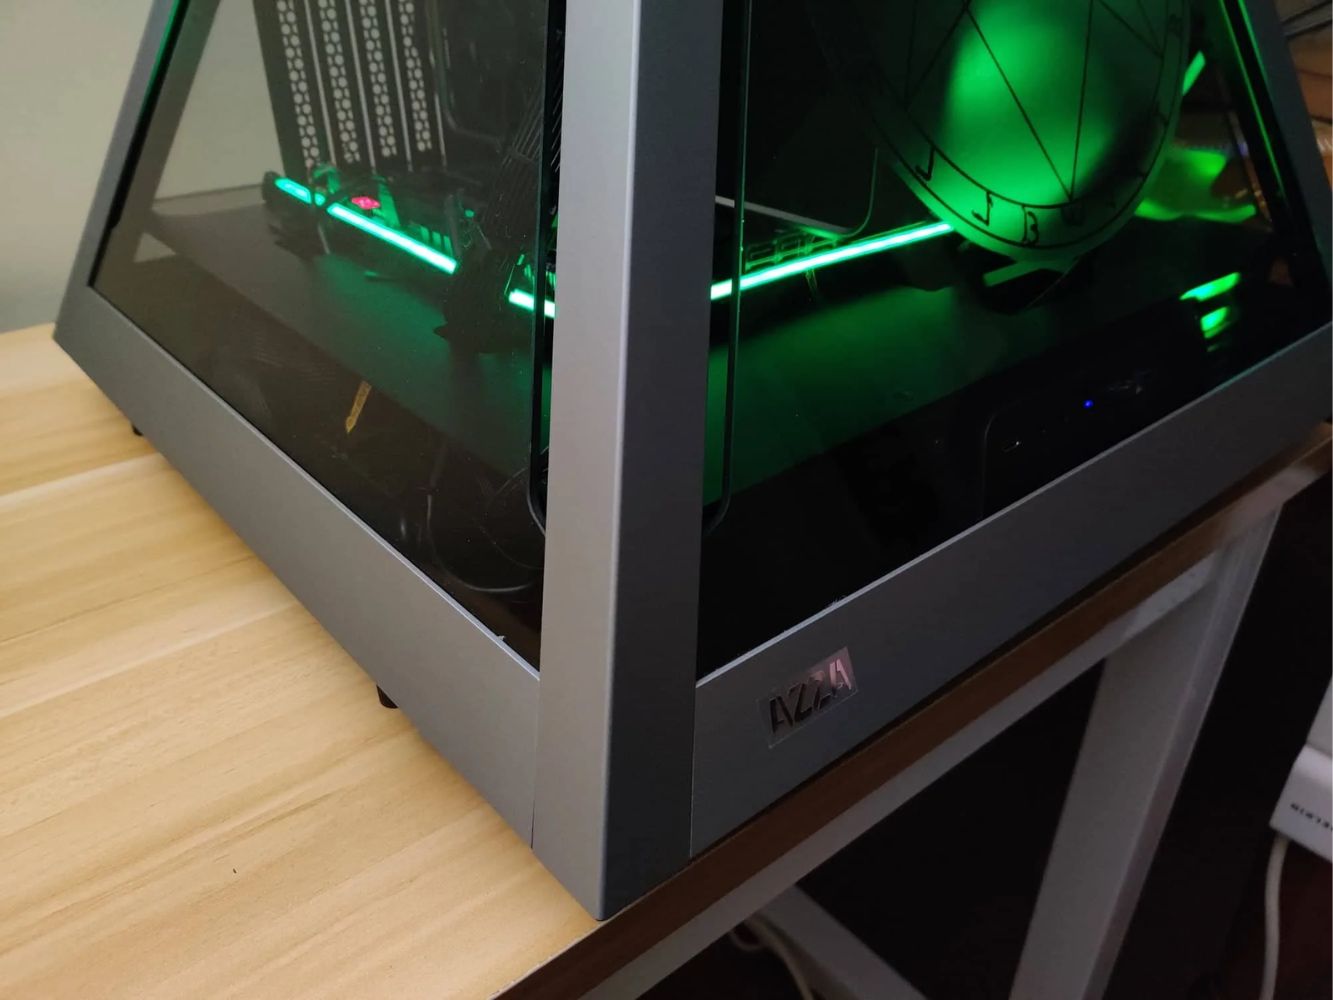
Congratulations on successfully installing a power supply into your Azza PC Case Mid Tower!
You are now ready to power up your rig and make the most of its capabilities.
Its crucial to handle sensitive components with care and ensure they are securely and properly installed.
Thank you for following this guide.
