Introduction
Installing a CPU cooler is a crucial step in building or upgrading a computer.
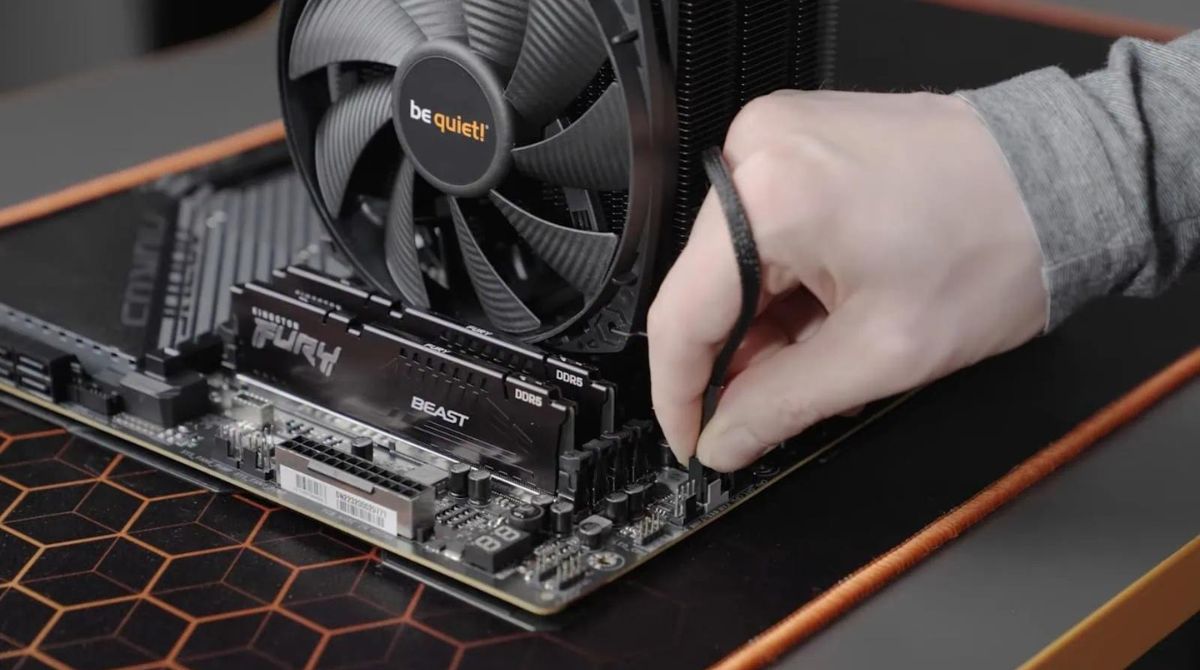
One popular CPU cooler brand is Be Quiet, known for its excellent cooling capabilities and low noise levels.
In this guide, we will walk you through the step-by-step process of installing aBe Quiet CPU cooler.
Before we begin, it is important to gather the necessary tools and materials.
It is also essential to ensure that you are working in a clean and static-free environment.
Static electricity can damage electronic components, including your CPU and motherboard.
Having everything you need in advance will ensure a smooth and efficient installation process.
It is always better to be prepared and organized before diving into any hardware installation.
Remember to follow the manufacturers recommendations and instructions for applying thermal paste specific to your CPU and cooler.
In such cases, double-check the installation steps and consult the user manual for troubleshooting guidance.
By following the step-by-step instructions in this guide, you have learned how to successfully install your CPU cooler.
Testing the installation ensures that your Be Quiet CPU cooler is operating as intended.
Regularly clean the cooler, reapply thermal paste when necessary, and ensure adequate airflow within your gear case.
