One of its key features is the ability to expand its storage capacity using a micro SD card.
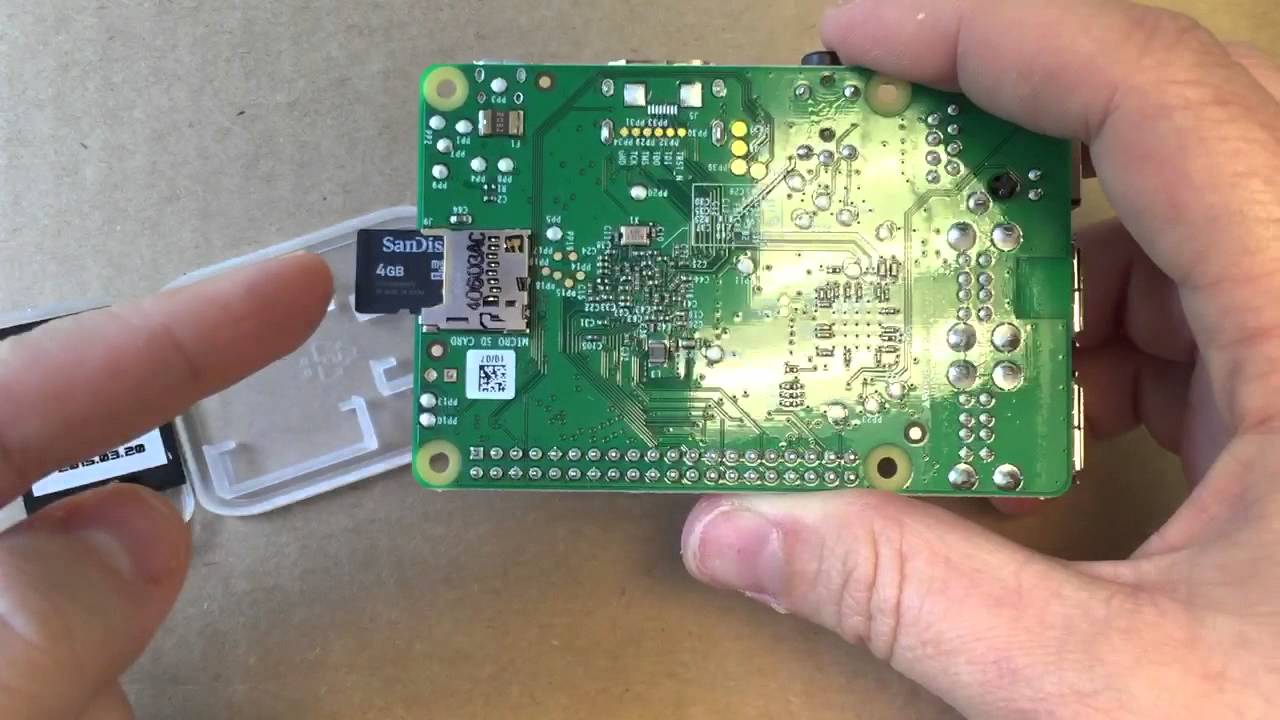
Inserting amicro SD cardinto a Raspberry Pi 3 may seem like a daunting task, especially for beginners.
Forceful insertion can lead to damage to both the micro SD card and the Raspberry Pi 3 board.
You have successfully inserted and verified the micro SD card installation in your Raspberry Pi 3.
Enjoy exploring the endless possibilities offered by this versatile and powerful computer.
Conclusion
Congratulations on successfully inserting a micro SD card into your Raspberry Pi 3!
Its important to ensure that you have all the required items before beginning the process.
Properly shutting down the rig is crucial for maintaining the integrity of your data.
Proper alignment of the micro SD card slot is essential for a successful insertion.
After inserting the micro SD card, we powered up the Raspberry Pi 3 and monitored the boot process.
Seeing the Raspberry Pi logo and boot-up messages on the screen indicated that the installation was successful.
Remember to regularly back up your data to prevent any potential loss.
Enjoy exploring and experimenting with this versatile and powerful computing gear!
