It is crucial to follow the instructions carefully and exercise caution to avoid any unwanted consequences.
Now, lets get started with the process of initializing an SSD for Windows 10 installation using EasyBCD.
What is a Solid State Drive (SSD)?
This fundamental difference gives SSDs a significant advantage in terms of speed, durability, and energy efficiency.
SSDs offer faster performance than HDDs due to their ability to access and transfer data at higher speeds.
Another significant benefit of SSDs is their improved energy efficiency.
This can result in longer battery life for laptops and lower energy consumption for desktop computers.
Why Initialize an SSD for Windows 10 Installation?
Initializing an SSD before installing Windows 10 is a crucial step to ensure compatibility and optimal performance.
These preparations will help you navigate the process smoothly and avoid any potential issues.
Heres how to download and install EasyBCD:
Congratulations!
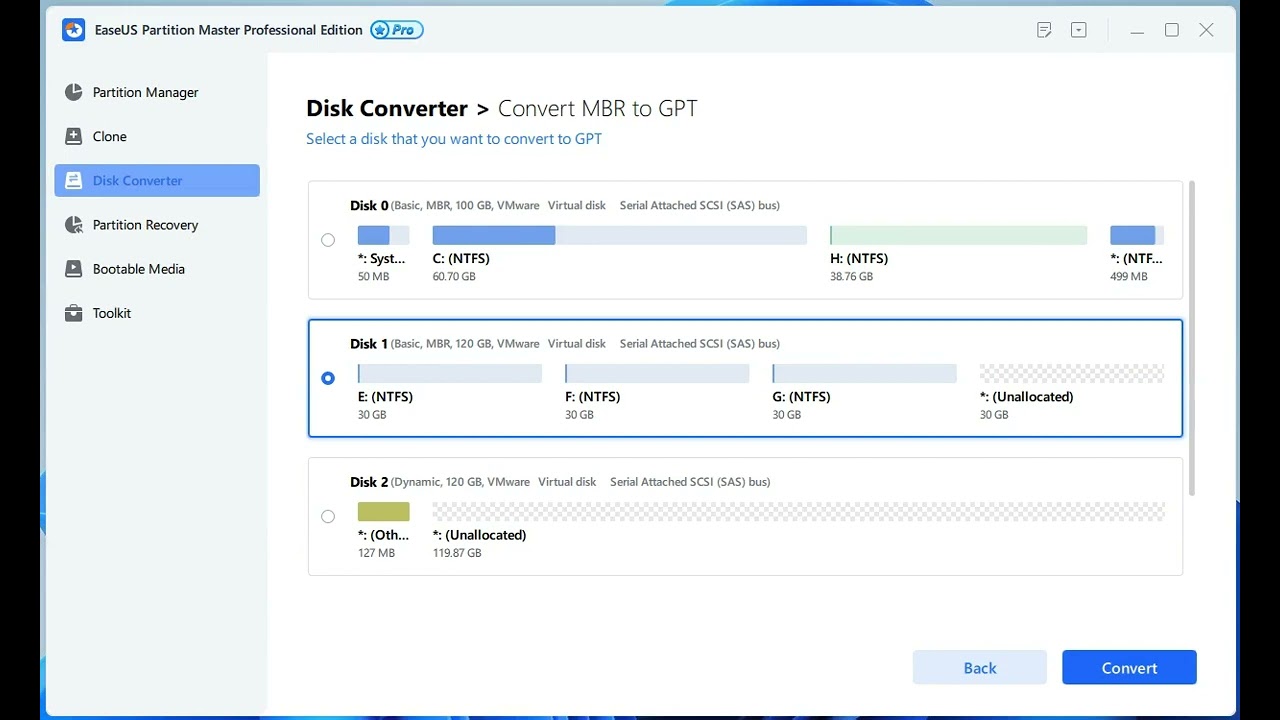
This section is where you will find the tools and options to initialize your SSD for Windows 10 installation.
We will explore this step in detail in the following section.
This step is crucial as it determines which drive will be prepared and optimized for the installation process.
You have successfully applied the changes in EasyBCD and restarted your system, initiating the SSD initialization process.
You are now ready to proceed with the Windows 10 installation using your newly initialized SSD.
By following these steps, you might successfully initialize your SSD for a smooth Windows 10 installation.
Remember to back up your data before initializing the SSD to prevent data loss.
Thank you for following this guide on initializing an SSD for Windows 10 installation.
