Introduction
Are you running out of storage space on your Xperia XA2 Ultra?
Expanding your unit’s storage with amicro SD cardoffers numerous benefits.
Let’s dive in and unlock the full potential of your unit’s storage capabilities!
Pay attention to factors such as the maximum supported capacity, speed class, and file system compatibility.
Consider the Maximum Supported Capacity
The maximum supported capacity of micro SD cards can vary across different devices.
Exceeding this limit can lead to performance issues and may render the card incompatible with your unit.
Common maximum capacities for micro SD cards include 32GB, 64GB, 128GB, 256GB, and 512GB.
Select a card with a capacity that falls within the supported range for your Xperia XA2 Ultra.
Common file systems for micro SD cards include FAT32, exFAT, and NTFS.
The tray will house designated slots for both the SIM card and the micro SD card.
Ensure that the tray is fully inserted and sits flush with the machine’s frame.
This is where you could manage the storage tweaks and initiate the formatting process for the micro SD card.
Select this option to begin the formatting process for the micro SD card.
Take this opportunity to review the confirmation message and ensure that you are formatting the correct storage unit.
At this point, the micro SD card is fully prepared to serve as expanded storage for your rig.
This can typically be done through the gadget’s built-in file manager or a third-party file management app.
you might choose individual files or opt to transfer entire folders containing multiple items.
This selection process allows you to customize the transfer based on your storage needs.
snag the appropriate transfer action to proceed with the process.
pick the micro SD card to designate it as the destination for the file transfer.
Depending on the file sizes and quantities, the transfer may take some time to complete.
This verification step ensures that the transfer was successful.
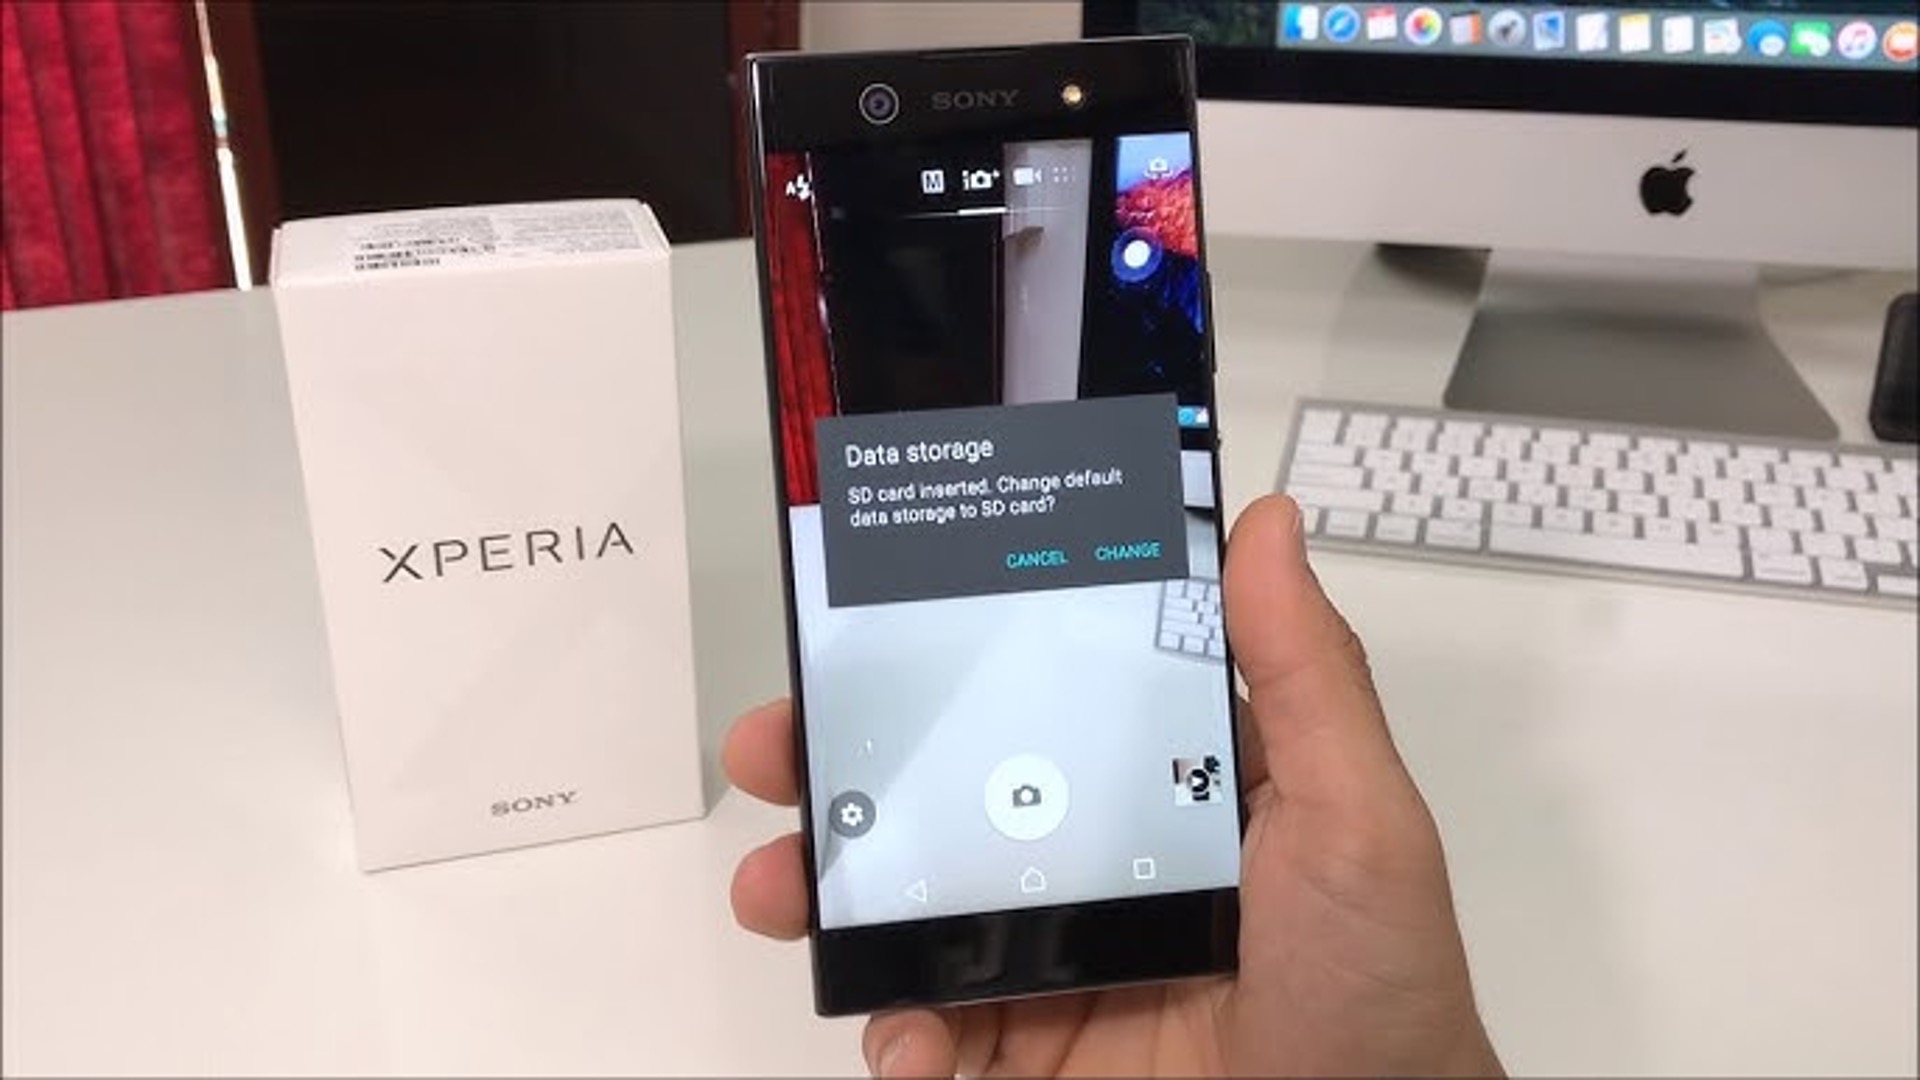
Select this option to pull up the default storage configuration.
pick the micro SD card as the preferred default storage location for your gear.
Review the confirmation message and proceed to confirm the default storage selection.
This proactive approach helps avoid compatibility issues and sets the stage for a smooth integration.
This step marks the physical integration of the micro SD card, preparing it for the subsequent configuration.
This strategic configuration maximizes the benefits of the expanded storage capacity and contributes to a more efficient storage experience.
