Introduction
Welcome to this step-by-step guide on how to hardwire your Ring Video Doorbell.
Hardwiring your Ring Video Doorbell offers several benefits.
Firstly, it eliminates the need for battery replacement, saving you time and money in the long run.
Secondly, it provides a reliable power source, ensuring uninterrupted functionality.
So, lets get started by gathering the necessary tools and materials.
By having everything ready, you’re free to ensure a smooth and efficient installation.
Being prepared will streamline the installation process and minimize any potential delays or frustrations.
Remember, safety should always be your top priority when working with electrical components.
verify to keep the screws or fasteners in a safe place, as you may need them later.
With the old doorbell out of the way, youre now ready to prepare the wires for hardwiring.
Now, the wires are stripped, twisted, labeled, and securely covered with electrical tape.
With the wires ready, its time to move on to connecting them to the Ring Video Doorbell.
Double-check the alignment and make any necessary adjustments before tightening the screws or fasteners completely.
Once the doorbell is mounted, give it a gentle tug to confirm that it is securely in place.
You have successfully hardwired and tested your Ring Video Doorbell.
Enjoy the convenience and peace of mind that come with having a reliable, always-powered doorbell camera.
Next, we removed the existing doorbell by disconnecting the wiring and carefully detaching the mounting bracket.
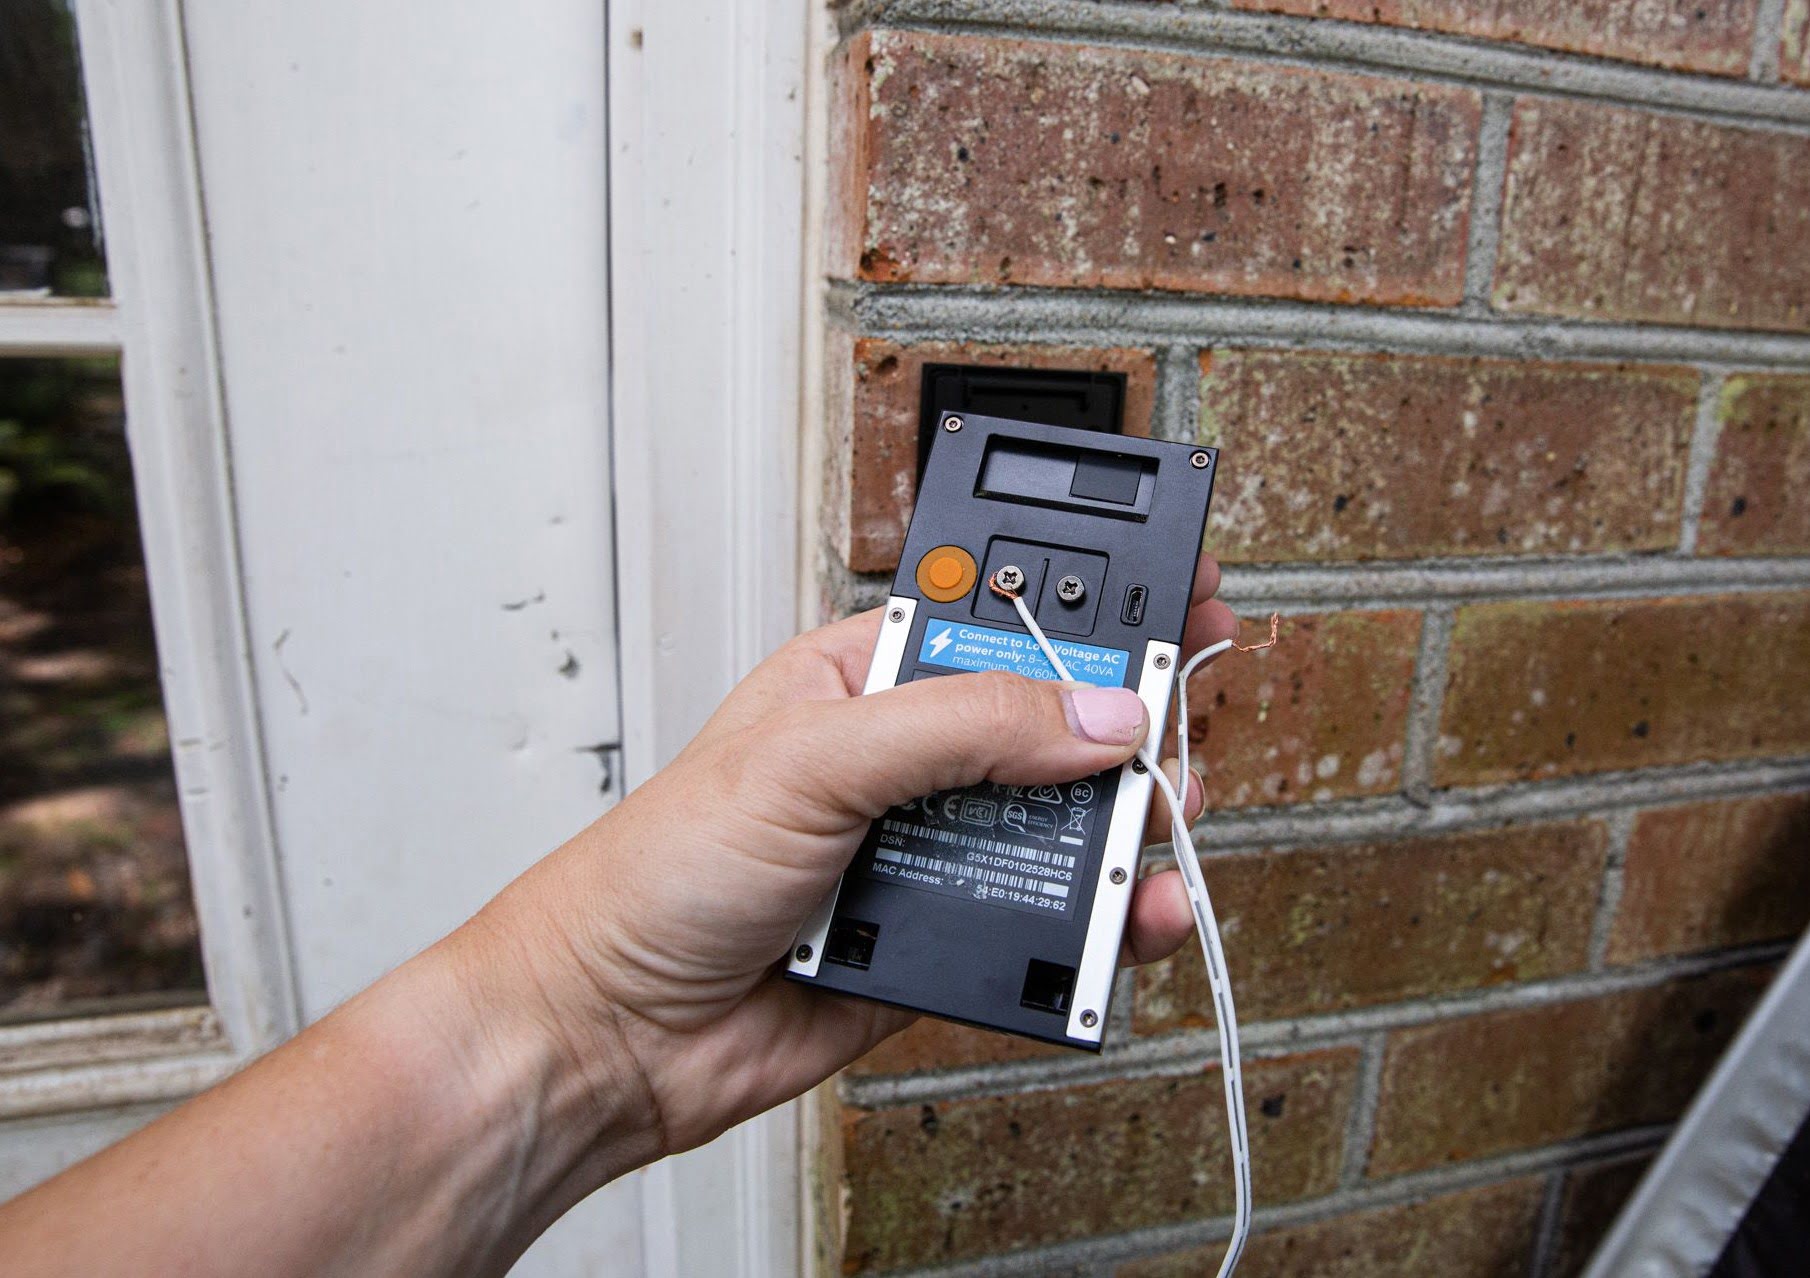
We then prepared the wires by inspecting, stripping, and twisting the ends.
With the wires ready, we connected them to the appropriate terminals on the Ring Video Doorbell.
Now, you’re able to enhance your home security and monitor your front door seamlessly.
Enjoy the convenience and peace of mind that comes with a hardwired Ring Video Doorbell!
