Let’s dive in and get your Thrustmaster Flight Stick ready for takeoff on your PC!
First and foremost, check the system requirements specified by the manufacturer for the Thrustmaster Flight Stick.
This information can typically be found in the user manual or on the official Thrustmaster website.
Next, consider the available USB ports on your PC.
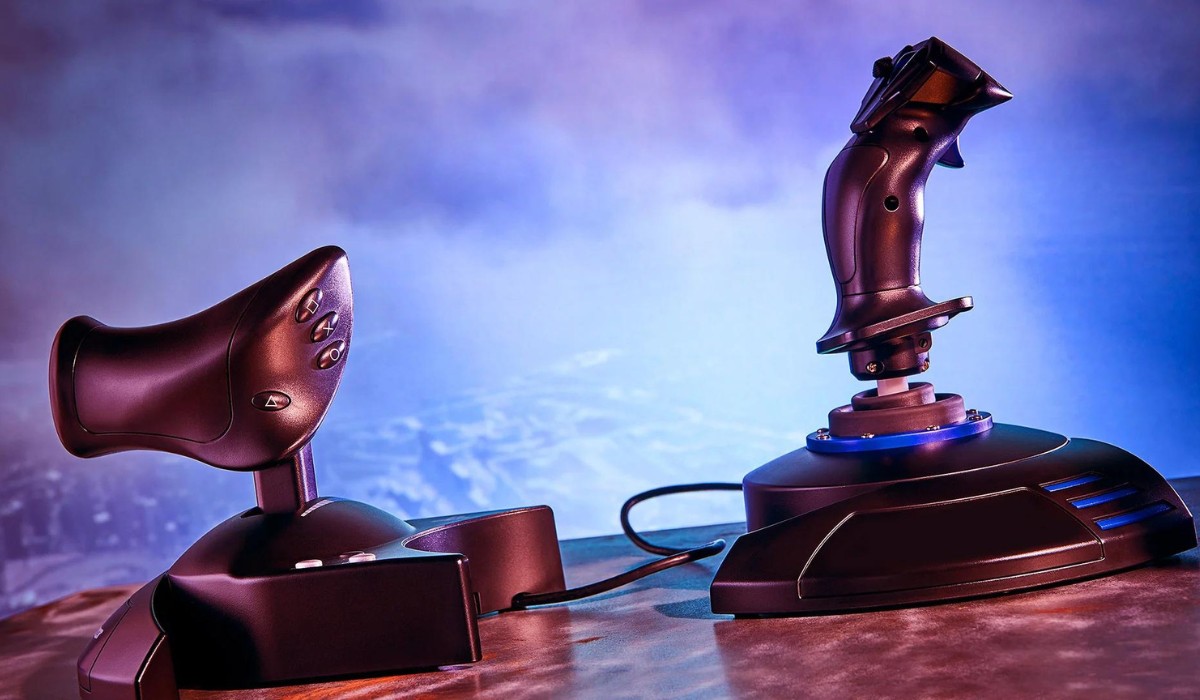
The Thrustmaster Flight Stick typically connects to a USB port for power and data transmission.
It’s important to confirm that you have an available USB port that is compatible with the flight stick.
This may involve visiting the Thrustmaster website to download the appropriate drivers for your PC’s operating system version.
These resources are typically available for download in the support or downloads section of the website.
After downloading the appropriate drivers, proceed to install them on your PC following the provided instructions.
Upon connection, your PC should automatically detect the flight stick and recognize it as a connected gadget.
This software allows you to access advanced parameters and calibration options to optimize the performance of the flight stick.
after you grab accessed the calibration software, follow the provided instructions to begin the calibration process.
Begin by selecting a game that is compatible with flight sticks and offers robust support for joystick input.
This customization process ensures that the flight stick responds intuitively to your inputs, enhancing the overall gameplay experience.
