Introduction
Welcome to this guide on how to get more disk space on your PC.
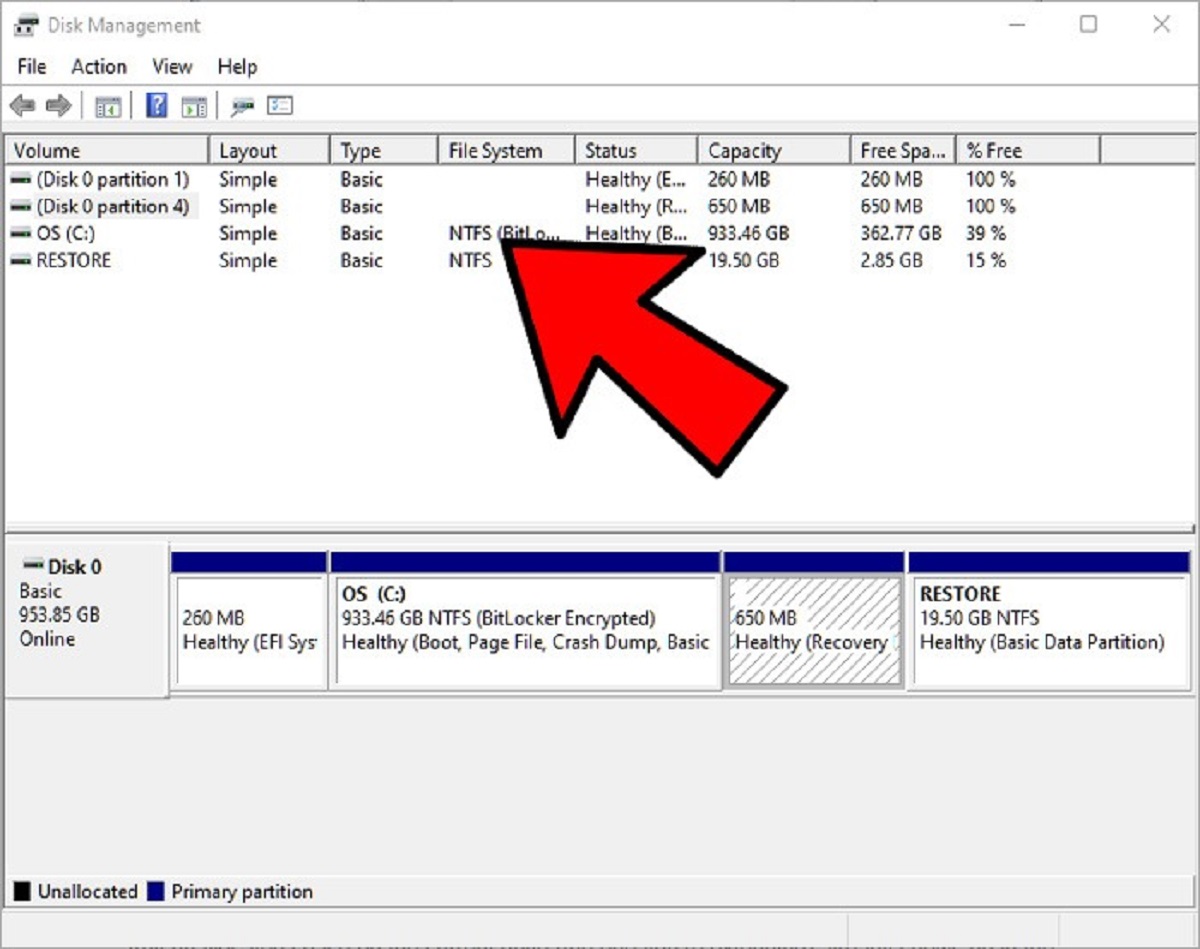
Running out of disk space can lead to sluggishness, errors, and even system crashes.
Simply search for Disk Cleanup in the Start menu, and fire up the utility.
pick the drive that you want to clean up, usually the C: drive, and click OK.
The utility will scan for temporary files and present you with a list of options to delete.
Once youve made your selections, click OK and let the utility clean up the files for you.
Another method to clean up temporary files is by manually deleting them.
Open File Explorer and navigate to the following location: C:\Users\YourUsername\AppData\Local\Temp.
In this folder, youll find various temporary files that you could delete.
Select all the files using Ctrl+A and press theDelete key on your keyboard.
Keep in mind that some files may be in use by running programs and cannot be deleted.
you’re free to safely skip those files.
To uninstall programs on Windows, you might use the Add or Remove Programs feature in the Control Panel.
Scroll through the list and identify the programs that you no longer use or need.
In addition to the built-in uninstallation feature, you may also consider using third-party uninstaller tools.
These duplicates not only occupy unnecessary space but can also make it difficult to locate and manage your files.
One popular tool is Auslogics Duplicate File Finder, which is free to download and easy to use.
The software will provide you with a list of duplicate files and give you the option to delete them.
Another method to find and delete duplicate files is by using the built-in search feature on your operating system.
Once the search results appear, choose the Search tab and select Size to sort the files by size.
This will help you identify potential duplicates with similar file sizes.
you’re free to then manually review these files and delete the duplicates.
When deleting duplicate files, exercise caution and ensure youre deleting the correct files.
Its always a good idea to back up your important data before performing any deletion tasks.
Be mindful that some files may have identical names but are stored in different locations for a specific reason.
Windows users have the option to compress files and folders using the built-in compression feature.
Compressed files retain their original contents, but they take up less space on your hard drive.
Its important to note that not all files are suitable for compression.
These tools offer more advanced compression options and support a wider range of file formats.
Its a practical approach to managing your storage and ensuring you have ample space for your important data.
go for the desired files or folders, right-click, and choose Cut or Copy.
Create folders and subfolders that reflect the structure of your files for easy retrieval later on.
External storage devices come in various storage capacities, so choose a machine that can accommodate your needs.
This could be another external storage rig, cloud storage, or a internet-attached storage (NAS) rig.
Cloud storage allows you to store your files and access them from any equipment with an internet connection.
These services offer a certain amount of free storage and additional storage options for a fee.
To get started with cloud storage, sign up for an account with the provider of your choice.
you might then move files from your local hard drive to the cloud storage folder.
These files will then be uploaded and stored securely in the cloud.
Cloud storage solutions offer numerous benefits beyond just freeing up disk space.
When using cloud storage, its important to be mindful of storage limits and data usage.
Most providers offer tiered storage plans, so choose a plan that aligns with your storage needs.
This ensures that you only have the necessary files stored locally while the rest remain in the cloud.
These files can include temporary internet files, system files, previous Windows installations, and more.
Once youve made your selections, snag the OK button to start the cleanup process.
Depending on the amount of data to be deleted, the process may take a few moments to complete.
Be patient and let the tool carry out the necessary operations.
While hibernation can be useful, it requires a significant amount of disk space to store the hibernation file.
To disable hibernation on a Windows computer, pop crack open the Command Prompt as an administrator.
In the Command Prompt window, pop in the following command and hit Enter:powercfg.exe /hibernate off.
This command will block the hibernation feature on your box.
By disabling hibernation, it’s possible for you to potentially free up several gigabytes of disk space.
In the Command Prompt window, punch in the following command and hit Enter:powercfg.exe /hibernate /size.
Choose the option that best suits your needs and storage requirements.
Its a good idea to make a note of any important information or export bookmarks before clearing these data.
It can also help improve online privacy and security by removing traces of your internet activity.
When you delete files on Windows, they are moved to the Recycle Bin instead of being permanently deleted.
Right-choose the Recycle Bin icon and select Empty Recycle Bin.
A confirmation message will appear, asking if you want to permanently delete all the files.
Click Yes to proceed with emptying the bin.
Its important to note that once you empty the Recycle Bin, the deleted files cannot be recovered.
Keep in mind that the Recycle Bin has a separate storage limit, which can be adjusted.
By default, it can take up to 5% of your disk space.
The Recycle Bin acts as a safety net, allowing you to restore files you may have accidentally deleted.
In the System Properties window, tap on the System Protection tab.
Under the Protection options section, youll see a list of the available drives and their corresponding protection status.
grab the drive(s) for which you want to disable System Restore and hit the Configure button.
In the new window, grab the option to Disable system protection.
This will turn off System Restore for the selected drive(s).
However, consider alternative backup and recovery methods to ensure you have a fallback option if problems arise.
Language packs contain resources for displaying the user interface and translating the operating system and applications into different languages.
Having multiple language packs installed can consume a substantial amount of storage.
From there, tap on Language or Language preferences.
grab the languages you no longer need or use and choose the Remove or Uninstall button.
Confirm the action when prompted.
Windows may prompt you to drop off and log back in for the changes to take effect.
However, be cautious when removing language packs.
This ensures that your storage space is not unnecessarily allocated to languages you do not require.
In summary, removing unnecessary language packs can free up disk space and optimize your systems performance.
To manage startup programs on Windows, you’re free to use the built-in Task Manager.
To open Task Manager, right-press the taskbar and select Task Manager from the menu.
In the Task Manager window, punch the Startup tab.
This tab displays a list of programs that launch automatically when you start your gear.
Evaluate the list and identify programs that you dont need to launch at startup.
Right-select each unnecessary program and choose Disable.
Disabling a program will prevent it from automatically starting up when you sign on to your box.
Its important to exercise caution when disabling startup programs.
Some programs are essential for your computers functionality or required by specific applications.
This, in turn, leads to a faster startup and improved overall performance of your PC.
This helps maintain a lean startup process and avoids unnecessary resource consumption.
To identify large unused files on your PC, you’re free to utilize various methods.
One way is to use the built-in search feature in your operating system.
Carefully decide which files you’ve got the option to safely delete to free up disk space.
Before deleting any files, its always advisable to back up important data.
After performing a backup, you’re able to proceed to delete the identified large unused files.
Once deleted, the files will no longer take up space on your hard drive.
These tools can help you identify and remove large files more efficiently.
By keeping your storage clean and optimized, you ensure that your rig operates smoothly and efficiently.
Remember to periodically perform this task to prevent large files from accumulating and taking up unnecessary space.
Disabling Windows update notifications can help you regain control over your PC and minimize interruptions.
To disable Windows update notifications, it’s possible for you to make changes to the Windows Update configs.
bring up the controls app by pressing Win + I and navigate to Update & Security.
In the Windows Update section, hit Advanced options.
Under the Advanced options, youll find various options related to Windows updates.
Locate the Receive updates for other Microsoft products when you update Windows option and toggle it off.
This will prevent Windows from displaying notifications about non-Windows updates.
Next, you’re free to pause automatic updates for a specified period.
Scroll to the Pause updates section and hit the Pause until drop-down menu.
pick the desired date from the calendar to pause updates temporarily.
Disabling Windows update notifications can help improve productivity and minimize disturbances.
However, its important to consider the security implications of disabling notifications entirely.
Ultimately, the decision to disable Windows update notifications depends on your preferences and requirements.
If you find the frequent notifications disruptive, disabling them can provide a more uninterrupted computing experience.
Just remember to balance this with the importance of regularly installing Windows updates for system security.
Keep in mind that disk space management is an ongoing process.
Remember to exercise caution when deleting files or disabling system features.
