Getting into the BIOS can be useful in several scenarios.
Additionally, accessing the BIOS can be necessary when troubleshooting or performing a system update.
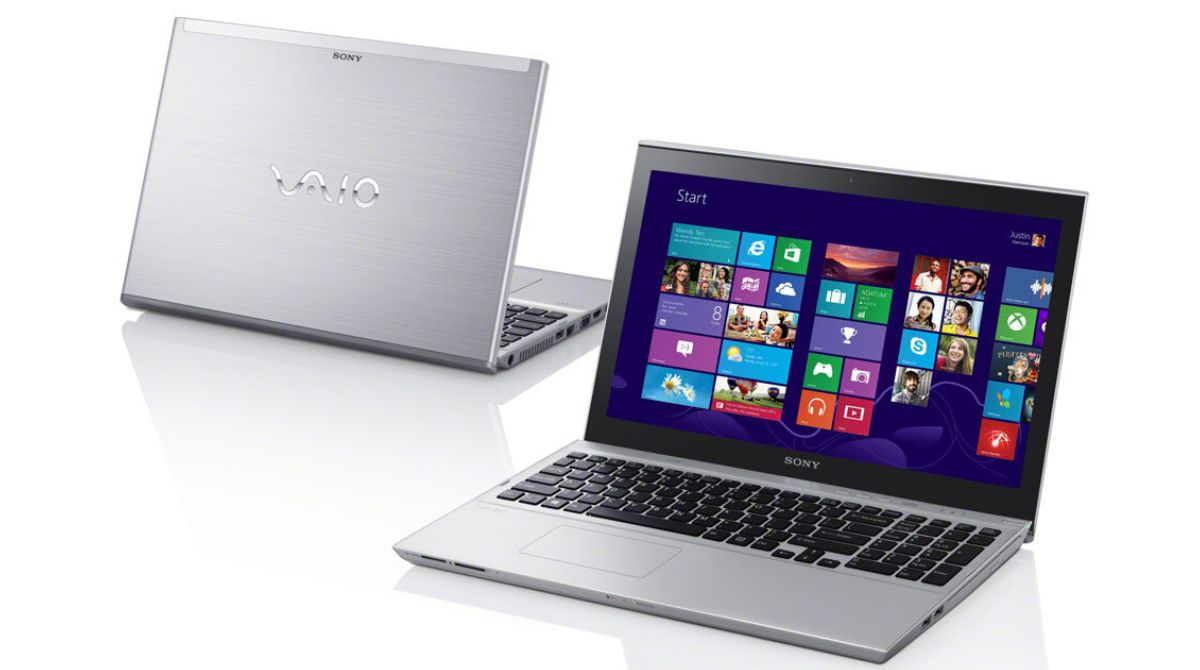
Knowing how to enter the BIOS on your SonyVaio T Series Ultrabookis essential to perform these tasks efficiently.
Whether you are a novice or experienced user, we have you covered with step-by-step instructions for each method.
Why access BIOS on Sony Vaio T Series Ultrabook?
Lets take a closer look at the reasons why you might need to reach the BIOS.
Hardware Configuration: The BIOS allows you to configure various hardware controls on your Sony Vaio T Series Ultrabook.
Accessing the BIOS allows you to check for and install available updates for the firmware of your gear.
Keeping the BIOS up to date ensures optimal performance and compatibility with the latest hardware and software technologies.
Security Features: The BIOS also offers security features for your Sony Vaio T Series Ultrabook.
This dedicated hardware button is specifically designed to provide quick access to various system functions, including the BIOS.
Heres how you’ve got the option to use it:
1.
Start with your Sony Vaio T Series Ultrabook turned off.
confirm it is not in sleep or hibernation mode.
Locate theAssist button on your Sony Vaio T Series Ultrabook.
It is usually located at the top-right corner of the keyboard or near the power button.
Press the Assist button once.
This will power on your gadget and bring up the VAIO Assist screen.
On the VAIO Assist screen, you will see various options to troubleshoot and access different system functions.
Use the keyboard arrow keys to navigate to the BIOS Setup option.
- after you snag selected the BIOS Setup option, press Enter.
This will take you directly into the BIOS interface of your Sony Vaio T Series Ultrabook.
When youre done with the modifications, save the changes and exit the BIOS.
Youve successfully accessed the BIOS on your Sony Vaio T Series Ultrabook using the Assist button.
Heres how:
1.
Start by turning on your Sony Vaio T Series Ultrabook and letting it boot into the operating system.
Once you are on the desktop, look for the VAIO Care software.
Launch the VAIO Care software by double-clicking on its icon.
Look for the Recovery & restore or Advanced tools section.
A new window or menu will appear with several advanced tools.
Look for the option that says Start BIOS setup.
press it to jump into the BIOS interface.
You will be taken directly into the BIOS setup of your Sony Vaio T Series Ultrabook.
Here, it’s possible for you to navigate through the different tweaks and make any necessary modifications.
After you have made the required changes, save the controls and exit the BIOS.
You have successfully accessed the BIOS on your Sony Vaio T Series Ultrabook using the VAIO Care software.
Method 3: Using the Advanced Startup options
1.
Start by ensuring that your Sony Vaio T Series Ultrabook is turned off.
Turn on your laptop and immediately press and hold the F11 key.
Keep holding it until you see the Choose an option screen.
On the Choose an option screen, select Troubleshoot.
In the Troubleshoot menu, choose Advanced options.
Under the Advanced options, select UEFI Firmware configs or Startup configs (the exact wording may vary).
- tap on the Restart button to reboot your Sony Vaio T Series Ultrabook and get into the BIOS.
After the restart, you will see a list of startup options.
Press the corresponding key (usually F2 or Del) to enter the BIOS setup.
- after you grab made the desired changes, save the controls and exit the BIOS.
Method 4: Using the Reboot to UEFI option
1.
Start by ensuring that your Sony Vaio T Series Ultrabook is powered on and running the Windows operating system.
From the Windows Start menu, tap on the Power button.
While holding down the Shift key, choose the Restart option.
This will initiate a reboot of your laptop.
As your Sony Vaio T Series Ultrabook restarts, it will bring up the Advanced Startup options.
On the Advanced Startup menu, select Troubleshoot.
In the Troubleshoot menu, choose Advanced options.
Under the Advanced options, select UEFI Firmware configs or a similar option.
After making the necessary changes, save the parameters and exit the BIOS.
Throughout this article, we explored four different methods to enter the BIOS:
1.
