Introduction
Welcome to the fascinating world of 3D printing!
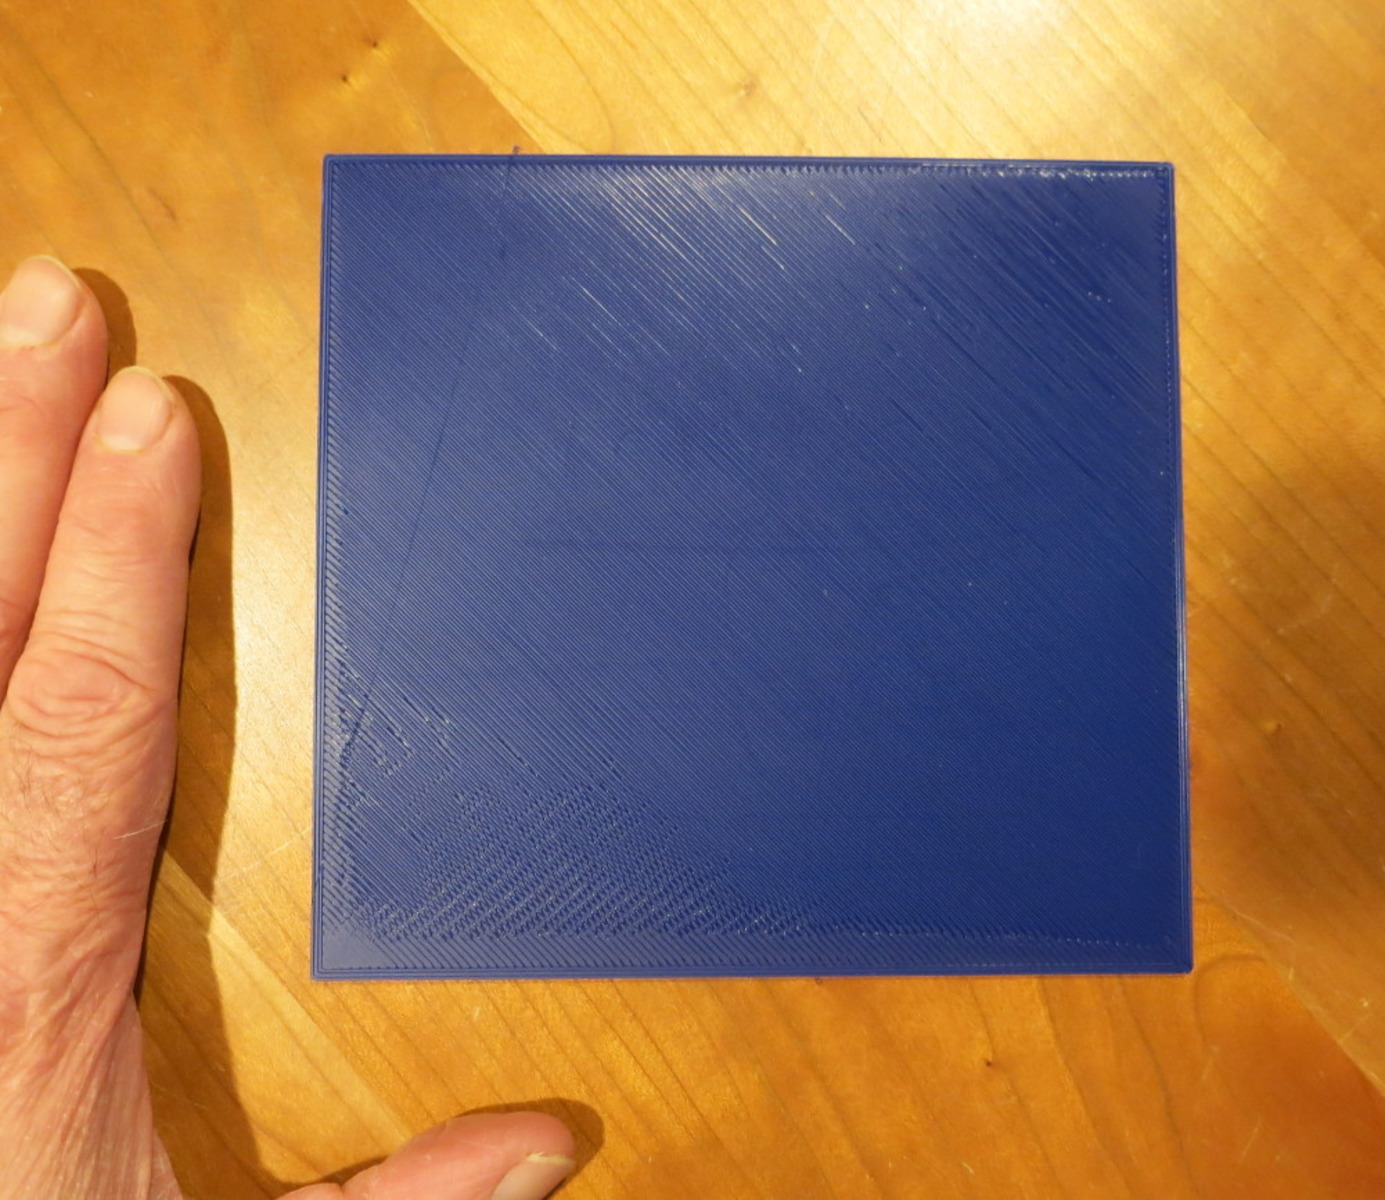
Getting a good first layer can be a challenge, but fear not!
So why is the first layer so important?
Well, it plays a vital role in determining the overall quality and success of your print.
It serves as the groundwork, ensuring that subsequent layers adhere properly and form a strong, solid structure.
Understanding the significance of a good first layer is crucial in achieving high-quality prints.
One of the primary reasons why a good first layer is essential is adhesion.
Another vital aspect is ensuring an even and consistent first layer deposition.
The thickness and uniformity of the first layer have a direct impact on the overall print quality.
Properly leveled and calibrated print beds help maintain the optimum distance between the nozzle and the bed.
Furthermore, a well-executed first layer enhances the prints overall finish and aesthetics.
This results in a visually pleasing print that showcases the intricate details and layers of your design.
In summary, the first layer of a 3D print is crucial for achieving successful and high-quality prints.
It ensures proper adhesion, layer consistency, and overall print stability.
The bed surface determines the level of adhesion and grip between the printed object and the printing surface.
Lets explore some popular bed surface options to help you go for the right one for your needs.
BuildTak: BuildTak is a popular bed surface known for its strong adhesion properties.
It provides a textured surface that helps the filament adhere firmly during printing.
Glass: Glass beds, such as borosilicate glass, offer a smooth and flat surface for printing.
Glass provides excellent adhesion and can offer a glossy finish to the bottom layer of prints.
Its particularly recommended for prints that require a high level of detail and accuracy.
PEI (Polyetherimide): PEI is a robust and durable bed surface that offers excellent adhesion.
It provides a semi-textured surface that promotes strong first layer adhesion while allowing for easy print removal once cooled.
This ensures minimal damage to the print or the bed surface.
These plates are particularly useful for printing large or flat objects that require careful removal to prevent warping.
Its essential to choose a bed surface that is compatible with the throw in of filament you are using.
Ultimately, the choice of bed surface depends on your specific needs and preferences.
Lets explore the importance of bed leveling and some techniques to help you achieve a level bed.
Why is bed leveling important?
Here are some techniques to help you level your print bed:
1.
Manual Leveling: This method involves adjusting the bed leveling screws manually.
The probe detects the distance between the nozzle and bed, making adjustments as necessary.
This method simplifies the leveling process and ensures consistent results.
It ensures that each layer is deposited at the correct height, resulting in accurate and well-formed prints.
Adjusting the nozzle height allows for precise filament deposition and optimized adhesion.
Lets explore the importance of nozzle height adjustment and some techniques to help you get it just right.
Why is adjusting nozzle height important?
The correct nozzle height ensures that the filament is deposited onto the bed at the optimal distance.
Here are some techniques to help you adjust the nozzle height:
1.
Manual Adjustment: To manually adjust the nozzle height, first ensure that the bed is leveled properly.
Then, move the printhead to one of the designated leveling points.
Place a piece of paper or a feeler gauge between the nozzle and the bed.
Z-Offset Adjustment: Many 3D printers have a feature called Z-offset adjustment.
This feature allows you to fine-tune the nozzle height during printing.
Remember that different filaments may require slightly different nozzle heights for optimal adhesion.
Experimenting with different nozzle heights and observing the results will help you find the perfect setting for each filament.
Lets explore the importance of calibrating extrusion options and some techniques to help you achieve optimal results.
Why is calibrating extrusion configs important?
These inconsistencies can cause poor adhesion, layer separation, or weak structural integrity.
Here are some techniques to help you calibrate your extrusion prefs:
1.
Calibrating the E-steps ensures the extruder is accurately pushing out the correct amount of filament.
This ensures precise filament extrusion for each print.
Filament Diameter: Correctly setting the filament diameter is essential for accurate extrusion.
Measure the actual diameter of your filament using calipers to ensure it matches the setting in your slicer software.
Inaccurate filament diameter input can result in inconsistent extrusion, affecting the overall print quality and adhesion.
Temperature Calibration: Proper temperature calibration is crucial for achieving optimal extrusion.
Different filaments have specific temperature requirements.
Use the manufacturers recommended temperature as a starting point, but be prepared to adjust it as needed.
Lets explore the importance of fine-tuning temperature and speed and some techniques to help you achieve the best results.
Different filament materials have specific temperature requirements determined by their unique properties.
Experimenting with temperature parameters is crucial to finding the optimal temperature for your specific filament.
Start by using the manufacturers recommended temperature as a baseline.
From there, make slight adjustments up or down in increments of 5 degrees Celsius.
Observe the print quality, adhesion, and any issues such as stringing or under-extrusion.
The speed at which filament is laid down affects the smoothness, accuracy, and adhesion of each layer.
Print too slow, and you risk over-extrusion, longer print times, and potential print failures.
Begin by using the recommended speed controls provided by the filament manufacturer or your slicing software.
A brim is a thin layer of filament that extends outward from the base of the model.
The brim is usually easy to remove and does not significantly affect the overall design of the print.
The raft provides excellent adhesion and stability, making it easier to remove the print once it is complete.
Here are a few considerations when deciding whether to use a brim or raft:
1.
Material and Bed Adhesion: Some filaments, like ABS, can have challenges with bed adhesion.
Lets explore the importance of optimizing slicer parameters and some key parameters to consider.
Layer Height: The layer height refers to the thickness of each individual layer in your print.
A larger layer height reduces print time but sacrifices some detail.
Infill Density: The infill density determines the internal structure of your printed object.
It affects the strength, weight, and print time.
Optimizing the support structures in your slicer software ensures that they are generated where needed while minimizing unnecessary supports.
Print Speed: The print speed determines how quickly the printer moves during the printing process.
It affects not only print time but also the overall print quality and adhesion.
A higher print speed can reduce print time, but it may sacrifice some detail and accuracy.
Proper retraction controls prevent issues like stringing or oozing of filament.
Experiment with retraction distance and speed to minimize stringing and achieve clean, accurate prints.
These are just a few examples of the slicer parameters that can be optimized to enhance your 3D prints.
Lets explore some common first layer problems and techniques to resolve them.
Ensure that the print bed is clean, free from dust, oils, or debris.
Double-check the bed leveling to ensure the proper distance between the nozzle and the bed.
This can be due to uneven cooling or temperature fluctuations.
Enclosing the printer or using a heated build chamber can help maintain a consistent temperature throughout the print.
This can lead to a rough or distorted first layer.
This can be because of a clogged nozzle, incorrect filament diameter prefs, or insufficient filament tension.
Verify the bed leveling process and ensure proper z-axis movement to maintain consistent layer thickness throughout the print.
When troubleshooting these issues, its important to address one problem at a time and make incremental changes.
These steps ensure proper adhesion, layer consistency, and overall print stability.
We also emphasized the importance of fine-tuning temperature and speed options to optimize filament flow and adhesion.
Troubleshooting common first layer issues is an essential skill for any 3D printer enthusiast.
