Introduction
Welcome to the exciting world of Corsair gaming headsets!
Let’s get started!
The packaging typically includes the headset, awireless USBadapter, and a USB charging cable.
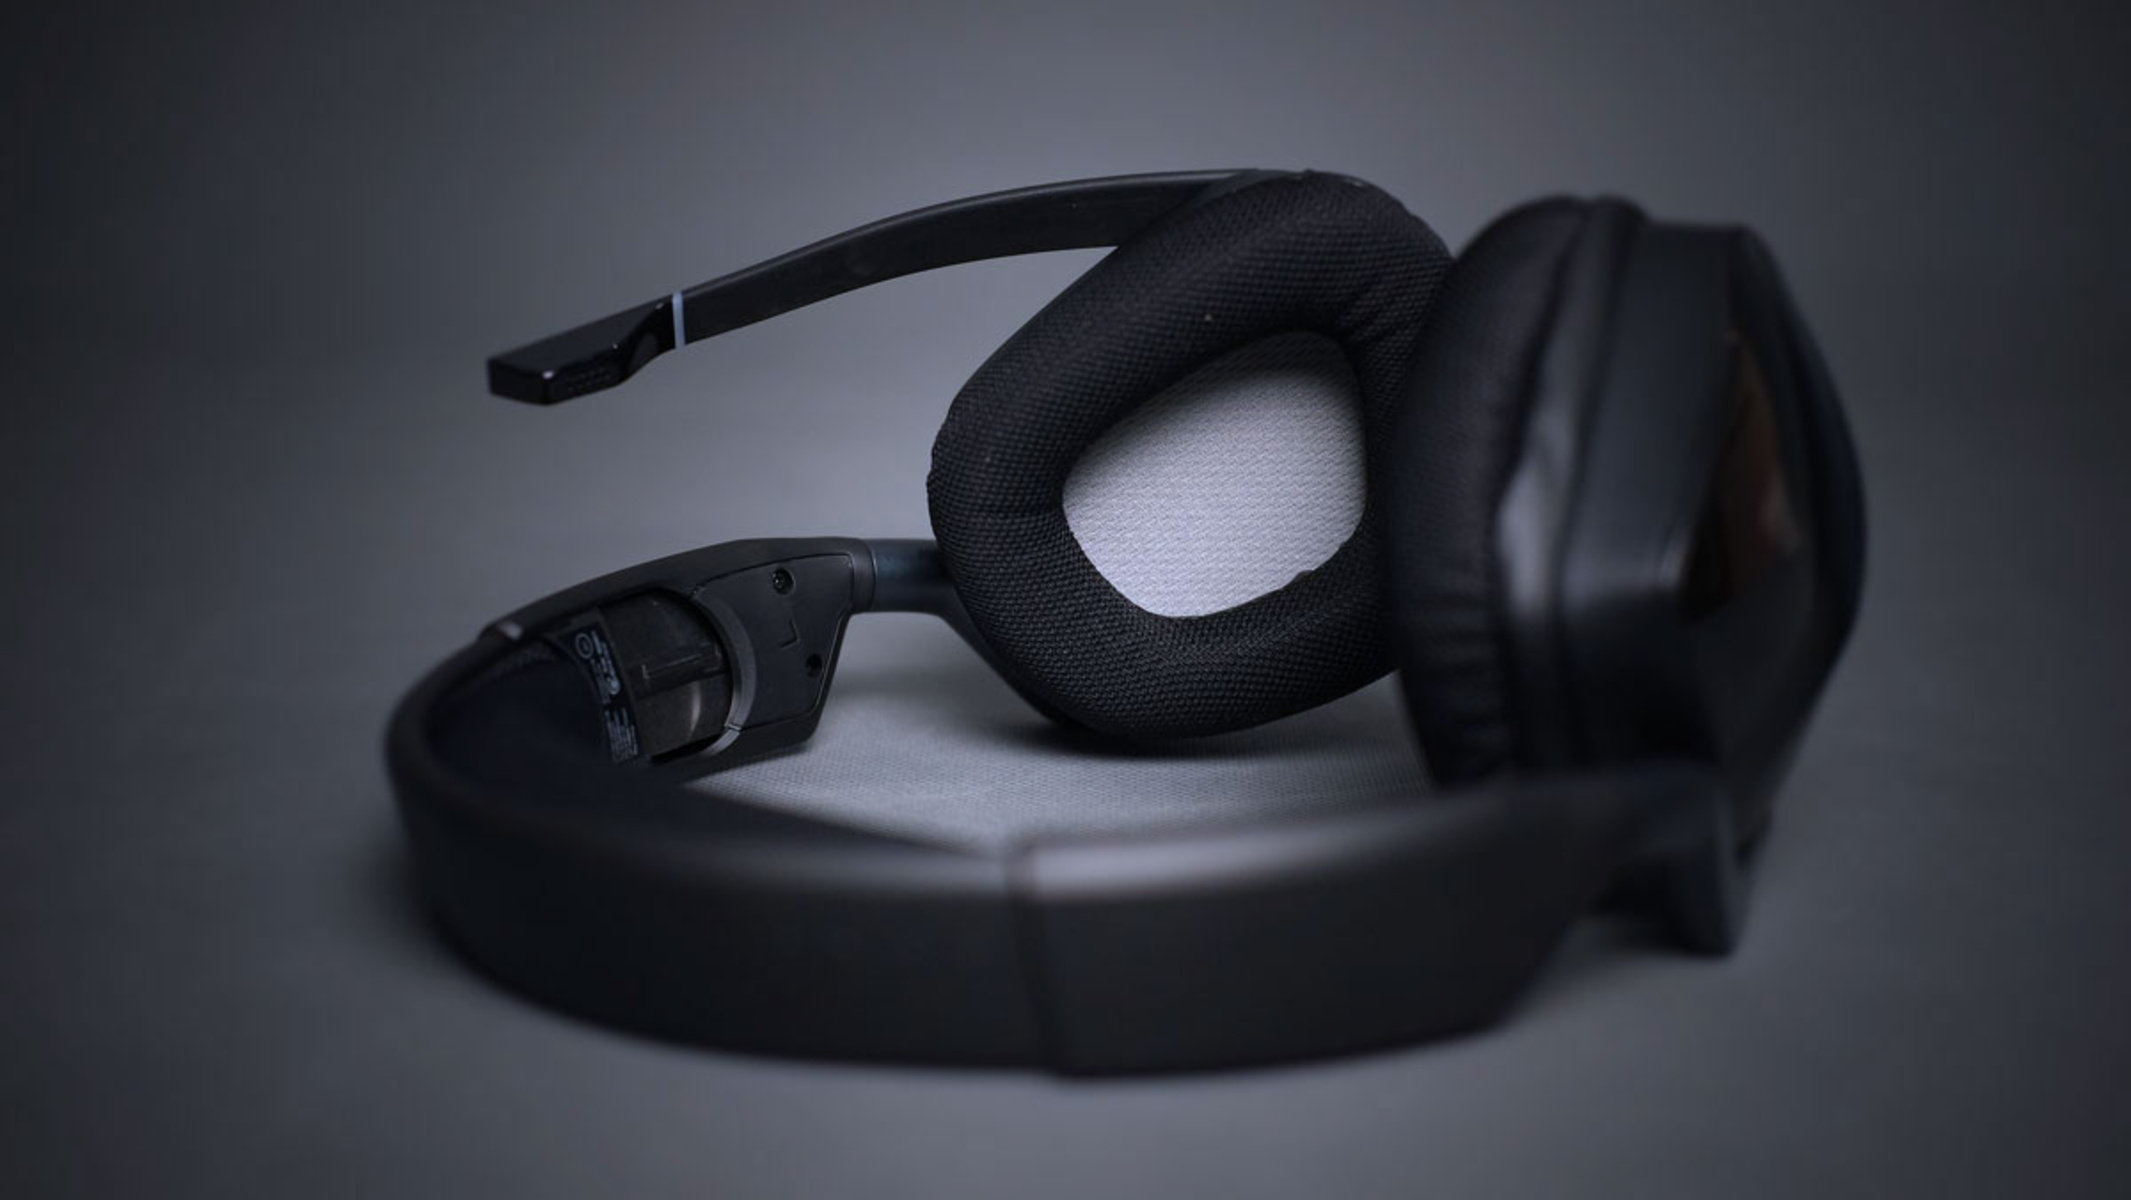
Upon unboxing, ensure that all the components are present and in pristine condition.
Once you’ve confirmed the contents, it’s time to set up the headset.
After the headset is fully charged, power it on and initiate the pairing mode.
Simultaneously, insert the wireless USB adapter into an available USB port on your PC.
The headset should automatically pair with the adapter, establishing a seamless wireless connection.
Let’s delve into the installation and configuration of the CUE software in the next step.
To begin the installation process, navigate to the official Corsair website and locate the CUE software download section.
Navigate through the various tabs to explore the audio parameters, equalizer presets, and RGB lighting controls.
Fine-tune the parameters to create a personalized audiovisual experience that resonates with your gaming style and preferences.
Begin by ensuring that the wireless USB adapter is securely inserted into an available USB port on your PC.
Next, power on your headset and activate the pairing mode.
The flashing lights indicate that the headset is actively seeking to pair with the wireless USB adapter.
Simultaneously, ensure that your PCsBluetoothor wireless connectivity is enabled to facilitate the pairing process.
Experiment with different equalizer presets to identify the configuration that best complements your preferred gaming genres.
Commence the testing phase by launching your favorite games and immersing yourself in the audiovisual splendor that awaits.
Simultaneously, immerse yourself in the captivating visual ambiance crafted through the RGB lighting customizations.
