Introduction
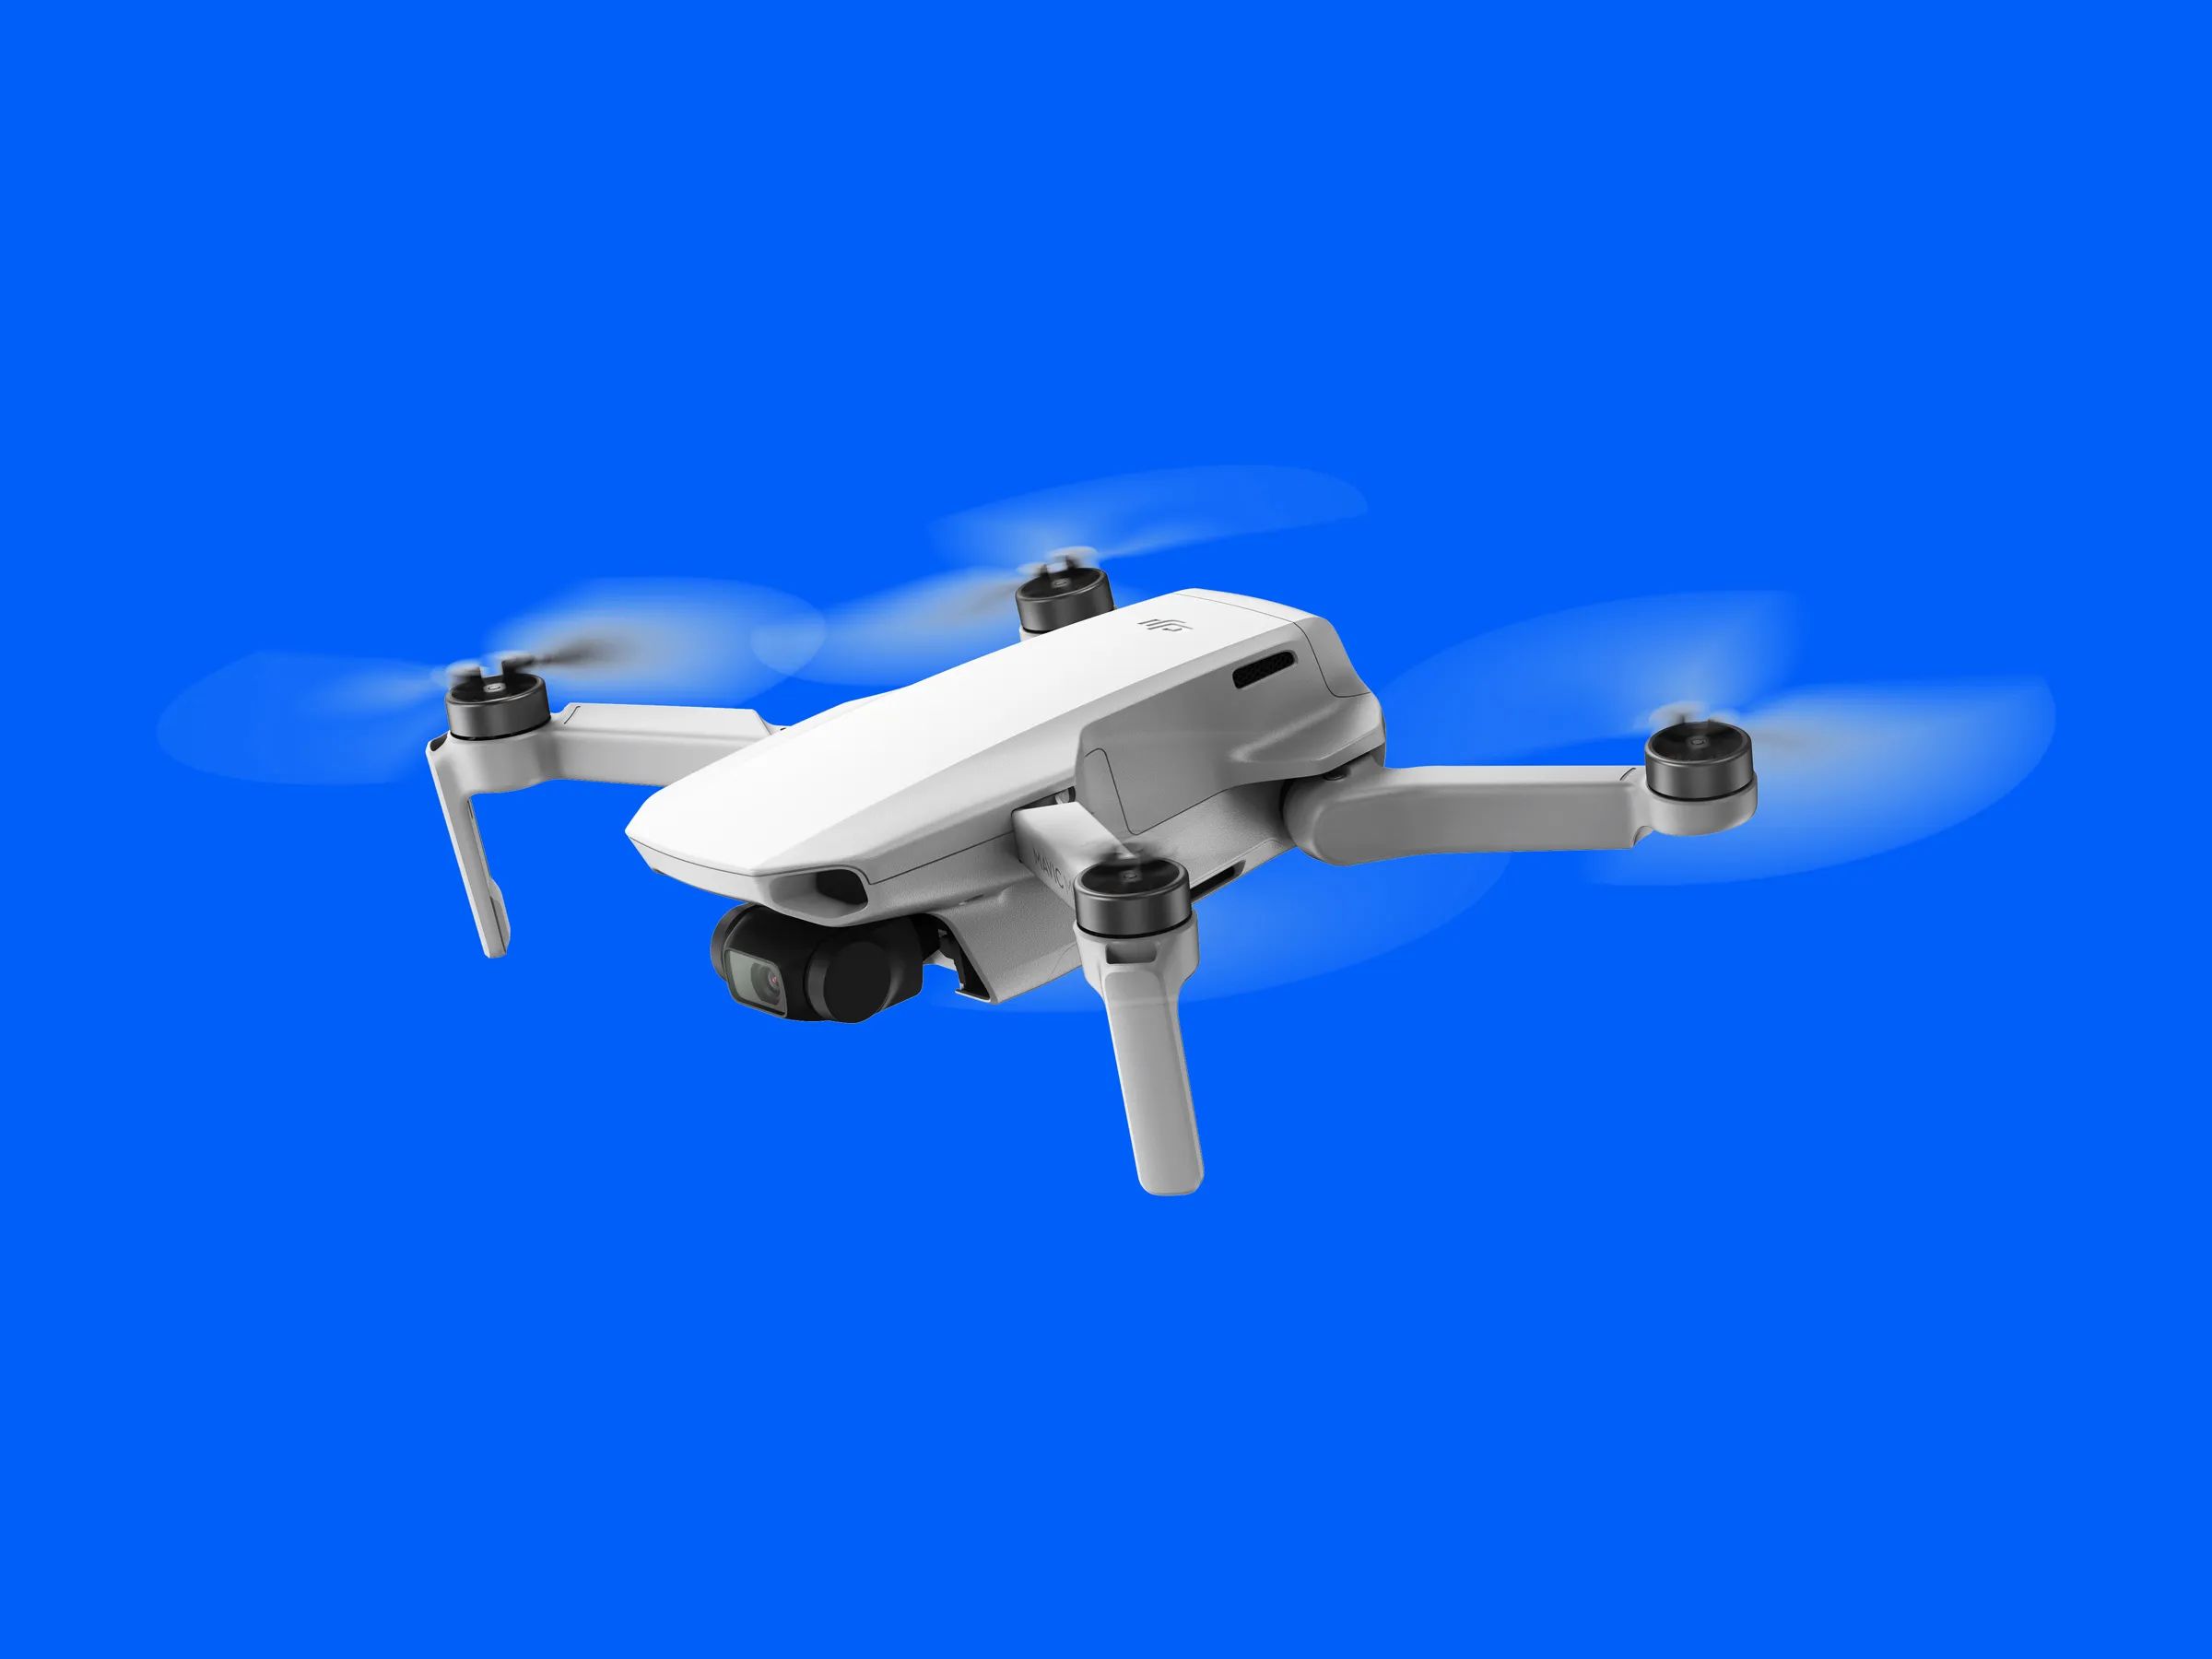
Welcome to the exciting world of flying with the DJI Mavic Mini!
This lightweight and portable drone packs a punch with its impressive features and user-friendly interface.
Before we delve into the specifics, lets take a moment to appreciate the Mavic Minis key features.
Heres how to get started:
1.1 Unboxing:
1.
Carefully kick off the packaging of the Mavic Mini and remove all the contents.
Take a moment to appreciate the drones compact size and lightweight build.
Ensure that all the components are present and undamaged.
Remove any protective stickers or covers from the drone and its accessories.
1.2 Setting Up:
1.
Connect the charger to a power source and insert the battery into the charging port.
While the battery is charging, download and set up the DJI Fly app on your smartphone or tablet.
This app is essential for controlling the Mavic Mini and accessing its various functions.
Once the battery is fully charged, insert it into the drones battery compartment.
check that it is properly secured.
Power on the Mavic Mini by pressing the power button on the side of the aircraft.
The LED lights should start flashing.
Turn on the remote controller by pressing and holding the power button.
The status LED lights on the remote will also start flashing.
Once the app is connected, youll be prompted to update the firmware if necessary.
Its essential to keep your Mavic Mini up to date for optimal performance and safety.
2.1 Checking the Battery Level:
1.
Before charging, check the battery level of your Mavic Mini.
you might do this by pressing the power button on the battery.
The LED lights will indicate the current charge level.
Ideally, its best to charge the battery when its below 50% to maximize its lifespan.
If the battery level is above 50%, consider discharging it slightly before charging.
2.2 Connecting the Charger:
1.
Connect the charging cable to the battery charger and plug the charger into a power outlet.
- ensure the charger is compatible with your regions power voltage to prevent any damage to the battery.
2.3 Inserting the Battery:
1.
Slide the Mavic Mini battery into the charging port on the charger.
Ensure that it is firmly connected.
2.4 Monitoring the Charging:
1.
While the battery is charging, its crucial to keep an eye on its progress to avoid overcharging.
Never leave the battery unattended while charging.
If you should probably step away, ensure to disconnect the battery and charger.
2.5 Completing the Charging Process:
1.
Once the battery is fully charged, the LED light on the charger will turn green.
Disconnect the battery from the charger by gently sliding it out of the charging port.
Avoid using third-party chargers that may not be compatible and could potentially damage the battery.
3.1 Compatible Devices:
1.
Before proceeding, ensure that your mobile rig is compatible with the DJI Fly app.
The app is available for both iOS and Android devices.
you’ve got the option to check the DJI website or your respective app store to verify compatibility.
Tap on the Download or Install button to begin the download process.
Wait for the app to finish downloading and installing on your unit.
3.3 Signing In or Creating an Account:
- kick off the DJI Fly app on your machine.
If you already have a DJI account, tap on Sign In and drop your login credentials.
3.4 Connecting Your Mobile gadget to the Remote Controller:
1.
Ensure that your remote controller is powered on and in range of your mobile machine.
Connect your mobile gear to the remote controller using a compatible USB cable.
The USB port is located on the bottom of the remote controller.
3.5 Establishing Connection and Updating Firmware:
1.
If prompted, follow the on-screen instructions to update the firmware of your Mavic Mini.
Firmware updates are crucial for improving the performance and stability of your drone.
double-check your Mavic Mini is connected to a stable Wi-Fi web connection for the firmware update process.
3.6 Configuring tweaks:
1.
Take some time to navigate through the app and customize the prefs according to your preferences.
you might adjust camera configs, flight parameters, control sensitivity, and more.
This app will serve as your main interface for controlling and accessing the features of your DJI Mavic Mini.
In the next section, we will discuss the remote controller and its functionalities.
4.1 Layout and Buttons:
The Mavic Mini remote controller has a user-friendly layout with well-placed buttons and controls.
Pause Button: This button enables you to pause the drones flight and hover in place.
4.2 Linking the Remote Controller to the Mavic Mini:
1.
Ensure that both the Mavic Mini drone and remote controller are powered on.
- launch the DJI Fly app and connect it to the remote controller via the USB cable.
The app will guide you through the process of linking the remote controller to the Mavic Mini.
These configs include control stick sensitivity, button assignments, and more.
Explore the app and adjust these configs based on your flying style and comfort.
Understanding the remote controller is crucial for taking full advantage of the Mavic Minis capabilities.
In the next section, we will discuss the pre-flight checklist to ensure a safe and successful flight.
Also, be mindful of any local regulations or restrictions related to weather conditions.
Check for any restricted airspace, no-fly zones, or any other geographical limitations.
Ensure that you have proper permission or permits if required.
Ensure that the battery is securely attached.
Its advised to have spare batteries on hand for longer flights.
5.5 Verify GPS Signal:
Ensure that your DJI Mavic Mini has a strong GPS signal before taking off.
GPS connectivity is crucial for accurate positioning, flight stability, and access to certain flight modes.
Wait until the drone has acquired a sufficient GPS signal before initiating the flight.
confirm the area is spacious enough to provide a safe and smooth take-off and landing.
Avoid launching or landing near buildings, trees, power lines, or other potential hazards.
This will ensure that you have access to the latest features, performance improvements, and important safety updates.
after you snag completed the pre-flight checks, youre ready to explore the exhilarating world of drone flight.
6.1 Compass Calibration:
1.
- kick off the DJI Fly app and power on your Mavic Mini.
The calibration will involve rotating the drone along multiple axes until the app confirms a successful calibration.
6.2 IMU Calibration:
1.
Find a stable and level surface to place your Mavic Mini on during the calibration process.
From the advanced safety controls, select IMU Calibration.
The calibration will involve keeping the drone stationary while it records and analyzes the sensor data.
This user-friendly and intuitive program provides a wealth of features and controls that enhance your flying experience.
In this section, we will explore how to navigate and maximize the capabilities of the DJI Fly app.
7.1 Connecting the App to Your Mavic Mini:
1.
Ensure that your Mavic Mini is powered on and the remote controller is connected to your mobile machine.
- fire up the DJI Fly app on your mobile unit.
Tap on the Connect Aircraft button on the apps home screen.
Once connected, you will have access to the various features and flight controls of your drone.
Spend some time familiarizing yourself with the options and customizable options available in the app.
These modes include:
QuickShots: Automated flight modes that capture stunning cinematic shots with just a few taps.
Examples include Dronie, Circle, Helix, and Rocket.
Waypoints: Helps you plan a flight route by setting specific coordinates for the drone to follow.
Cinematic Mode: Enables smoother and more controlled flights for capturing cinematic footage.
This information helps you keep track of your drones performance and flight conditions.
8.1 Control Sticks:
The control sticks on the remote controller are used to maneuver the Mavic Mini.
Hold the control sticks inward and downward to start the motors.
Slowly push the throttle control stick upward to raise the drone off the ground.
To land, ensure that the landing area is clear of obstacles.
Slowly lower the throttle control stick to decrease the altitude until the drone safely lands on the ground.
Its important to ensure that the drone has a stable GPS signal for accurate hovering.
get into the flight mode tweaks in the DJI Fly app to adjust the speed of your drone.
Its essential to practice and familiarize yourself with the basic flight controls and maneuvers before attempting more advanced techniques.
Spend time honing your skills and gaining confidence in controlling your Mavic Mini.
Remember to always fly safely, following local regulations and guidelines.
Circle: The drone flies in a circular path around a subject, creating a sweeping and cinematic shot.
Helix: The drone ascends while spiraling upward, resulting in an impressive and dynamic shot.
Rocket: Fly straight up into the air, capturing the subject from the ground up.
This is perfect for capturing action shots or following moving subjects with ease.
This mode minimizes the drones response to stick commands, allowing for elegant and graceful footage.
Its important to familiarize yourself with each of these flight modes and practice using them in various scenarios.
Remember to always fly responsibly and safely, keeping the surroundings and regulations in mind.
Experiment with different modes and techniques to unleash your creativity and capture stunning and dynamic shots.
In the next section, we will discuss how to capture photos and videos using your DJI Mavic Mini.
This mode is useful for capturing fast-moving subjects or action shots.
Interval Mode: Interval mode takes a series of photos at a set interval to create a time-lapse sequence.
you might adjust the interval between shots in the DJI Fly app.
10.2 Camera options:
Exposure: Adjust the exposure options to control the brightness and darkness of your photos.
you might set the exposure manually or use the auto-exposure feature in the DJI Fly app.
White Balance: White balance parameters determine the color temperature of your photos.
Photo Formats: The Mavic Mini supports JPEG format for photos.
you’re able to pick the image size and quality in the camera options.
Higher resolutions will offer more detail, but keep in mind that they may also require more storage space.
Tilt and Reveal: Tilt the camera gimbal in various angles to reveal different perspectives and subject compositions.
This technique adds depth and visual interest to your footage.
These flight modes provide automated flight controls and advanced features that enhance your flying experience.
11.1 QuickShots:
The QuickShots flight modes are designed to allow you to capture stunning shots easily.
With just a few taps, the Mavic Mini will autonomously fly along pre-determined paths while capturing cinematic footage.
Some examples of QuickShots include Dronie, Circle, Helix, and Rocket.
These modes are perfect for capturing dynamic and visually impressive shots without the need for complex piloting skills.
11.2 ActiveTrack:
The ActiveTrack mode enables the Mavic Mini to intelligently track and follow a subject.
This mode is ideal for capturing action shots or filming subjects in motion.
11.3 Waypoints:
The Waypoints mode allows you to plan and customize a flight path using specific GPS coordinates.
This mode is ideal for capturing consistent and smooth aerial shots in a predetermined flight pattern.
This mode is great for capturing selfies or group photos without needing a controller.
Its important to familiarize yourself with the intelligent flight modes and practice using them in different scenarios.
Experiment with various compositions, angles, and prefs to unleash your creativity and capture unique aerial shots.
Always fly responsibly, follow local regulations, and maintain a clear line of sight with your Mavic Mini.
Understanding and following these guidelines will help ensure a safe and responsible flying experience.
In this section, we will explore some key flight safety practices and regulations to keep in mind.
Stay updated on any changes or updates to regulations to ensure compliance.
12.2 Fly in Safe Locations:
Choose your flight locations wisely.
Fly in open areas away from airports, helipads, and other sensitive locations.
Avoid flying over crowds, people, or buildings, and be mindful of your surroundings.
Consider the privacy and safety of others when determining where to fly your Mavic Mini.
Avoid flying your drone behind obstacles that obstruct your view.
12.4 Respect Privacy:
Respect the privacy of others when flying your drone.
Avoid capturing images or videos of individuals without their consent.
Be aware of any local privacy laws and regulations governing the use of drones for photography or videography.
12.5 Adhere to Weather Conditions:
Consider weather conditions before each flight.
Always prioritize safety and control, and land your Mavic Mini if weather conditions deteriorate during a flight.
12.6 Check Pre-flight Checklist:
Prior to each flight, its essential to run through a pre-flight checklist.
Confirm that your equipment is calibrated and ready for flight.
Avoid disturbing animals, nesting areas, and natural habitats.
Take care to leave no trace and minimize any disruption to the surroundings during your flights.
Check that your mobile gear is connected to the remote controller via the USB cable.
Restart the DJI Fly app and reconnect the machine to the remote controller.
Wait for the Mavic Mini to acquire a strong GPS signal before taking off.
Check the battery levels and the charging status using the DJI Fly app.
If the battery is not charging or discharging properly, try using a different charger or battery.
kick off the DJI Fly app and navigate to the tweaks to initiate the gimbal calibration.
Inspect the propellers for any damage, such as cracks or bends, and replace them if necessary.
Ensure that the correct propellers are installed in their respective positions (marked A or B).
If a firmware update is available, you will be prompted to download and install it.
Avoid harsh midday sunlight that can lead to strong shadows and overexposure.
14.3 Experiment with Different Perspectives:
To add visual interest, explore various perspectives and angles.
ND filters are particularly beneficial when capturing cinematic shots or long exposures.
Understanding and adjusting these tweaks can significantly impact the quality and artistic expression of your photos and videos.
14.6 Use Intelligent Flight Modes Creatively:
Explore the creative possibilities offered by the Mavic Minis intelligent flight modes.
14.7 Maintain a Spare Battery:
Carry additional fully charged batteries with you to extend your flight sessions.
Having spare batteries allows you to capture more footage and maximize your time in the air.
Ensure that you adhere to local regulations and guidelines governing the operation of drones.
Familiarize yourself with the rules and obtain any necessary permits or certifications required for flying in specific areas.
14.9 Practice and Learn:
Consistent practice is key to improving your flying skills and capturing exceptional shots.
14.10 Respect and Educate:
Be a responsible drone pilot and an ambassador for the drone community.
Unleash your creativity, explore new perspectives, and capture breathtaking aerial imagery that will leave a lasting impression.
Conclusion
Congratulations on completing this comprehensive guide to flying with the DJI Mavic Mini!
Remember to always fly responsibly and respect the rules and guidelines governing drone usage in your area.
Keep practicing, experimenting, and pushing the boundaries of your creativity.
With each flight, youll gain more confidence and develop your own unique flying style.
Cherish the moments and memories youll capture as you take to the skies with your DJI Mavic Mini.
