It can slow down your work, hinder your productivity, and frustrate you to no end.
Fortunately, fixing a sticky keyboard key is not as difficult as it may seem.
In this article, we will provide a step-by-step guide on how to fix a sticky keyboard key.
However, the general principles outlined here should work for most standard keyboards.
Determine whether the stickiness is limited to a single key or if it affects multiple keys on your keyboard.
Test the affected key(s) by pressing them and observing their responsiveness.
If the stickiness is isolated to a single key, you could focus on fixing that specific key.
Its also important to consider the cause of the stickiness.
Was there a recent spill on your keyboard?
Is there visible debris or lint in the key area?
Understanding the cause will help you determine the appropriate cleaning method.
By preparing the necessary tools beforehand, youll be well-equipped to effectivelyclean and fix your sticky keyboard key.
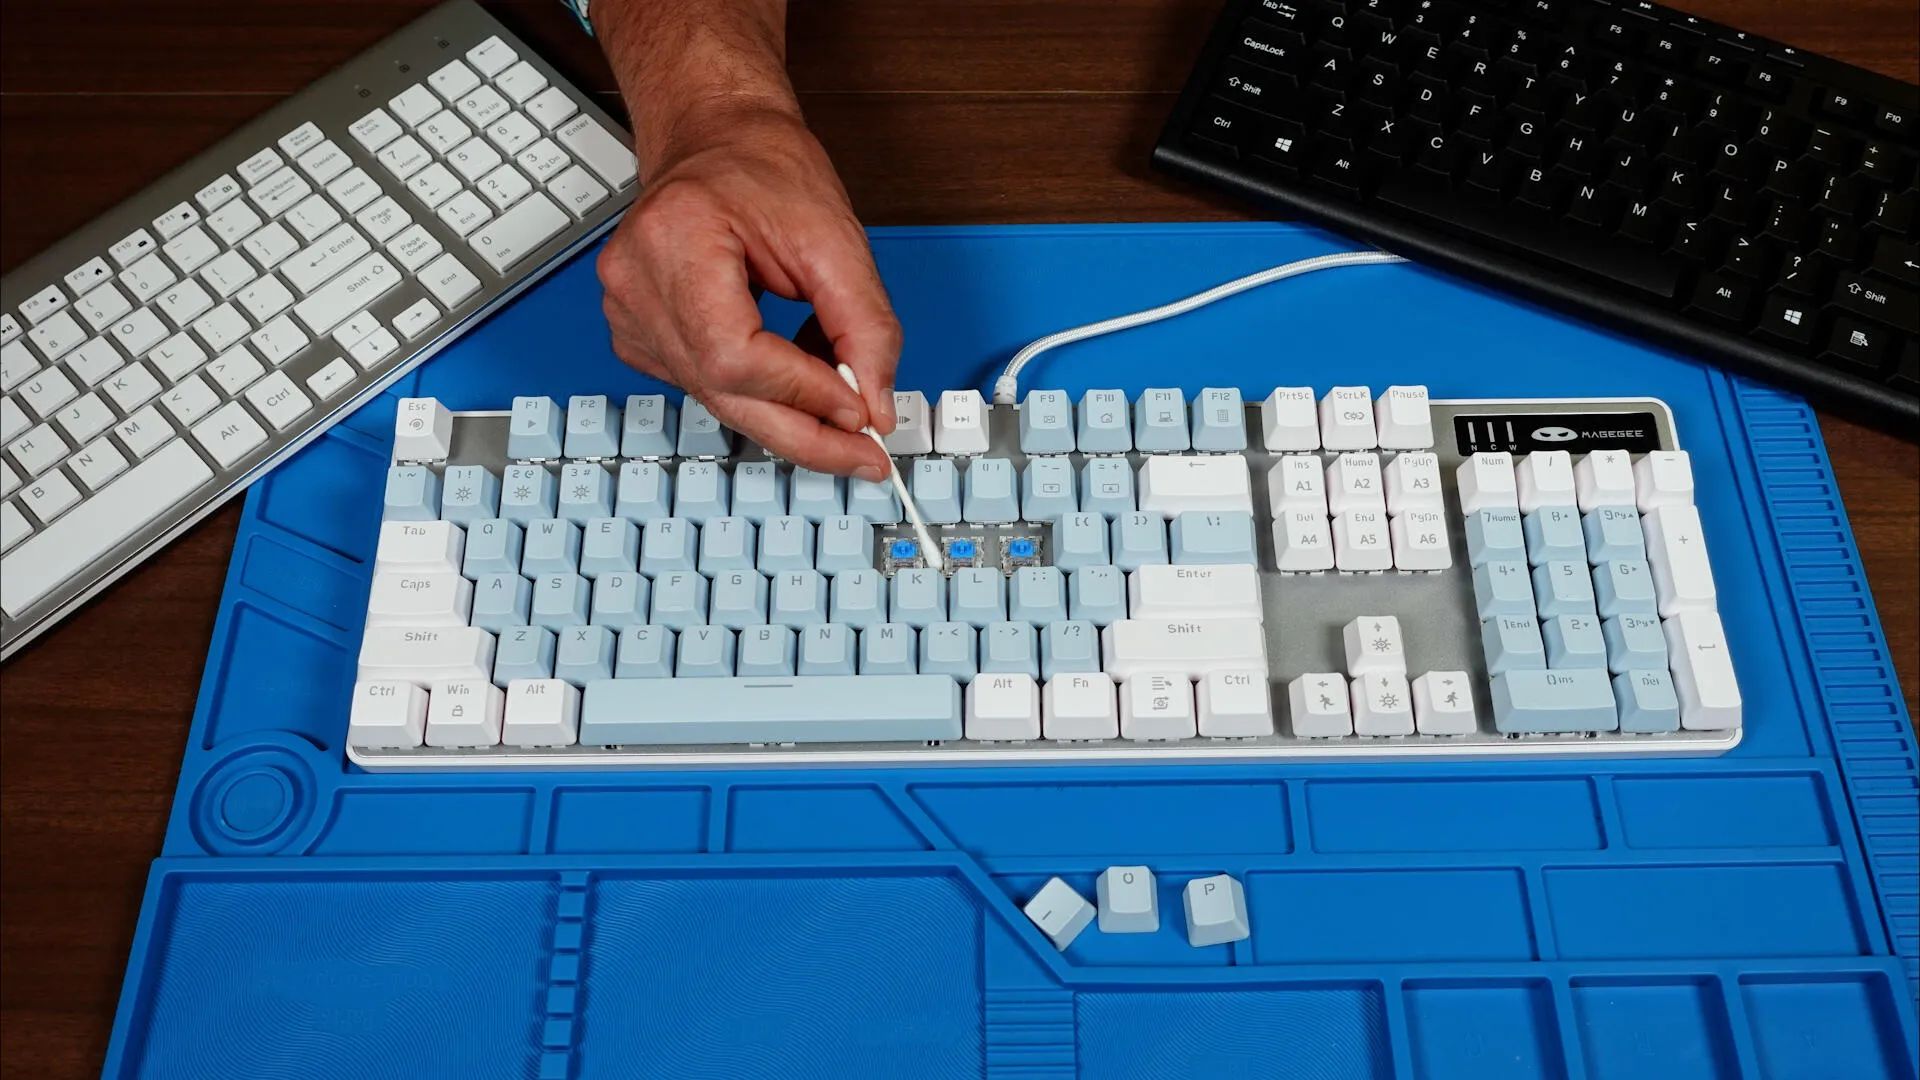
Removing the key will allow you to pull up the underlying mechanism for cleaning and fixing.
Take your time and handle the key with care.
Properly reattaching the key is crucial for ensuring its smooth functioning.
Ensure that the key is aligned correctly and fully attached to the underlying mechanism.
By successfully reattaching the key, you are one step closer to resolving the sticky keyboard key problem.
Testing the key will help you determine if any further adjustments or cleaning are needed.
double-check to test other nearby keys as well to ensure that the repair has not affected their functionality.
Its also important to test the key thoroughly to verify the stickiness has been fully resolved.
Your typing experience is important, and a properly functioning keyboard enhances productivity and efficiency.
