Introduction
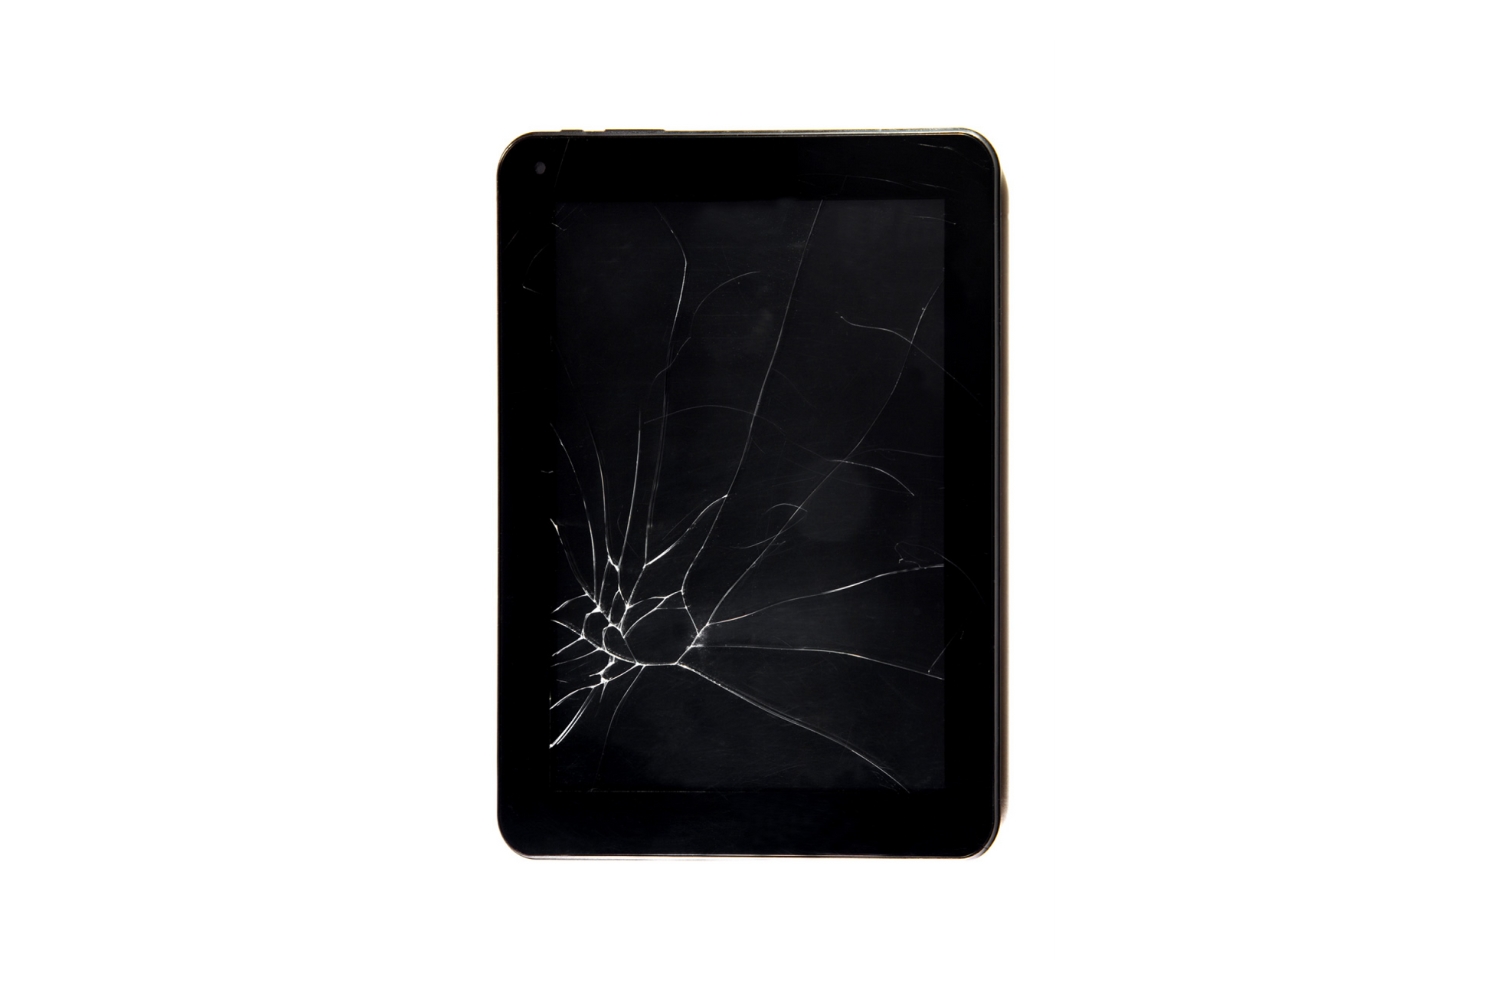
Every tablet owner dreads the moment when their devices screen gets cracked or damaged.
It can be frustrating and expensive to have the screen repaired by a professional.
Whether its a minor crack or a completely shattered screen, weve got you covered.
Just follow the instructions carefully, and youll have your tablet looking as good as new in no time.
Additionally, be aware that attempting to repair the screen yourself might void any existing warranty on your tablet.
Now that weve covered the basics, lets dive into the step-by-step process of fixing your RCA tablet screen.
confirm to gather all the necessary tools and follow the instructions closely for a successful repair.
Carefully examine the screen to determine if it is a minor crack or if the screen is completely shattered.
This will help you gauge the severity of the repair required.
Start by inspecting the outer layer of the screen for any visible cracks or damages.
Use a flashlight if necessary to identify any hairline cracks that may not be immediately noticeable.
Pay attention to any areas where the screen is completely shattered or where the touch functionality is compromised.
once you nail assessed the damage, take note of the specific areas that need to be repaired.
This will help you determine the tools and replacement parts youll need in the subsequent steps.
Its important to mention that not all screen damages can be fixed using this DIY method.
In such cases, good idea to contact customer support or take the tablet to an authorized repair center.
Just keep in mind that this guide is specifically for fixing the physical glass screen of your RCA tablet.
Having the right tools on hand will make the repair process smoother and more efficient.
Here are the tools you will need:
1.
Replacement screen: Purchase a replacement screen that is compatible with your specific RCA tablet model.
you’ve got the option to find these screens online or at electronic repair stores.
Screwdriver set: To remove the screws holding the tablet together, you will need a screwdriver set.
Ensure that you have a variety of screwdriver types and sizes to fit the different screws on your tablet.
Pry tools: Pry tools are essential for safely removing the cracked screen.
They help you detach the screen from the tablet without causing any further damage.
you could find pry tools designed specifically for tablet repairs online or at electronic stores.
Cleaning materials: It is important to clean your tablet thoroughly before installing the new screen.
Check the instructions provided with the replacement screen to determine the appropriate adhesive method.
Tweezers: Tweezers can be helpful in handling small components and securing delicate parts during the repair process.
ensure you have a pair of fine-point tweezers available.
These will help prevent any accidents or injuries.
see to it you have all these tools readily available prior to beginning the repair.
This way, you could work efficiently and avoid any delays or interruptions.
Step 3: Remove the Damaged Screen
1.
If your tablet does not have a removable back cover, skip this step.
Locate the screen connectors: once you nail access to the internal components, locate the screen connectors.
These are usually ribbon cables that connect the LCD display and the touch digitizer to the tablets motherboard.
Gently unplug these connectors by carefully pulling them out.
Be cautious not to apply excessive force or damage the connectors.
Remove the screws: Look for the screws that secure the screen in place.
Use the appropriate screwdriver to carefully remove these screws and set them aside in a safe place.
Keep track of the location of each screw as different models may have different screw placements.
Use the pry tools to gentle insert them between the screen and the tablets frame.
Apply a slight amount of pressure to lift and separate the screen.
Take your time and be patient to avoid causing further damage.
Use tweezers or a plastic spudger to scrape off the adhesive without scratching or damaging the tablet.
With the damaged screen successfully removed from your RCA tablet, youre one step closer to completing the repair.
Step 4: Clean the Tablet
1.
Be thorough in your cleaning, paying attention to the edges and corners of the tablet.
Screen cleaning solution: Apply a small amount of screen cleaning solution to a clean microfiber cloth.
see to it the cloth is damp, not soaking wet.
Avoid spraying the cleaning solution directly onto the tablet to prevent any liquid from seeping into the internal components.
Hold the canister of compressed air upright and use short bursts to blow away any remaining debris or dust.
Inspect for cleanliness: After cleaning, inspect the tablets surface and screen for any remaining dirt or smudges.
If necessary, repeat the cleaning process until the tablet is free of any visible dirt or marks.
This will ensure that no moisture is trapped between the components before you proceed with the screen installation.
By thoroughly cleaning your tablet, youre preparing it for the installation of the new screen.
The next step will guide you through the process of installing the replacement screen securely onto your RCA tablet.
Step 5: roll out the New Screen
1.
Match the connectors and dimensions of the new screen with the original screen to ensure a proper fit.
Take your time to ensure the screen is aligned accurately to prevent any issues with functionality and appearance.
Ensure that the cables are seated correctly and securely without bending or damaging them.
Depending on the screen punch in, you may need to use adhesive tape or glue around the edges.
Apply the adhesive method carefully, avoiding excessive amounts that may seep into the display or touch digitizer.
Connect the tablets power source and power it on.
Check for any display abnormalities, touch responsiveness issues, or other irregularities.
If everything looks good, proceed to the next step.
Otherwise, double-check the connections and address any issues before continuing.
confirm to remove it completely to ensure optimal clarity.
By following these steps, youll successfully drop in the new screen onto your RCA tablet.
The next step will focus on securing the new screen in place to ensure its durability and longevity.
Step 6: Secure the New Screen in Place
1.
Check adhesive requirements: Refer to the instructions provided with the replacement screen to determine the recommended adhesive method.
Ensure that youre following the manufacturers instructions for the best results.
If adhesive glue is necessary, follow the instructions regarding how much to apply and where to place it.
Start from one side and work your way around, applying even pressure to ensure a secure bond.
Avoid using excessive force, as it may damage the screen or misalign it.
Be gentle to avoid scratching the screen or damaging the tablets surface.
Take a moment to inspect the connections and ensure there are no loose cables or misaligned parts.
By properly securing the new screen in place, youll prevent it from shifting or becoming loose over time.
This step is crucial for the long-term functionality and visual appeal of your repaired RCA tablet.
Step 7: Test the Tablet
1.
Power on the tablet: Connect your RCA tablet to a power source and turn it on.
Observe the display to check for any abnormalities, such as flickering, color distortion, or dead pixels.
A properly functioning screen should display clear and vibrant images.
Touch functionality: Test the touch responsiveness of the screen by navigating through different menus and apps.
Swipe, tap, and pinch to zoom to ensure that all touch gestures are accurately detected.
Pay attention to any areas of the screen that may be unresponsive or overly sensitive.
Display calibration: Verify that the display is calibrated correctly by accessing the tablets display prefs.
Play audio or video files to test whether the speaker is working properly without distortion or low volume.
Ensure that all wireless functions are working as expected.
Charging and battery life: Plug in the tablets charger and verify that the battery is charging properly.
Check the battery percentage and monitor its performance to ensure there are no abnormal draining issues.
If your RCA tablet passes all the tests and functions as expected, your screen repair was successful.
Enjoy using your newly repaired tablet with its fresh and functional screen.
Always refer to the manufacturers instructions and guidelines for your particular model to ensure a successful repair.
Remember, repairing a cracked screen requires patience, attention to detail, and a steady hand.
However, always exercise caution and know your limitations.
Happy repairing, and heres to many more years of enjoyment with your RCA tablet!
