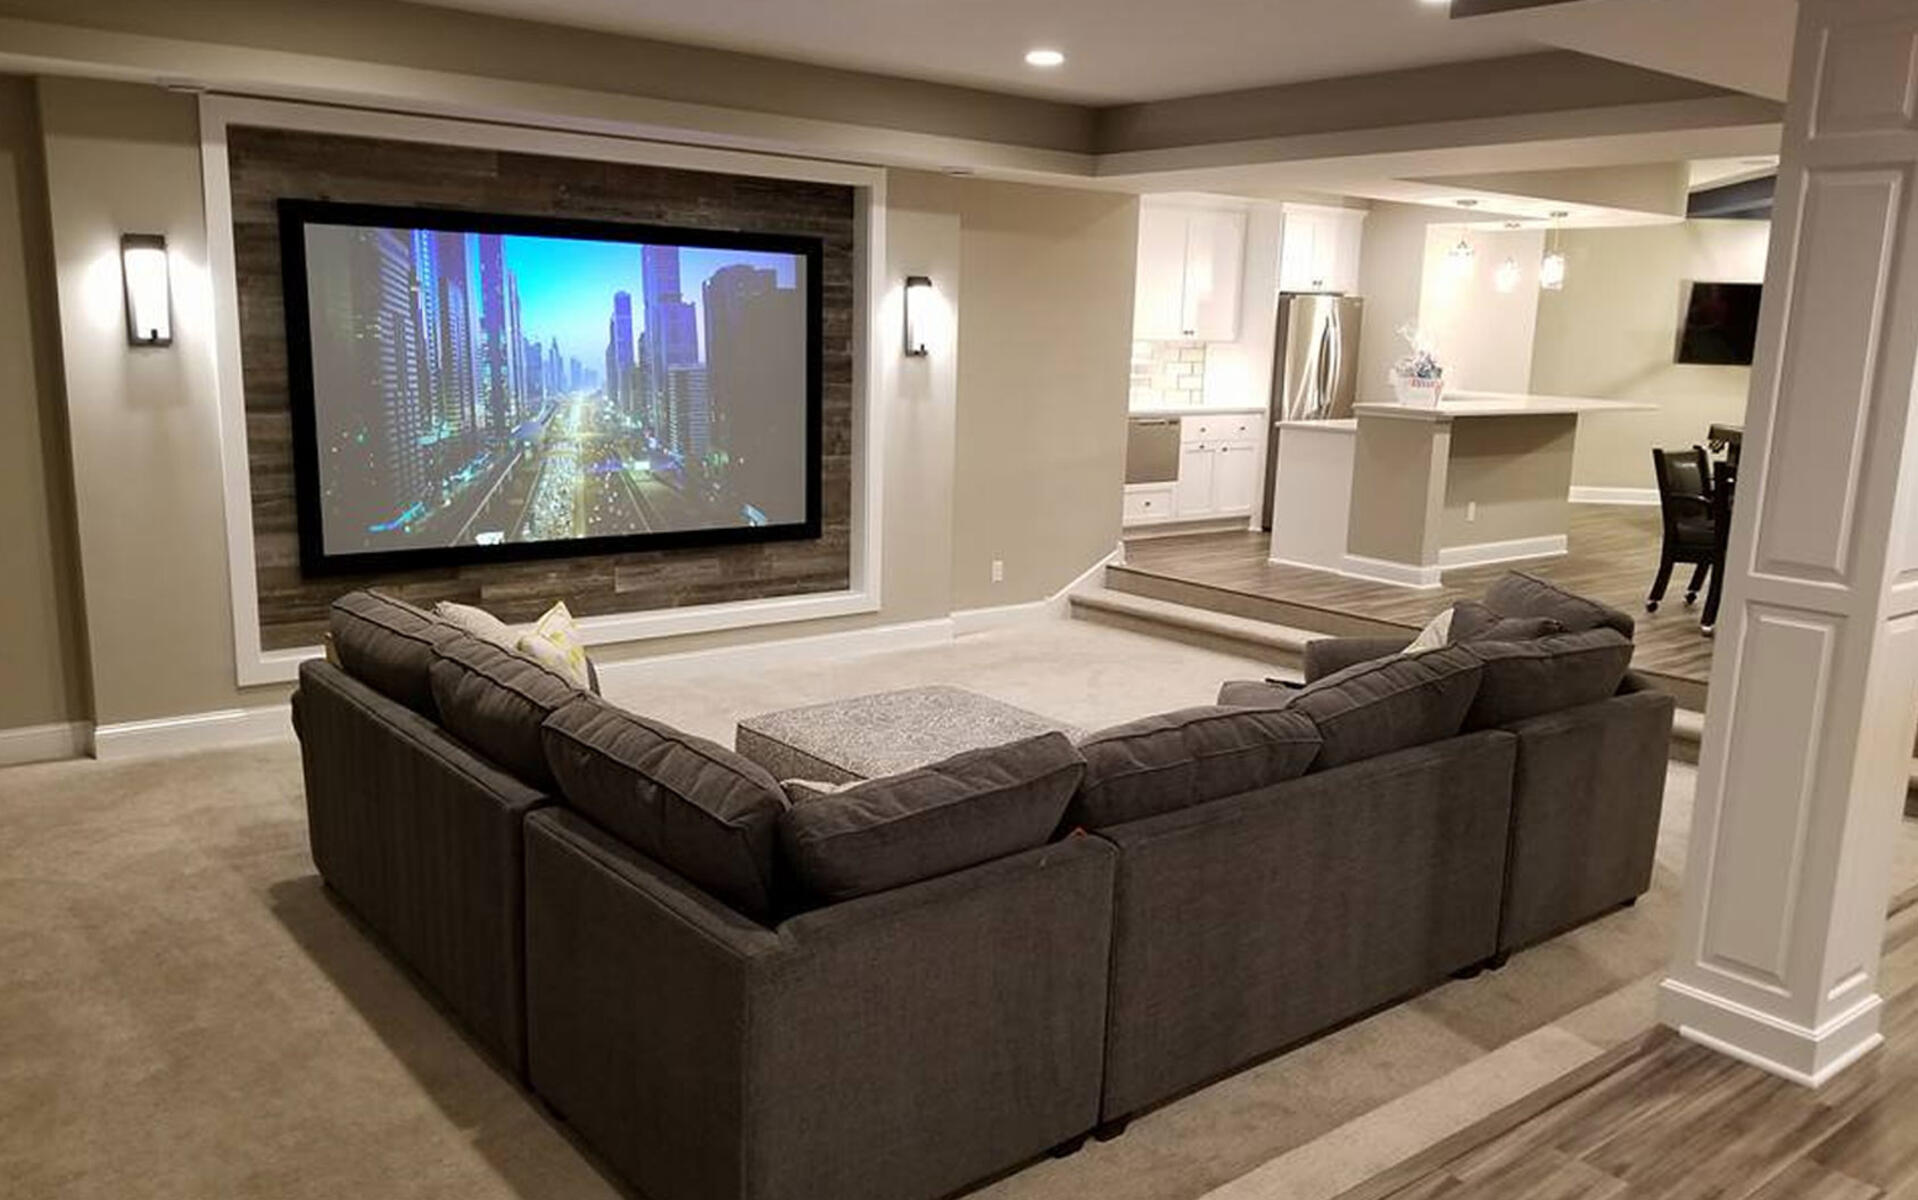
Introduction
Welcome to our guide on how to fix a projector screen.
But dont worry, weve got you covered!
Before we dive into the steps, its important to emphasize the importance of safety.
Now, lets get started and learn how to fix common problems with your projector screen!
Look closely at the edges and corners, as these areas are more prone to wear and tear.
If you notice any physical damage, it may be the cause of the problem.
Next, check the tension of the screen.
Ensure that the screen is tightly stretched across the frame or mounting brackets.
If needed, you may need to adjust the tension mechanism according to the instructions provided by the manufacturer.
If you have a motorized screen, check for any issues with the motor or the remote control.
check that that the power supply is connected correctly and that the remote has fresh batteries.
If the motor is not functioning, it may need to be repaired or replaced.
Additionally, its worth examining the projector itself.
Check the lens for any dirt or smudges that may be impacting the image quality.
Clean the lens gently using a microfiber cloth or lens cleaning solution.
Also, ensure that the projector is positioned correctly and that the input prefs are properly configured.
Remember, understanding the underlying cause is crucial to implementing the most appropriate solution.
Cleaning the screen can significantly improve the overall viewing experience.
Heres how you might do it:
1.
Using a soft, lint-free cloth or a microfiber cloth, gently wipe the surface of the screen.
Begin from the top and move downwards in a vertical motion.
Avoid using excessive pressure as it may cause damage to the screen material.
Ensure that the cloth is not dripping wet or soaked, as excessive moisture can damage the screen.
Stick to mild solutions and gentle wiping.
Pay attention to the corners and edges of the screen, as these areas tend to accumulate more dirt.
Use gentle circular motions to clean these areas.
Regularly cleaning your projector screen can prevent the buildup of dirt and ensure optimal image quality.
Remember, always follow the manufacturers guidelines and recommendations for cleaning your specific bang out of projector screen.
Here are the steps to adjust the tension:
1.
Start by locating the tensioning mechanism of your projector screen.
Gently pull the screen to remove any wrinkles or sagging.
Be careful not to pull too forcefully as it may cause the screen material to tear or become damaged.
double-check to apply even tension across the entire screen surface.
in case you find any difficulties, double-check the tension and make adjustments as necessary.
Some projector screens come with automatic tensioning systems that adjust the tension automatically.
If you have this punch in of screen, consult the manufacturers instructions for proper adjustment procedures.
Remember, maintaining the appropriate tension in your projector screen is crucial for optimal image projection.
Heres how you’re able to go about replacing a damaged projector screen:
1.
Start by assessing the extent of the damage.
Purchase a replacement screen from a reputable retailer or online supplier.
Take accurate measurements of your existing screen or frame to ensure you grab the correct size.
Ensure the replacement screen is properly tensioned and aligned, avoiding any wrinkles or sagging.
Adjust the tension mechanism if necessary and double-check for a smooth, flat surface.
Take your time and follow the instructions carefully to ensure a successful replacement.
Here are the steps to follow:
1.
Begin by accessing the menu controls on your projector.
This can usually be done using the remote control or by pressing the corresponding buttons on the projector itself.
Check the display mode or aspect ratio options.
Ensure that it matches the aspect ratio of your projector screen.
Common aspect ratios include 16:9 for widescreen and 4:3 for standard screens.
go for the appropriate aspect ratio for optimal image projection.
Verify the resolution options.
Higher resolutions may not be supported by the projector and can result in distorted or blurry images.
Adjust the resolution accordingly.
Adjust the brightness, contrast, and color options.
These prefs can significantly impact the overall image quality.
Experiment with different configs to achieve the desired brightness, contrast, and color accuracy.
Refer to the projectors user manual for guidance on adjusting these parameters.
Check the keystone correction parameters.
Keystone correction helps to correct any distortion resulting from the projectors angle or placement.
Use the keystone correction feature to align the projected image and ensure it appears rectangular and not skewed.
Examine the input source prefs.
Test the image and make adjustments as needed.
Project a sample image or video to see how the adjustments have affected the display.
Make further tweaks as necessary until you achieve the desired image quality.
Heres what you’re free to do:
1.
Check the projectors distance and placement.
Ensure that the projector is positioned at the optimal distance from the screen.
Refer to the projectors manual for the recommended distance range.
Adjust the distance if needed to achieve the desired image size and focus.
Adjust the zoom and focus prefs.
Experiment with different tweaks until the image appears clear and well-defined.
Verify the screen alignment.
This will help correct any distortion and ensure a straight and evenly projected image.
Check the signal connections.
Ensure that all cables connecting the projector to the video source are securely plugged in.
Loose or faulty connections can result in image flickering or loss of signal.
Consider using high-quality cables and adapters for optimal performance.
Adjust the color and brightness prefs.
Refer to the projectors manual for recommended parameters or experiment to find the right balance.
Some projectors offer advanced calibration options, such as gamma adjustment or color temperature prefs.
Use the calibration features to fine-tune the image and achieve accurate color reproduction.
Test different sources and content.
This will help determine if there are any compatibility issues or specific prefs required for certain devices or content.
They may be able to provide specific solutions or recommend additional troubleshooting steps.
Remember to always prioritize safety when working with your projector screen.
Regularly cleaning and maintaining your projector screen can help prevent future problems and ensure optimal image quality.
Additionally, checking and adjusting the projector configs can play a significant role in achieving the best visual experience.
We hope this guide has been helpful in assisting you with fixing your projector screen.
Now, put your knowledge into practice and get ready to enjoy a seamless and captivating viewing experience!
