Introduction
Welcome to our guide on how to fix a broken HDMI port on your PS4.
Dont worry, though!
Well provide you with step-by-step instructions, along with the tools and materials youll need to complete the repair.
So, lets get started and get your PS4 back up and running again!
The HDMI port serves as the primary connection point between your gaming console and your display rig.
It allows for the transmission of high-definition audio and video signals, ensuring a seamless and immersive gaming experience.
Now, lets discuss the signs that indicate you may have a broken HDMI port.
Another sign is intermittent signal loss or flickering on the screen while playing games or watching videos.
Lets jump right in and get your gaming experience back on track!
Furthermore, HDMI ports offer a convenient and versatile connectivity solution.
Here are some common signs that indicate a problem with your HDMI port:
1.
Intermittent signal loss:Another indication of a broken HDMI port is intermittent signal loss.
A loose connection can result in a poor quality signal or intermittent signal loss.
Bent or damaged pins:Take a close look at the HDMI port on your PS4.
Physical damage can affect the overall functionality of the port and require repair or replacement.
Ensure that you have the necessary items readily available before attempting anyrepair work on your PS4s HDMI port.
These steps will ensure that you have a safe and organized work environment and make the repair process smoother.
Heres what you should probably do:
1.
Ensure a clean workspace:Find a well-lit and clutter-free area to work on your PS4.
Clear any objects or debris from the workspace to prevent accidental damage to your console.
This will prevent the risk of electric shock and protect your console from potential damage.
Ensure that you have all the necessary items within reach before proceeding further.
This will help you navigate through the repair process with ease and confidence.
Familiarize yourself with the chosen repair method by referring to the relevant section in this guide.
This will prevent accidental static discharge that could damage your console during the repair process.
This will ensure your safety and prevent any potential damage during the repair process.
Heres how to power down your PS4:
1.
This will prevent any data loss or interruption during the repair process.
Confirm the power down:A confirmation prompt will appear on the screen.
Select OK to proceed with powering down the console.
Wait for the PS4 to shut down:Give the console some time to complete the shutdown process.
This will ensure that there is no power running to the console during the repair process.
Step 2: Remove the Cover
1.
Locate the screws:Look for the screws on the back of the PS4.
There should be a few screws holding the top cover in place.
Typically, these screws are located at the corners or edges of the console.
Remove the screws:Use the screwdriver to carefully unscrew and remove the screws from their respective positions.
Keep the screws in a safe place to avoid misplacing them.
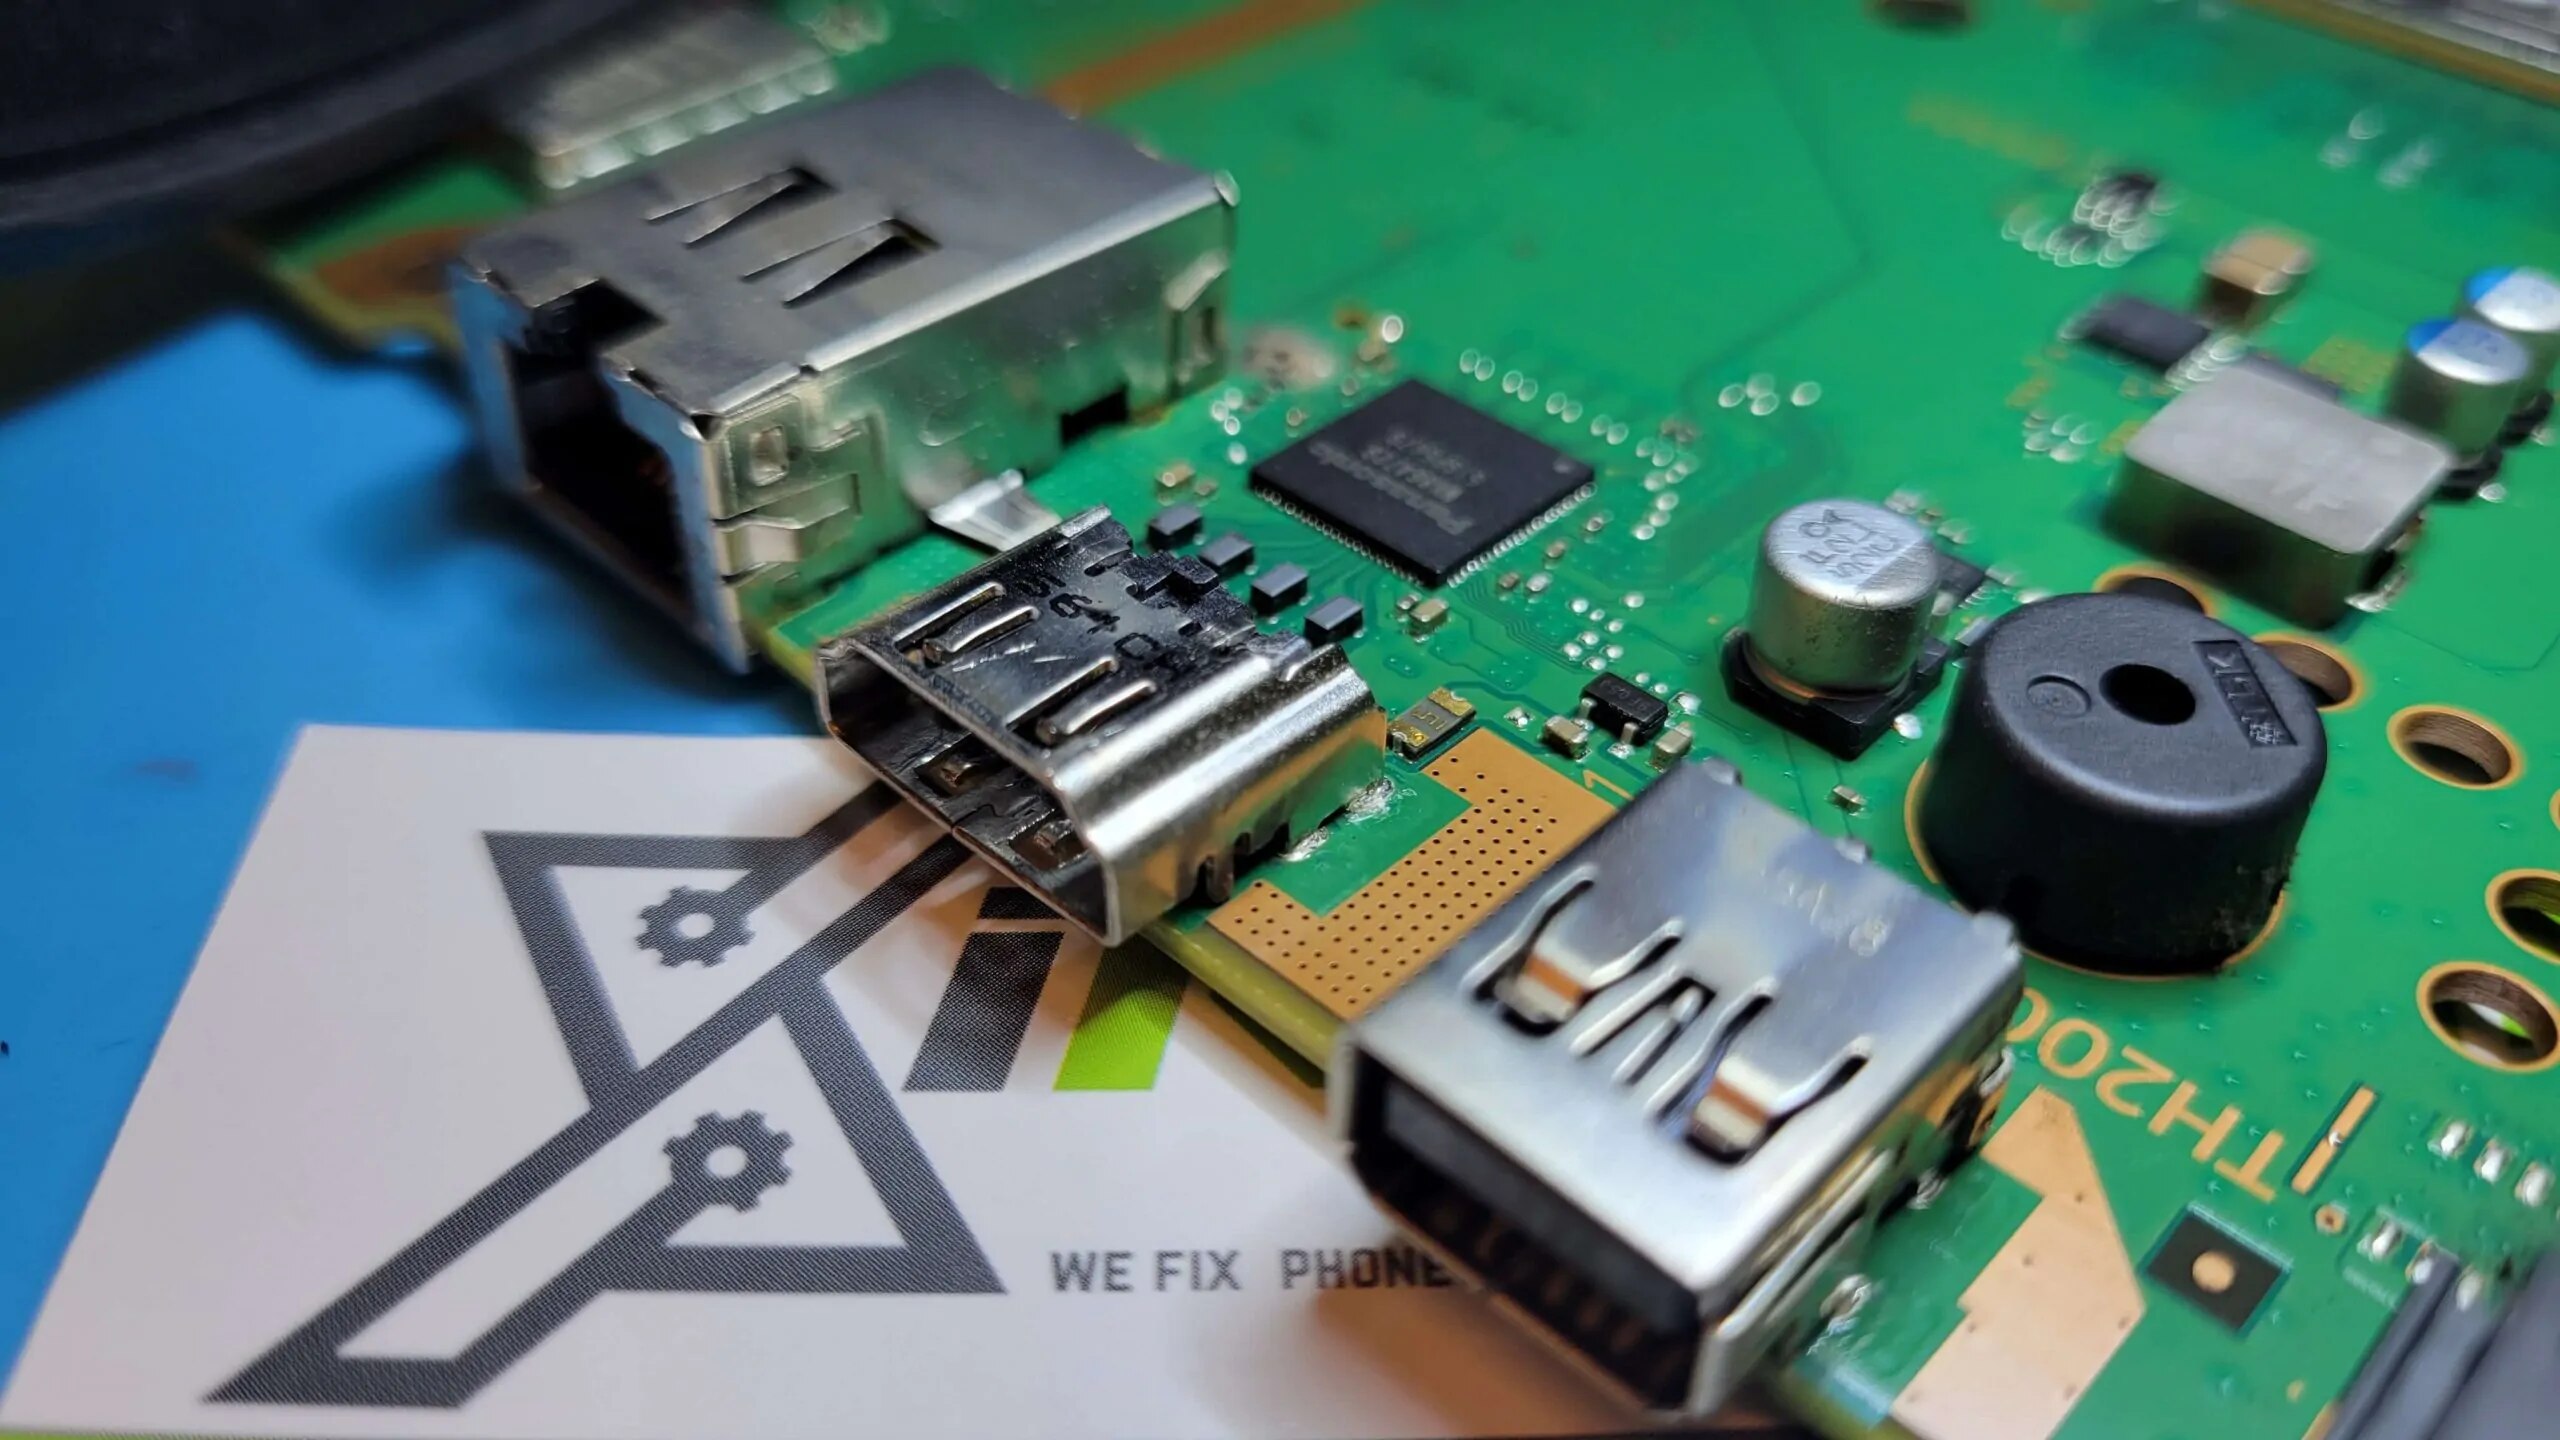
Step 3: Locate the HDMI Port
1.
This is the side where the various ports and connectors are located.
The HDMI port should be labeled as HDMI and may be marked with an HDMI logo.
Take note of the ports position as you will need to access it for further repair or replacement tasks.
Look for bent pins, cracks, or other visible issues that may indicate a problem with the port.
These include any other audio/video ports, USB ports, or the power supply connector.
Its important to be aware of the surroundings to avoid accidentally damaging any other components during the repair process.
Step 4: Assess the Damage
1.
Examine the port visually:Take a close look at the HDMI port on your PS4.
Pay attention to the overall condition and any visible abnormalities.
Test the connection:Connect an HDMI cable to the port and your TV or monitor.
Gently wiggle the cable while it is inserted to see if there is any indication of a loose connection.
Observe the quality of the signal, such as flickering, artifacts, or no signal at all.
This will help determine if the issue lies with the port itself or with the cable connection.
A faulty cable can sometimes cause problems that appear to be a port issue.
Testing with a known working cable can help confirm or rule out cable-related problems.
Consider any previous incidents:Reflect on any events that might have caused the damage to the HDMI port.
Take note of the extent of the damage:Assess the severity of the damage to the port.
This documentation can serve as a reference throughout the repair process and help track progress and any changes made.
By following these steps, you will have successfully assessed the damage to the HDMI port on your PS4.
Step 5: Fixing a Loose HDMI Port
1.
If you identify any loose or disconnected components, proceed to the next steps to fix them.
Ensure that the solder joints are well-made and secure.
check that they are aligned correctly to ensure a proper connection.
Power on your PS4 and check for a stable and clear signal.
Wiggle the cable gently to ensure there is no signal loss.
Step 6: Replacing a Damaged HDMI Port
1.
Take note of how the cables are connected to ensure proper reinstallation later.
Take caution to avoid damaging the surrounding circuitry during the desoldering process.
Be careful not to exert excessive force or damage any nearby components.
Carefully insert it into place, making sure it is seated correctly and aligns with the surrounding connections.
Ensure that the solder joints are well-made and free of any short circuits.
Test the new HDMI port:Reassemble the PS4s cover and secure it with the screws.
Connect an HDMI cable between the new HDMI port and your display gear.
Power on your PS4 and test the connection for a clear and stable signal.
This will allow you to restore a fully functioning HDMI connection for your gaming console.
Step 7: Reassembling the PS4
- confirm the cover is positioned correctly and ready for reattachment.
Secure the cover:Carefully slide the cover back into place, ensuring that all sides are aligned properly.
Apply gentle pressure to check that it fits snugly and securely, without any gaps or misalignment.
Double-check connections:Before powering on your PS4, see to it all cables and wires are properly reconnected.
Check the HDMI cable, power cable, and any other peripheral connections to ensure they are secure.
Power on your PS4 and ensure it starts up without any issues.
Check for a stable and clear audio and video signal without any flickering or interruptions.
Always take care to ensure that all connections are secure and that the components fit back into place properly.
Remember to exercise caution throughout the repair process, handling the console and tools with care.
We hope this guide has been helpful to you in fixing your broken HDMI port on your PS4.
