Introduction
Installing a new CPU cooler can greatly improve the performance and lifespan of your box.
Many users prefer Intel CPU coolers due to their efficient cooling capabilities and quiet operation.
before you get going the installation process, it is essential to gather all the necessary tools and materials.
This will ensure a smooth and successful installation.
This guide assumes that you have a basic understanding of computer hardware and are comfortable working inside your rig.
This will ensure that you have everything you need on hand and can complete the installation without any interruptions.
A screwdriver is needed to secure the cooler in place.
Check the coolers manual or manufacturers instructions to determine the correct screwdriver jot down.
Its essential to have a clean surface on both the CPU and the cooler to ensure proper heat transfer.
This is especially important when working with sensitive computer components such as CPUs and motherboards.
This step is crucial to ensure a proper and secure fit for the new cooler.
This step ensures that the board is clean and ready to provide optimal cooling performance.
This helps to prevent overheating and ensures optimal cooling performance.
A proper app will optimize the contact between the CPU and the cooler, enhancing heat dissipation.
If you make a mistake during the program process, dont worry.
Just be sure to thoroughly clean and dry both the CPU and the cooler before reapplying the paste.
With the thermal paste properly applied, youre now one step closer to completing the installation.
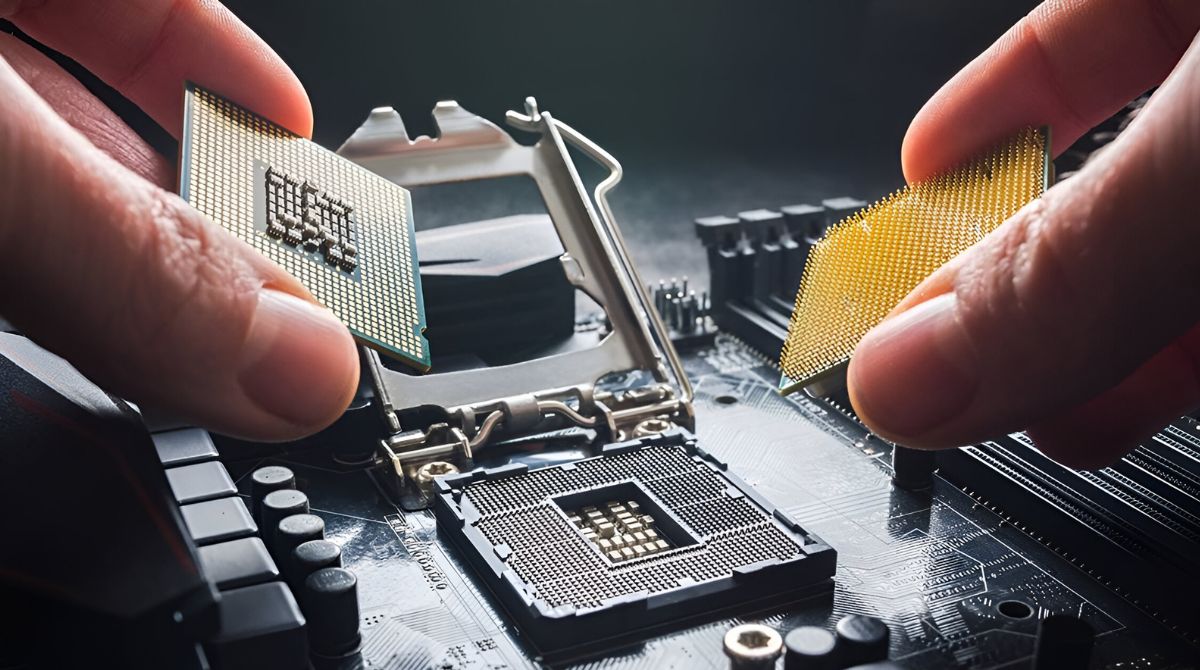
The next step will guide you through the process of installing the Intel CPU cooler onto the AMD board.
Take your time and double-check the alignment before proceeding to tighten the screws or brackets.
With the Intel CPU cooler securely installed, youre now one step away from completing the installation process.
The next step will guide you through securing the cooler in place.
If you notice any movement or instability, double-check the mounting screws or brackets and make any necessary adjustments.
Its important to note that every CPU cooler will have its own unique mounting mechanism and instructions.
The fan will automatically adjust its speed based on the CPUs temperature, allowing for optimal cooling performance.
Once the fan cables are properly connected, youre almost done with the installation process.
The next step will guide you through testing the installation to ensure everything is functioning correctly.
They can provide specific guidance tailored to your particular model.
when you land tested the installation and confirmed that everything is functioning as expected, congratulations!
You have successfully installed an Intel CPU cooler on your AMD board.
Be mindful of the CPU temperatures during the testing phase to ensure effective cooling and optimal performance.
