Introduction
Welcome to the world of live streaming!
Streaming has become an incredibly popular way for gamers to share their gameplay experiences and connect with their audience.
This is where dual PC streaming comes in.
A capture card is a unit that captures and records the video and audio output from your gaming PC.
So, lets dive in and explore the world of dual PC streaming without a capture card!
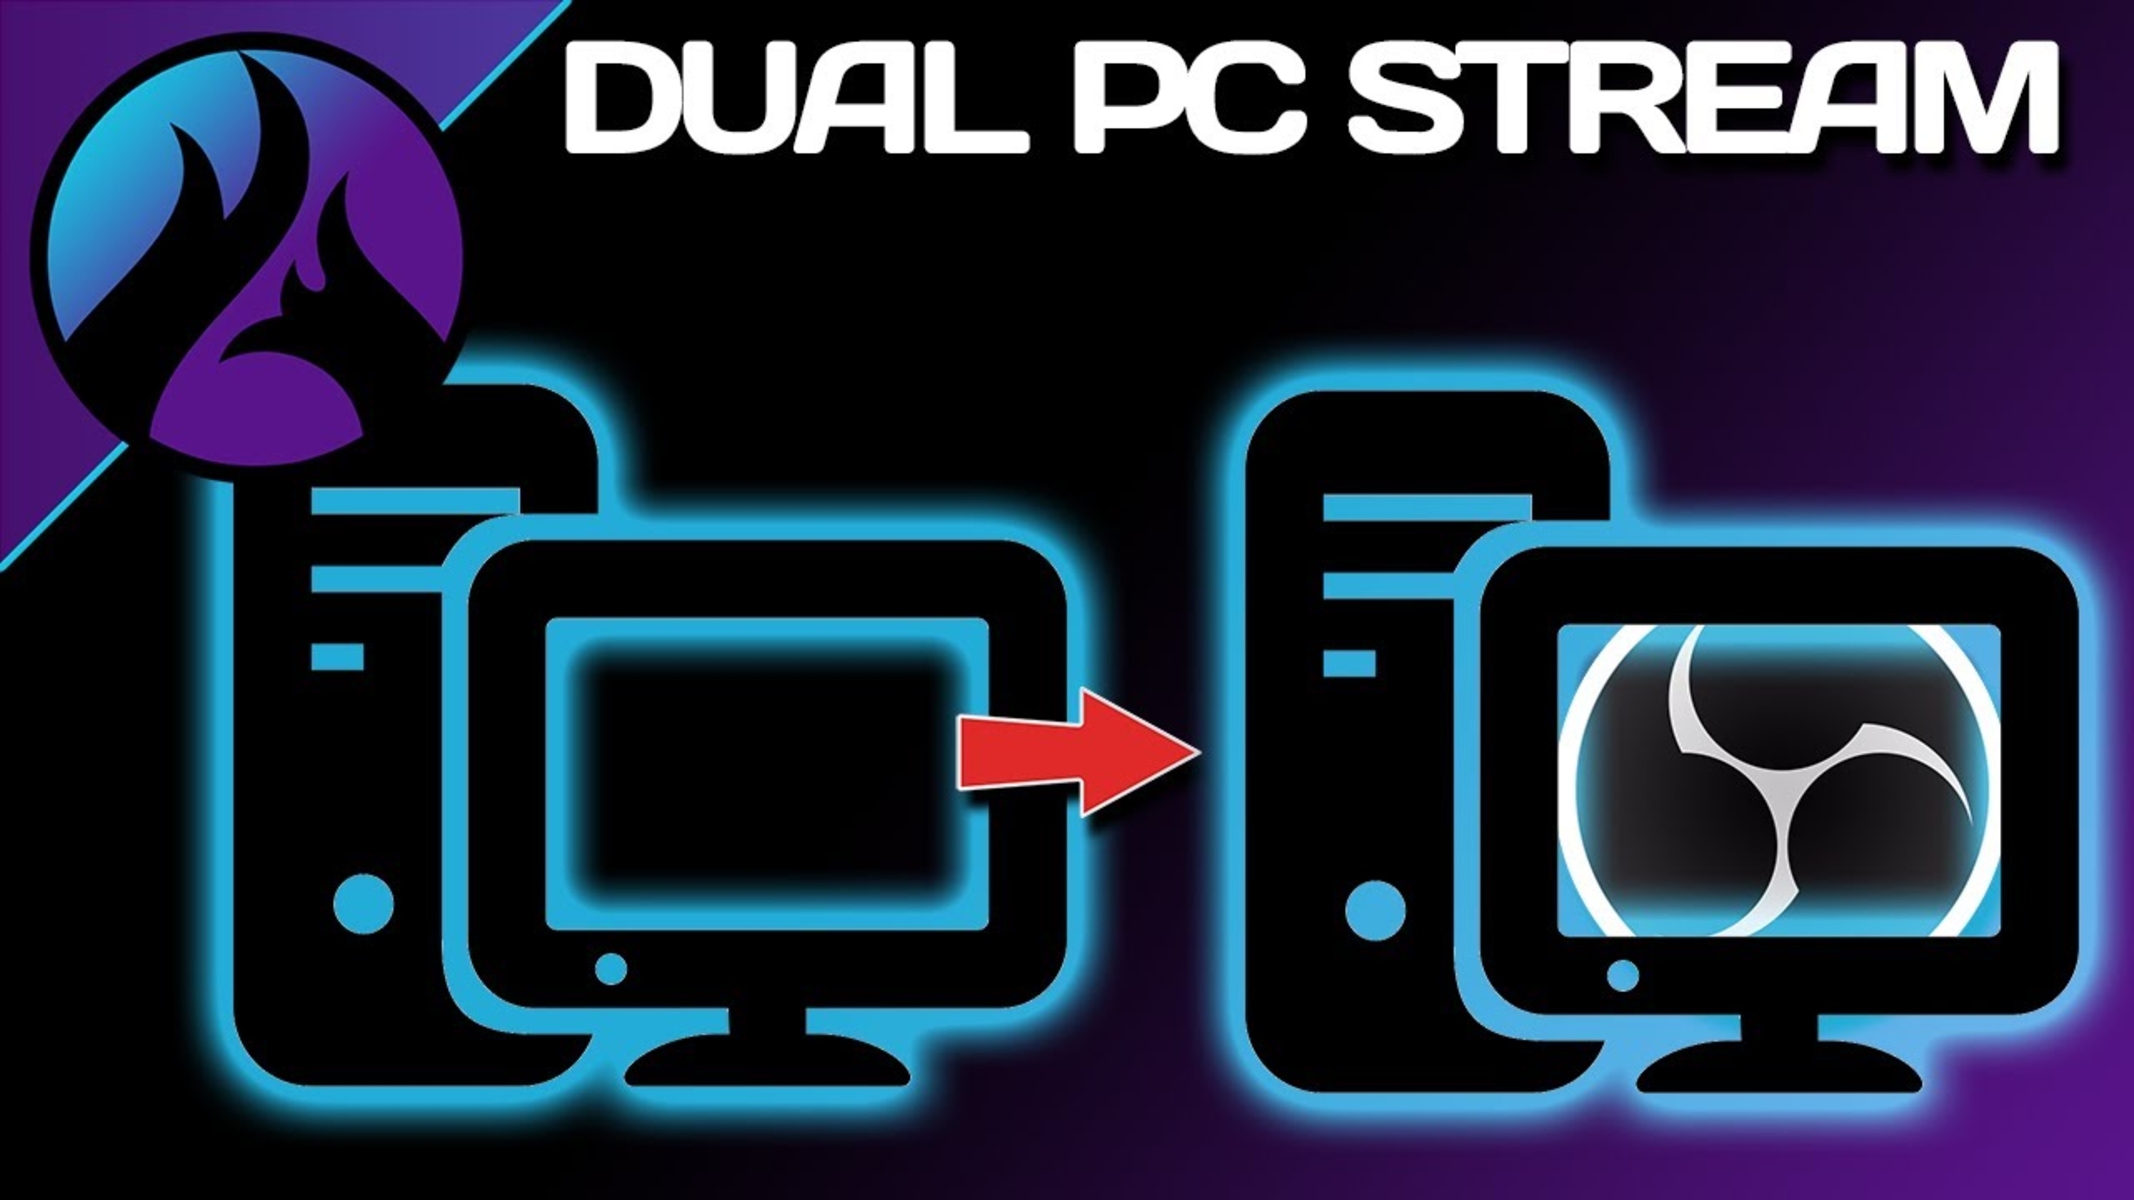
What is dual PC streaming?
The second computer, referred to as the streaming PC, handles the encoding and broadcasting of the stream.
Now, lets move on to discussing the system requirements for setting up a dual PC streaming setup.
Now that you have an understanding of the system requirements, lets move on to the step-by-step setup process.
This involves connecting the two computers physically and ensuring they can communicate with each other.
Heres how to do it:
1.
If you have a online grid switch, connect both computers to the switch using Ethernet cables.
Configure connection prefs:
On both computers, navigate to the connection prefs and ensure they are configured properly.
Disable firewall:
To avoid any web connection connectivity issues, temporarily deactivate the firewall on both computers.
This will ensure that the streaming PC can send and receive data from the gaming PC without any interference.
By following these steps, you will have successfully connected the gaming PC and the streaming PC.
In the following section, we will cover the steps needed to configure OBS on the gaming PC.
In this case, we will be using OBS (Open Broadcaster Software) as our broadcasting software.
Heres how to configure OBS on the gaming PC:
1.
Install OBS:
If you havent already done so, download and install OBS on your gaming PC.
Open OBS and configure video controls:
Launch OBS and navigate to the controls tab.
Under the Video parameters, set the base and output resolutions to match your gameplay resolution.
Set the desired frame rate and ensure that the downscale filter is set to Bilinear for optimal performance.
Configure audio prefs:
In the Audio prefs, set the desired audio devices for recording and playback.
Configure scene and layout:
Organize your sources into scenes to create different setups or layouts for your stream.
punch the + icon in the Scenes panel and name your scene.
Then drag and drop your sources onto the scene to arrange them in the desired layout.
Choose the appropriate server and set the desired bitrate for your stream.
OBS provides a helpful estimator tool to determine the optimal bitrate based on your internet connection.
Make any necessary adjustments to achieve the desired results.
By following these steps, you will have successfully configured OBS on your gaming PC.
Ensure that you have the latest version of OBS for optimal performance and compatibility.
Launch OBS and navigate to the configs tab.
Under the Video tweaks, set the base and output resolutions to match your desired streaming resolution.
Set the desired frame rate and ensure that the downscale filter is set to Bilinear for optimal performance.
In the Audio parameters, set the desired audio devices for recording and playback.
Ensure that your microphone and any additional audio sources are properly configured and working as intended.
Name the source and choose your capture card gadget from the dropdown menu.
Configure the parameters based on your capture cards specifications, such as resolution and frame rate.
Adjust the audio levels to achieve the desired balance between the game audio and any other audio sources.
Choose the appropriate server and set the desired bitrate for your stream.
OBS provides an estimator tool to help determine the optimal bitrate based on your internet connection.
Before going live, test your stream options and ensure everything is working as intended.
Make any necessary adjustments to achieve the desired results.
In the next section, we will cover the steps to set up audio for dual PC streaming.
Step 4: Setting up audio for dual PC streaming
1.
This will ensure that you’re able to hear the sound from your game while playing.
Microphone setup:
Connect your microphone to the streaming PC and configure it in OBS to capture your voice.
By following these steps, you will have successfully set up the audio for your dual PC streaming configuration.
In the next section, we will cover testing and troubleshooting, ensuring that everything is working as intended.
Step 5: Testing and troubleshooting
1.
Monitor the stream on a separate gadget to verify the quality and sync of the stream.
Check for any issues such as audio/video desync, lag, or dropped frames.
Adjust the audio levels in OBS to achieve a good balance between the two.
Ensure that your microphone is clear and audible, and the gameplay audio is not overpowering or too low.
Ensure that both systems are not under heavy load and running within acceptable limits.
A stable and fast internet connection is crucial for uninterrupted streaming.
This external feedback can help you fine-tune your dual PC streaming setup.
With all the steps completed, you are now ready to start streaming with your dual PC setup!
Conclusion
Congratulations!
You have successfully set up a dual PC streaming system without the need for a capture card.
Dual PC streaming offers numerous benefits, including better performance, higher stream quality, and greater customization options.
However, it may require additional hardware and setup compared to single PC streaming.
Its important to weigh the pros and cons based on your specific streaming goals and budget.
Good luck, and happy streaming!
