Introduction
Welcome to the world of digital art!
If you have recently acquired a drawing tablet, congratulations!
You are about to embark on an exciting journey of creativity and self-expression.
Drawing with a tablet offers a whole new level of precision and versatility compared to traditional mediums.
As with any new creative endeavor, practice and patience are key.
However, with dedication and consistent effort, you will see gradual improvement in your digital drawing skills.
By the end, you will have a solid foundation to continue exploring and honing your digital art skills.
Remember, the world of digital art has no limits.
you might create stunning illustrations, realistic portraits, imaginative characters, and much more.
Let your imagination run wild and embrace the endless possibilities that digital drawing offers.
So, lets jump in and unleash your creativity!
Here are some key points to keep in mind:
1.
Purpose and Budget:Think about your primary use for the tablet.
Determine your budget and decide what features are essential for your art style.
Size and Portability:Consider the size of the tablet.
Smaller tablets are more compact and convenient for travel, but they offer less workspace.
Choose the size that suits your preference and workspace.
Higher pressure sensitivity allows for more precise control over line thickness and opacity.
Look for a tablet with at least 2048 levels of pressure sensitivity.
Connectivity and Compatibility:check that that the tablet you choose is compatible with your machine or equipment.
Look for tablets that have a good reputation within the artist community for their build quality and responsiveness.
Additional Features:Some tablets come with extra features like programmable buttons, tilt recognition, or touch capability.
Consider whether these features are important for your workflow and artistic style.
Remember, the perfect tablet for one artist may not be the best fit for another.
Take your time to research and compare different options before making a decision.
Lets move on to the next section to learn how to set up your drawing tablet.
Setting up your Drawing Tablet
1.
Install Drivers:Most drawing tablets require drivers to be installed on your box.
These drivers ensure that your tablet communicates properly with your gear and enables all its features.
Visit the manufacturers website and download the latest drivers for your tablet model and operating system.
Ensure that the connection is secure and stable.
Test different pressure levels to find the setting that feels natural and responsive to your drawing style.
This can help streamline your workflow and make drawing more efficient.
Draw some lines with varying pressure to see if the pressure sensitivity is working as expected.
Experiment with configs:Take some time to explore and experiment with the configs of your drawing tablet.
Adjust the pens hover distance, click pressure, or other parameters to suit your preferences and artistic workflow.
By following these steps, you will have your tablet set up and ready for your artistic endeavors.
Lets move on to the next section to learn more about the pen tool and its functionalities.
Here are some key points to help you get familiar with the pen tool:
1.
Position your hand and tablet in a way that feels natural and enables smooth movement.
Pressure Sensitivity:Take advantage of the pressure sensitivity of your pen.
Apply more pressure for thicker lines or lighter strokes for thinner lines.
Practice varying pressure to achieve different line weights and textures.
Practice Basic Strokes:Start by practicing basic strokes on your tablet.
Experiment with different directions, angles, and curves.
This will help you build muscle memory and improve your hand-eye coordination.
Speed and Fluidity:Work on maintaining a consistent speed and fluidity while drawing.
Avoid being too slow or too fast, as this can affect the quality of your lines.
Practice smooth and controlled movements to create clean and precise strokes.
Layering and Building Up:Use layers in your drawing software to build up your artwork gradually.
Start with rough sketches and gradually add detail and refinement.
Utilize Undo and Redo:Take advantage of the undo and redo functions in your drawing software.
Mistakes happen, and these functions are there to help you correct them without starting over.
Experiment and learn to use these features effectively.
Take Breaks and Rest:Drawing with a tablet can be physically demanding, especially during longer drawing sessions.
Take regular breaks and stretch your hand and fingers to avoid strain or fatigue.
Its essential to take care of your physical well-being while drawing.
Remember, becoming familiar with the pen tool takes time and practice.
Dont be afraid to make mistakes and experiment with different techniques.
So, keep drawing and enjoy the journey!
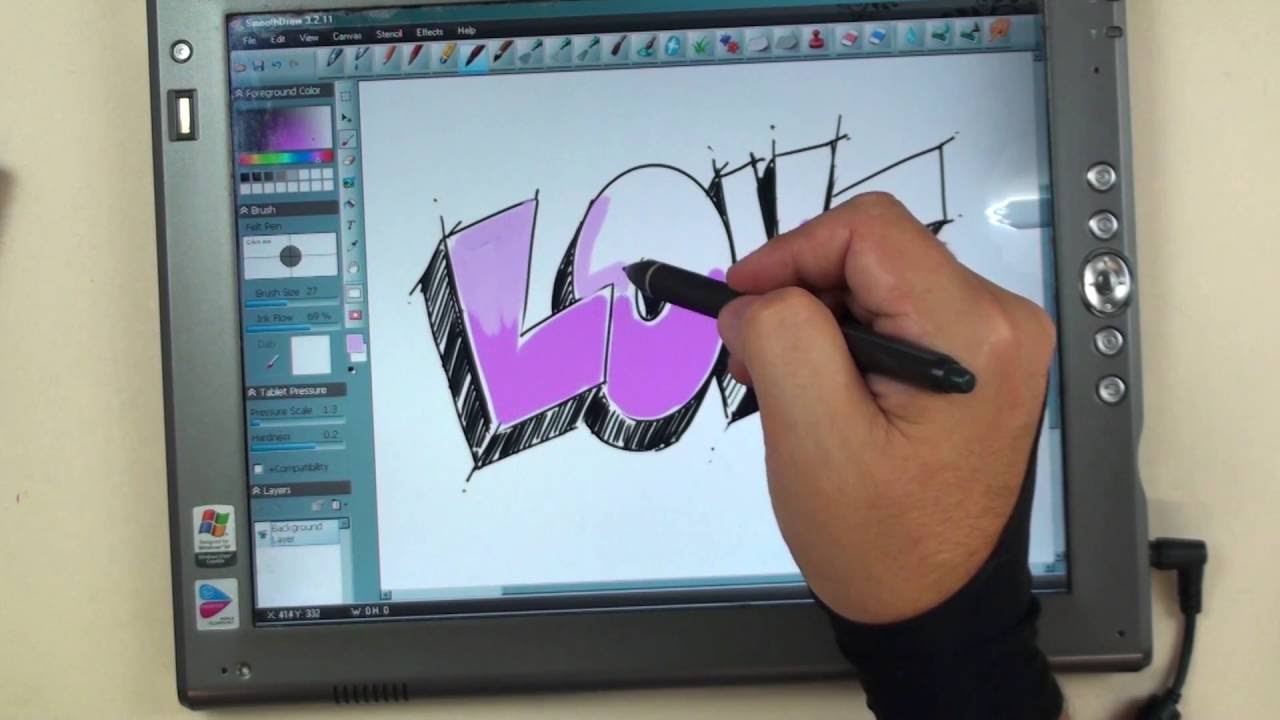
This feature is known as pressure sensitivity and plays a significant role in digital artworks.
Heres what you should probably know about pressure sensitivity:
1.
What is Pressure Sensitivity?
Pressure sensitivity refers to the tablets ability to recognize and interpret the amount of force applied to the pen.
The Importance of Pressure Sensitivity
Pressure sensitivity adds a level of nuance and realism to digital artwork.
Adjusting Pressure Sensitivity
Most drawing software allows you to customize the sensitivity of your pen.
Experiment with different prefs to find what works best for your drawing style.
Controlling Line Thickness and Opacity
Pressure sensitivity enables you to control the thickness of your lines.
Applying more pressure creates thicker lines, lending weight and emphasis to certain areas of your artwork.
Conversely, lighter pressure results in thinner lines, ideal for delicate details or subtle shading.
Enhancing Expressiveness
Pressure sensitivity empowers artists to express emotions and create dynamic art.
By varying pressure while drawing, you could convey different intensities, textures, and gestures in your artwork.
This expressive capability adds depth and personality to your digital creations.
Mastering Pressure Control
Achieving mastery over pressure control takes practice.
Compatibility with Software and Brushes
Ensure that the drawing software you use supports pressure sensitivity.
Different programs and brushes may have varying degrees of responsiveness.
Familiarize yourself with the options available in your preferred software to maximize the benefits of pressure sensitivity.
Embrace the Possibilities
Pressure sensitivity opens up a world of possibilities in digital art.
It allows you to create dynamic illustrations, realistic shading, and subtle gradations.
Embrace this feature, experiment with different techniques, and push the boundaries of your creativity.
Understanding and harnessing pressure sensitivity will significantly enhance your digital artwork.
Take the time to explore this feature and practice it consistently to unlock new levels of artistic expression.
Incorporate pressure sensitivity into your artistic toolkit and watch your creations come to life!
Each brush offers unique characteristics that can enhance your artwork and help you achieve the desired effects.
Heres how you might make the most of different brushes and tools:
1.
Experimentation is Key
Take the time to experiment with different brushes and tools available in your drawing software.
Basic Brushes
Start with a basic set of brushes provided by your drawing software.
These brushes typically include a variety of pen, pencil, and paintbrush-like tools.
Test each brush and understand how they behave with different pressure levels and strokes.
These brushes can add depth, realism, and unique visual elements to your artwork.
Custom Brushes
Many drawing software programs allow you to create and customize your own brushes.
Play around with the controls and create brushes tailored to your specific style.
Custom brushes can be used to create signature elements or achieve specific effects unique to your artwork.
These brushes are excellent for rendering fur, fabric, foliage, or other complex textures.
Use these tools to soften edges, create gradients, or blend colors seamlessly.
They are especially useful for achieving smooth transitions in shading or creating subtle atmospheric effects.
Eraser Tools
Dont forget about the eraser tools!
Erasers can be used to refine edges, create highlights, or correct mistakes in your artwork.
This technique allows for greater control and flexibility during the creation process.
Dynamic Brushstrokes
Explore brush dynamics if your drawing software supports them.
Remember, there is no right or wrong brush to use in your artwork.
The choice of brushes and tools depends on your artistic vision and the effects you want to achieve.
Here are some tips on how to customize shortcuts and options:
1.
Familiarize Yourself with Software Options
Take the time to explore the parameters and options available in your drawing software.
Get to know the different menus, panels, and configuration tools.
This will give you a better understanding of what can be customized to suit your needs.
This could include switching between certain tools, changing brush tweaks, or accessing specific menus.
Understanding your workflow will help you determine the key areas to focus on when customizing shortcuts.
This can save you time by eliminating the need to search through menus or click through multiple panels.
Assign shortcuts that are intuitive and easy to remember.
Assign Pen Buttons
Manydrawing tablets come with pens that have programmable buttons.
Take advantage of this feature by assigning common functions or tools to these buttons.
This allows for quick and convenient access without having to reach for the keyboard or navigate menus.
This can include brush size, opacity, flow, and other parameters.
Having customized brush presets readily available will save time and allow for more consistent results.
Adjust Canvas Rotation and Navigation
Some software allows for canvas rotation and navigation customization.
Explore the options for rotating and navigating the canvas to find the options that best suit your workflow.
Remember, customization is a personal journey.
Continuously refine and tweak your customizations to optimize your drawing experience and increase your productivity.
Practicing Different Techniques
Improving your digital drawing skills requires consistent practice and experimentation with various techniques.
Here are some techniques to practice and incorporate into your digital artwork:
1.
Line Work and Contouring
Mastering clean and precise line work is essential in digital drawing.
Practice creating smooth and confident lines using different pressures and stroke lengths.
Shading and Highlighting
Develop your skills in shading and highlighting to bring depth and realism to your artwork.
Color Theory and Blending
Gain an understanding of color theory and practice blending colors seamlessly in your artwork.
Experiment with different color combinations, hues, and tones to create harmony and evoke the desired mood.
Learn to use color gradients and blending modes to add depth and richness to your illustrations.
Gesture Drawing
Gesture drawing involves capturing the basic essence, movement, and energy of a subject.
Developing Textures
Experiment with creating different textures in your artwork.
Continuous Learning and Exploration
Never stop learning and pushing your boundaries.
The more you explore and practice, the more your artwork will evolve.
Remember, practice is key to growth as an artist.
Dedicate regular time to practice different techniques and make it a habit to incorporate them into your artwork.
Embrace the journey of continual learning and experimentation, and you will see your digital drawing skills flourish.
Practice Regularly
Consistency is key.
Set aside dedicated time for drawing on a regular basis.
The more you practice, the more progress you will see in your skills and confidence as an artist.
Study Anatomy and Proportions
Understanding anatomy is crucial for creating realistic and believable figures.
Study human and animal anatomy to develop a solid foundation.
Practice sketching basic shapes and defining proportions accurately.
Observe and Analyze
Develop your observation skills.
Study real-life objects, people, and photographs.
Pay attention to details, forms, and lighting.
Analyze how light interacts with surfaces and how shadows are cast.
Apply these observations to add depth and realism to your drawings.
Seek Constructive Criticism
Dont be afraid to seek feedback from other artists or mentors.
Constructive criticism can provide valuable insights and help you identify areas for improvement in your artwork.
Use feedback as an opportunity to grow and refine your skills.
Use Reference Images
Utilize reference images to enhance the accuracy and realism of your drawings.
Remember to use reference images as a guide, not a template to copy verbatim.
Experiment with Different Perspectives
Dont be afraid to explore different angles and viewpoints in your artwork.
Experiment with unique and dynamic perspectives to add interest and depth to your compositions.
This will help create a sense of immersion and engagement for the viewer.
Develop a Storytelling Element
Think beyond technical proficiency and focus on storytelling.
Consider the narrative and emotions you want to convey through your artwork.
Create a connection between your subject matter and the viewer by incorporating storytelling elements into your drawings.
Embrace Mistakes and Learn from Them
Dont be discouraged by mistakes.
Embrace them as valuable learning opportunities.
Mistakes can lead to unexpected discoveries and help you grow as an artist.
Analyze where you went wrong and find ways to improve in your future work.
Seek Inspiration, Not Replication
Instead of striving for exact replication, seek inspiration from other artists and styles.
Emulate their techniques, but focus on incorporating your unique style and artistic interpretation.
Find your own voice and create artwork that reflects your individuality.
Trust the Process
Creating artwork is a journey, and improvement takes time.
Trust the process and enjoy the journey of growth.
Embrace the ups and downs, the successes and failures.
Each piece of artwork is an opportunity to learn and evolve as an artist.
Remember: practice, observation, and curiosity are the foundations of improving your digital drawings.
Here are some common issues that digital artists face and how to troubleshoot them:
1.
Conclusion
Congratulations on completing this guide on drawing with a tablet!
Remember, mastering digital drawing takes time, practice, and dedication.
Continuously explore different techniques, experiment with various brushes and tweaks, and seek inspiration from other artists.
Along the way, you may encounter challenges or technical issues with your tablet.
Ultimately, the key to improving your digital drawings is consistent practice and a passion for the art.
Now, armed with all this knowledge, grab your drawing tablet and let your creativity soar.
Embrace the possibilities that digital art offers and enjoy the limitless potential that lies before you.
