Introduction
Welcome to the exciting world of digital art!
Drawing on Paint Tool Sai with a tablet opens up a whole new realm of possibilities for artists.
In this guide, well walk you through the essentials of drawing on Paint Tool Sai with a tablet.
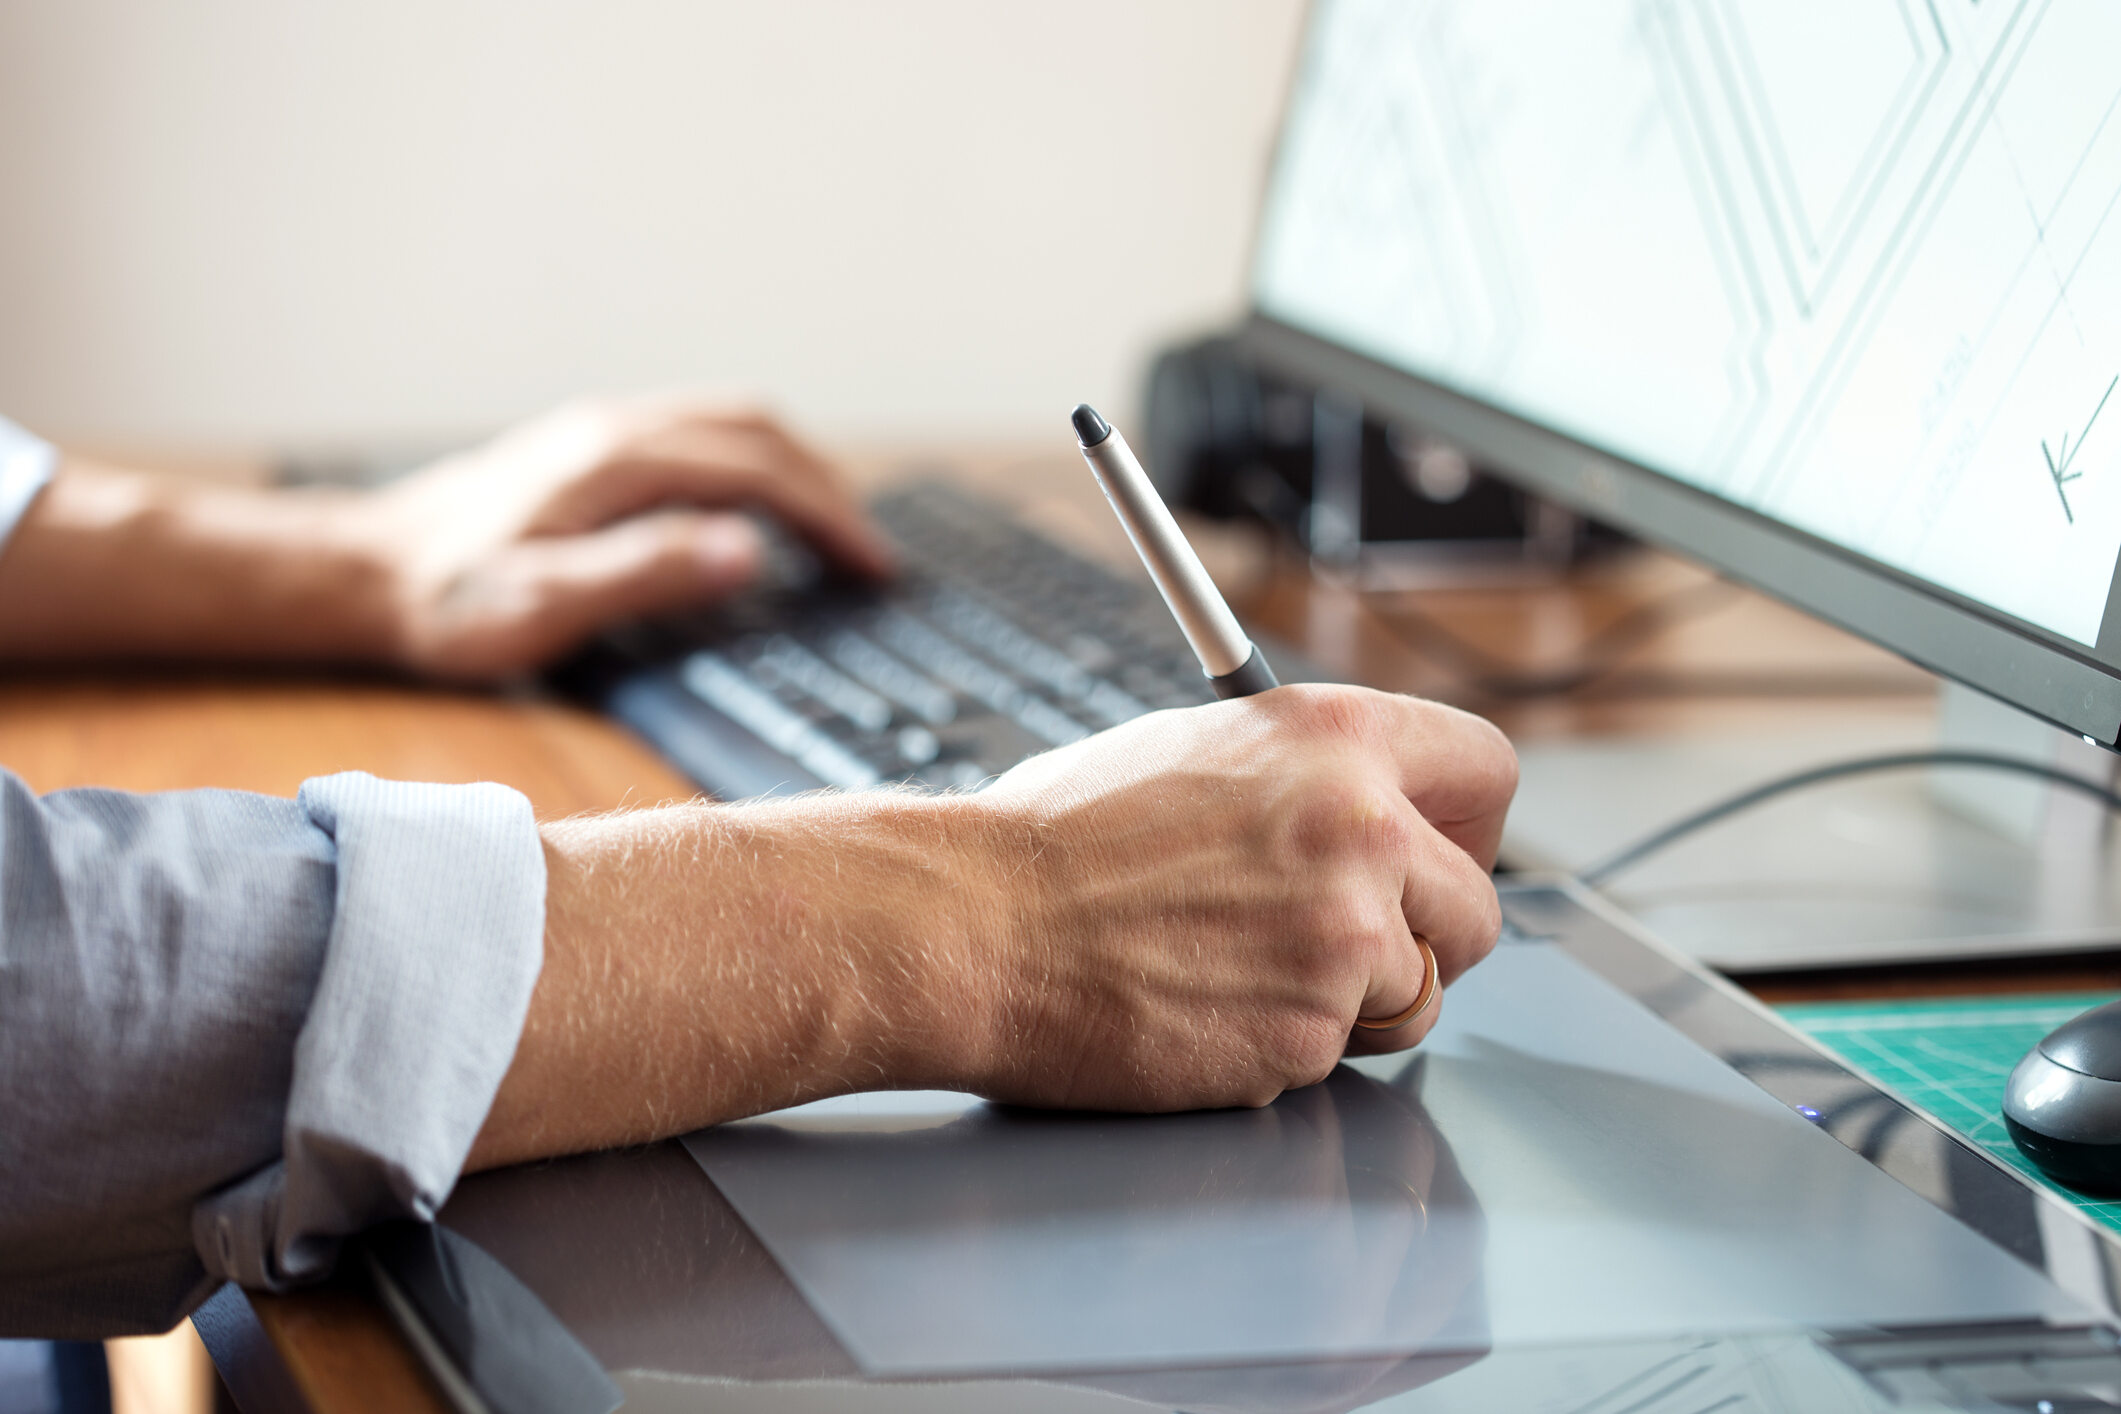
By using a tablet, you could achieve a more natural and intuitive drawing experience compared to a mouse.
This level of control enhances your ability to create detailed and expressive artwork.
Popular options include Wacom Intuos, Huion Kamvas, and XP-Pen Artist tablets.
The driver enables your tablet to communicate with your gear and ensures proper functionality.
Visit the manufacturers website and download the latest driver version for your tablet model.
Take some time to explore these options and make any necessary adjustments.
Look for a tablet that offers a high level of pressure sensitivity, typically measured in levels.
Higher levels of pressure sensitivity allow for more precise and nuanced control over your artwork.
Size:Tablets come in various sizes, typically ranging from small to large.
The size you choose depends on your personal preferences and the bang out of artwork you intend to create.
If you work with intricate details and require precision, a smaller tablet may be more suitable.
Compatibility:Ensure that the tablet you choose is compatible with your computers operating system.
Budget:Set a budget for your tablet purchase.
Tablets vary in price, with high-end models offering more advanced features and functionalities.
Determine what features are essential for your needs and find a tablet that fits within your budget.
Popular tablet brands for digital artists include Wacom, Huion, and XP-Pen.
These brands offer a range of tablet models to suit different preferences and budgets.
Consider reading reviews and comparing specifications to narrow down your options.
Look for the appropriate driver for your tablet model and download it to your gear.
Ensure that you download the driver that matches your computers operating system.
Test the tablets functionality by drawing on the canvas with the stylus.
Ensure that the pressure sensitivity and other tablet features are working correctly.
If any issues arise, refer to the tablets troubleshooting guide or contact customer support.
Take some time to explore these prefs and adjust them according to your preferences.
Customizing the tablet options can enhance your drawing experience and make it more tailored to your needs.
Heres a guide on how to configure the tablet options:
1.
Pressure Sensitivity:One of the most important options to adjust is the pressure sensitivity.
Experiment with different pressure sensitivity prefs to find the one that feels most comfortable and natural to you.
Mapping:Tablet mapping refers to the area on the tablets surface that corresponds to your system screen.
Adjusting the mapping tweaks allows you to control the size and position of the active drawing area.
confirm the mapping is aligned correctly so that drawing on the tablet aligns accurately with your system screen.
Button Configurations:Many tablets come with programmable buttons or shortcut keys that can enhance your workflow.
Take advantage of these buttons by assigning them specific functions like zooming, erasing, or switching between brushes.
Customizing the tablet buttons can help you streamline your drawing process and access frequently used tools with ease.
Radial Menus and Gestures:Some tablet drivers offer features like radial menus or gesture controls.
Familiarize yourself with these features and customize them to suit your workflow preferences.
Draw strokes of varying pressure to ensure that the pressure sensitivity is working as expected.
Use the tablet buttons and shortcuts to navigate through the software effortlessly.
If needed, make additional adjustments until you achieve a setup that feels comfortable and intuitive.
Each tablet and its corresponding driver may have slight variations in terms of available controls and customization options.
Refer to the tablet manufacturers documentation or online resources for specific instructions on configuring the tablet configs.
The main window consists of a toolbar, canvas, layers panel, and color selector.
Familiarize yourself with these elements and their locations within the interface.
Experiment with different brush sizes and opacity levels to achieve the desired stroke effects.
Layers:Understanding how layers work is crucial for organizing and controlling your artwork.
Paint Tool Sai allows you to work with multiple layers, similar to traditional media.
Take time to understand how to create, arrange, and manipulate layers effectively.
Selections and Transformations:Paint Tool Sai provides various tools for making selections and transforming elements.
The selection tools allow you to isolate specific areas for editing, copying, or moving.
The transformation tools enable you to scale, rotate, flip, and distort selected elements.
Practice using these tools to gain control over your artwork.
Color Palette:Explore the color selector in Paint Tool Sai to choose and adjust colors.
The software provides a range of color picking options, including basic color wheels and custom color palettes.
Practice using the different tools and techniques to develop your own unique artistic style.
Resolution:The resolution of your canvas affects the clarity and level of detail in your artwork.
Higher resolutions are ideal for high-quality prints or detailed illustrations.
However, keep in mind that higher resolutions require more computer resources and may slow down your drawing process.
Experiment with different resolutions to find the balance between quality and performance that works best for your digital drawings.
Background Color:Customize the background color of your canvas by selecting a color from the color selector.
Orientation:Determine whether you want your canvas to be in portrait or landscape orientation.
This choice depends on the composition and overall feel of your artwork.
Portrait orientation is preferred for vertical subjects, while landscape orientation is suitable for wider scenes or landscapes.
it’s possible for you to customize the spacing and visibility of these guides to suit your needs.
Spend some time experimenting with different canvas sizes and options to find the optimal setup for your digital drawings.
It offers a wide range of brush types and tweaks to help you achieve the desired effects and styles.
Each preset has different properties, such as size, shape, opacity, and texture.
The opacity determines the transparency or solidity of the brush stroke.
Play around with different sizes and opacities to achieve the desired effects.
Experiment with varying levels of pressure to create dynamic and expressive brush strokes.
Applying textures can give your digital drawings a traditional art feel.
Experiment with different blending modes to achieve different results.
Custom Brushes:Paint Tool Sai allows you to create and preserve your custom brushes.
Explore the brush controls to customize various properties, such as shape, texture, scatter, and rotation.
Take time to experiment and familiarize yourself with the various brushes and prefs in Paint Tool Sai.
Customizing these options allows you to control the dynamics of your brush strokes and create more expressive artwork.
you might typically find this setting in the tablet driver software.
Brush configs:Within Paint Tool Sai, each brush has its own pressure configs that can be customized.
Adjusting these options on a brush-by-brush basis allows you greater control over specific effects and techniques in your artwork.
Make adjustments as necessary until you achieve a pressure sensitivity that feels natural and responsive to your drawing style.
Practice and Adapt:Adjusting pressure sensitivity configs may require some practice and adaptation.
Take the time to familiarize yourself with how different levels of pressure translate into brush strokes on the tablet.
Practice using light, confident strokes to create outlines and define the shapes in your artwork.
Experiment with different brush sizes and pressure sensitivity options to achieve the desired line thickness and variation.
Layering:Take advantage of layering in Paint Tool Sai to separate different elements of your artwork.
Work on separate layers for the background, foreground, characters, or objects.
This allows for easier editing and adjustments without affecting the other elements.
Experiment with different layer blending modes to create various effects and depth in your artwork.
Create depth and dimension by varying the transparency and intensity of your brush strokes.
Texturing:Add texture to your artwork by experimenting with brush textures.
Applying texture can enhance the visual appeal and bring a traditional art feel to your digital artwork.
By blending colors together, you could achieve a more realistic and polished look in your artwork.
Experiment with different brush sizes, opacity levels, and pressure sensitivity controls to control the blending effect.
Detailing:Use smaller brush sizes and precise strokes to add intricate details to your artwork.
Take advantage of the tablets pressure sensitivity to apply varying pressure for more natural and precise detailing.
Experiment and Explore:Dont be afraid to experiment with different techniques and find your unique style.
Practice regularly and continue to refine your techniques with your tablet and Paint Tool Sai.
Next, lets explore some useful tips for achieving smooth lines in your digital drawings.
Use the tablets calibration options or the recommended calibration tool provided by the manufacturer.
Adjust the stabilization controls in your software to reduce the impact of hand tremors and create smoother lines.
Adjust Pen Pressure Sensitivity:Fine-tune the pressure sensitivity tweaks of your tablet to match your drawing style.
Experiment with different pressure levels to find the sweet spot that allows you to create consistent and controlled strokes.
Use Larger Brush Sizes:When creating long, sweeping lines, consider using larger brush sizes.
Larger brushes help reduce the visibility of small imperfections and create smoother curves and strokes.
Practice Line Control:Practice drawing confident and deliberate strokes.
Avoid sketchy or hesitant lines by maintaining a steady hand and applying consistent pressure to the tablet.
Develop your muscle memory through regular practice to achieve more controlled lines over time.
Adjust Brush Opacity:Adjust the opacity of your brush to build up the desired line weight gradually.
Use Rulers or Guides:Utilize digital rulers or guides to help you create straight and precise lines.
Experiment with Brush Textures:Try using various brush textures to add visual interest to your lines.
Remember that achieving smooth lines takes practice and experimentation.
Use layers to separate the background, characters, objects, or specific details.
This organizational structure makes it easier to make adjustments or modifications without affecting other parts of your artwork.
Adjusting the opacity allows you to make layers more transparent, creating a softer or faded effect.
These tools offer a range of creative possibilities and allow you to achieve unique visual effects in your artwork.
This non-destructive editing feature allows for easy experimentation and adjustments without losing any information.
Refine Edges and Add Details:Layer masks are particularly useful when working on fine details or refining edges.
This technique allows for more precise control and seamless integration of these modifications.
Blend and Combine Layers:Experiment with blending multiple layers together to create different effects.
Use various blending modes to achieve a harmonious blend of colors, textures, and details.
Blending layers can add depth, richness, and complexity to your artwork, making it more visually engaging.
The changes are applied only to the adjustment layer, leaving the original artwork intact.
Group and Organize:As your artwork becomes more complex, consider grouping related layers together.
This allows you to manage and organize your layers more effectively and simplifies the editing process.
Grouping layers also helps maintain a clear and structured workflow.
Take your time to explore and experiment with these tools to discover the immense creative potential they offer.
Now, lets explore how to add color and shadows to bring life and depth to your digital drawings.
Paint Tool Sai provides various tools and techniques to help you achieve stunning and realistic coloration.
Choose colors that match the mood or atmosphere you want to convey in your artwork.
Coloring Techniques:There are several techniques you could use to apply color to your digital drawings.
you could use the brush tool to paint directly on the canvas, applying colors to specific areas.
Another option is using the bucket tool to quickly fill areas with solid colors.
Experiment with both techniques and find the one that works best for your desired effect and artistic style.
Adding Shadows:Shadows add depth and realism to your artwork.
Experiment with different brush configs, such as opacity and blending modes, to achieve the desired shadow effect.
Blend the shadows softly to create a realistic transition between light and shadow.
Highlights and Light Effects:Along with shadows, highlights are crucial for creating realistic lighting in your artwork.
Use lighter tones to create highlights and bring attention to areas that are directly hit by light.
Experiment with blending modes to make the highlights stand out even more.
Color Gradients and Blending:Explore gradients and blending techniques to create smooth transitions between colors.
Experiment with different brush types and blending modes to achieve desired effects and visual interest.
Paint Tool Sai offers various brush textures and pattern options.
Pay attention to how light interacts with different surfaces and how shadows behave.
Using references can provide valuable insights into color choices, shading techniques, and overall realism in your artwork.
Practice and explore different techniques to refine your skills and develop a keen eye for color and light.
With time and dedication, youll be able to create vibrant, lifelike, and visually captivating digital drawings.
Next, lets explore how to add details and textures to further enhance your digital artwork.
Paint Tool Sai offers various tools and techniques to help you add intricate details and textures to your drawings.
Take your time to add intricate details that contribute to the overall aesthetic and storytelling of your artwork.
Adding Textures:Apply textures to specific elements in your artwork to create a sense of realism and depth.
Experiment with different brushes and parameters to add texture to backgrounds, objects, or characters.
This technique brings visual interest and tactile qualities to your artwork.
Use Layer Blending Modes:Experiment with blending modes on layers to create interesting textures and effects.
Mixed Media Approaches:Combine traditional and digital techniques by integrating scanned or digitally-created textures into your artwork.
This approach adds unique visual qualities and adds an organic touch to your digital drawings.
Use Custom Brushes:Take advantage of the ability to create and use custom brushes in Paint Tool Sai.
Develop your unique collection of brushes that mimic traditional art tools or create brushes that suit your artistic style.
Custom brushes can allow for the system of more realistic and intricate textures, making your artwork stand out.
Use detailed brushwork or texture overlays to highlight areas where light hits, creating highlights and surface texture.
Pay attention to how light interacts with different surfaces and how textures appear in reality.
Referencing and observing real-life elements will guide you in adding realistic and convincing details to your digital artwork.
Remember, adding details and textures is an artistic process that requires experimentation and practice.
Take your time to explore different techniques and find the ones that work best for your artistic vision.
Paint Tool Sai provides a range of tools and options to help you achieve these effects.
Use the tool to gently drag colors or textures across the canvas, blending them together naturally.
Apply gentle strokes over the areas you want to blend, gradually building up the desired effect.
This technique is especially effective for creating smooth gradients or merging different elements without visible edges.
Experiment with layer opacity to make certain elements appear more translucent, allowing for smoother transitions between layers.
Multiple Layers and Clipping Masks:Utilize multiple layers to separate different parts of your artwork.
This technique allows you to create more intricate and controlled blending in your artwork.
Custom Brushes:Create custom brushes that are specifically designed for blending or smudging.
Tailor these brushes to match your preferred style and technique.
These effects can help create depth, atmosphere, and realism.
Practice and Observation:Mastering blending and smudging techniques requires practice and careful observation.
Study how light interacts with different surfaces and how colors merge in real life or references.
Blending and smudging techniques add depth, dimension, and cohesion to your digital drawings.
These parameters include brush shape, size, density, texture, and more.
Experiment with different combinations of these parameters to create brushes with distinct characteristics.
Modifying Existing Brushes:Start by modifying existing brushes to create customized versions.
Select a brush that closely resembles your desired effect and adjust its prefs to achieve the desired outcome.
Work with brush shape, texture, and opacity prefs to replicate the brushs behavior to your preferences.
Begin by selecting a basic brush shape, such as round, flat, or custom shapes.
Adjust the brush size, density, and texture to create variations in strokes and textures.
Texture and Grain:Utilize texture and grain to add depth and character to your custom brushes.
Paint Tool Sai offers a range of texture options that simulate surfaces like canvas, paper, or watercolor.
Adjusting the opacity allows for more subtle and controlled brushwork.
Experiment with blending modes and layer controls to further enhance the blending characteristics of your brushes.
Pressure Sensitivity:Incorporate pressure sensitivity tweaks into your custom brushes to take full advantage of your tablets capabilities.
Adjust the brushs response to pressure variation to achieve a more nuanced and dynamic effect.
Experiment with different pressure controls to find the right balance of sensitivity for your brush strokes.
Saving and Organizing Custom Brushes:once you nail created your custom brushes, save them for future use.
Paint Tool Sai allows you to save brushes as separate .sai files or bundle them into custom brush sets.
Organize your brushes by categories or effects to keep your collection easily accessible and manageable.
Use these tools to adjust the size, perspective, or positioning of elements in your artwork.
They offer versatility and allow you to fine-tune composition and achieve desired proportions.
These grids provide a visual guide to ensure proper proportions and placement of objects within a three-dimensional space.
Customizing Shortcuts:Customize keyboard shortcuts to expedite your workflow and access frequently used tools or functions more efficiently.
Continuously explore and push the boundaries of your creativity to fully utilize these tools in enhancing your digital drawings.
Now, lets explore how to save and export your finished artwork from Paint Tool Sai.
Backup Copies:Its a good practice to create backup copies of your artwork files.
Remember to consider the intended use and adjust resolution, file format, and quality parameters accordingly.
Double-check the USB cable for any damage or loose connections.
drop in the Latest Drivers:confirm you have installed the latest drivers for your tablet.
Visit the manufacturers website and download the most recent driver version compatible with your operating system.
Uninstall any previous versions before installing the updated drivers.
cycle your system after the installation for the changes to take effect.
Restart Tablet Services:Restarting tablet services can help resolve connection issues.
This can refresh the connection between your tablet and computer.
Adjust Power options:Some power-saving options may interfere with the connection between your tablet and computer.
Go to the power options on your system and check the USB power options.
Disable any parameters that allow the computer to turn off USB devices to save power.
Update Paint Tool Sai:Ensure that you have the latest version of Paint Tool Sai installed.
Updates often include bug fixes and compatibility enhancements.
Visit the official website or the softwares update feature to check for and install any available updates.
Check Tablet Compatibility:Confirm that your tablet is compatible with Paint Tool Sai.
Contact Manufacturer Support:If the issue persists, hit up the manufacturer or technical support of your tablet.
They can provide specific troubleshooting steps for your tablet model and assist you in resolving any connection issues.
We explored the importance of selecting a tablet that offers pressure sensitivity and compatibility with your gear.
These skills empower you to create dynamic and captivating digital artwork that truly represents your unique artistic vision.
Embrace the limitless possibilities that digital art offers and follow your passion.
Let your creativity flourish as you strive to create extraordinary artwork on Paint Tool Sai with your tablet.
